 Accessories
 Baby & Kids
 Blankets & Afghans
 Clothing
How to Crochet a Ripple Blanket
If you are working out how to crochet a ripple blanket, the useful thing to know first is that the whole fabric is one 13-stitch repeat worked over and over.
 Nicole Sinclair
Published · 11 min read
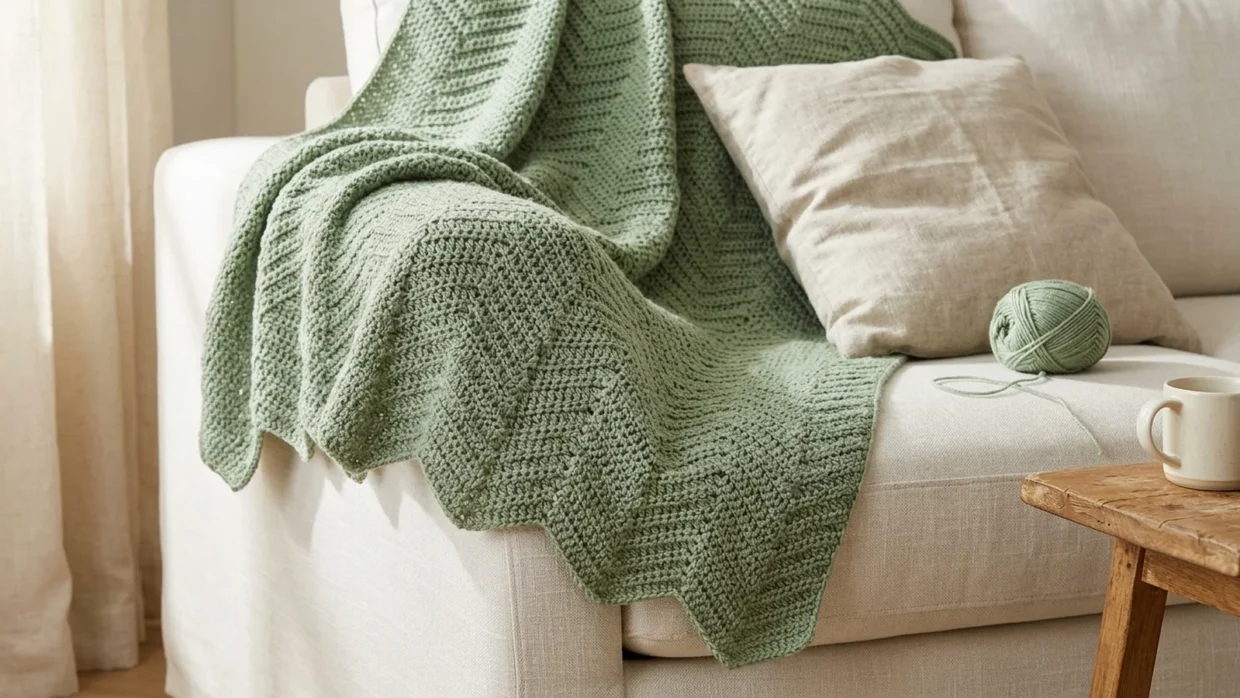
A finished sage green double crochet ripple blanket draped over the arm of a sofa, with evenly stacked peaks and valleys along its zig-zag edge
Pattern at a Glance
- Skill level
- Easy
- Yarn weight
- Worsted (#4)
- Hook size
- 5.5 mm (I-9)
- Finished size
- 32 × 36 in to 60 × 70 in
- Yarn needed
- About 950–3,450 yd
- Construction
- Worked flat in rows
- Stitches
- Chain, double crochet, double crochet two together
- Gauge
- 13 sts (1 repeat) = 4 in; 6 rows = 4 in
- Pattern type
- Written pattern
- Project type
- Blanket
How to crochet a ripple blanket: what you are making
This pattern shows how to crochet a ripple blanket with sharp peaks and valleys, using only chains, double crochet, and one decrease. Every row is worked the same way: a decrease at each edge, three double crochet in one stitch at each peak, and two decreases side by side at each valley. The stitch count never changes from row to row. The shape comes entirely from where the extra stitches and the missing stitches sit.
The words ripple, wave, and zig-zag get used loosely, and designers do not agree on where one ends and the next begins. Here, ripple and zig-zag mean the same thing, so if you came looking for how to crochet a zig zag blanket, this is that construction: sharp points built from concentrated increases and decreases. Softer wave blankets often spread the shaping across stitches of different heights, which is a different formula, so if you want to know how to crochet a wave blanket in that softer style, use a pattern written for it.
The repeat: how the increases and decreases balance
Everything hangs on one 13-stitch repeat. Reading across a row, it contains three parts:
- Peak: 3 dc in the same stitch. One stitch becomes three, so the peak adds 2 stitches.
- Slopes: 4 plain dc on each side of the peak. No shaping, just height.
- Valley: dc2tog twice in a row. Four stitches become two, so the valley removes 2 stitches.
You work into 13 stitches (1 + 4 + 4 + 4) and finish with 13 stitches (3 + 4 + 4 + 2). The two stitches added at the peak are exactly the two removed at the valley, so the width holds steady. That is also why ripples fail when a count slips: give one peak only 2 dc, or one valley only a single dc2tog, and that repeat gains or loses stitches. The error then compounds row after row.
Edge logic. Each row begins with one dc2tog and ends with one dc2tog, which is half of a valley. That keeps the sides straight while the top and bottom edges zig-zag. A full row reads: half valley, peak, valley, peak, and so on, ending with a peak and a half valley. In every row after the first, the 3-dc peak goes into the middle stitch of the previous row’s peak, and each valley is centered on the previous valley, so the points stack in straight vertical lines.
This is one ripple formula, not the ripple formula. Other patterns use different repeats and shaping, so do not mix their counts with these.
Skill level and where the difficulty is
I would call this pattern Easy, with one condition: you need to be comfortable with double crochet and with working two stitches together. There is no shaping beyond the peak and valley, no seaming, and no stitch that changes from row to row, since Rows 2 onward are identical. The demand is counting and placement. In every row you must find the middle stitch of each peak and the pair of stitches at each valley, and you must end with exactly 13 stitches per repeat.
Materials
- Yarn: Smooth worsted-weight (#4) yarn. About 950 yd for the baby size, 2,350 yd for the throw, or 3,450 yd for the large throw. These are estimates worked out from stitch counts, not measured from finished blankets, so buy at least one extra skein.
- Hook: 5.5 mm (I-9), or whichever size gives you the gauge below.
- Notions: Stitch markers, a measuring tape, a tapestry needle, and scissors. Blocking mats and pins are optional.
Yarn choice matters more here than in a plain rectangle. A smooth, tightly plied yarn keeps each peak crisp and makes stitches easy to read when you need to find the middle of a peak. Very fuzzy or dark yarns hide stitch definition, and very drapey fibers such as many cottons and bamboo blends will likely stretch under their own weight and relax the peaks.
Abbreviations and stitches
- ch: chain
- st(s): stitch(es)
- dc: double crochet (US terms throughout)
- dc2tog: double crochet two together, a decrease that turns two stitches into one
- 3 dc in next st: work three dc into the same stitch, the increase that forms each peak
- [ ]: repeat the instructions inside the brackets the number of times stated
How to dc2tog: Yarn over, insert the hook into the first stitch, yarn over and pull up a loop, then yarn over and pull through 2 loops. You now have 2 loops on the hook. Yarn over, insert the hook into the next stitch, yarn over and pull up a loop, yarn over and pull through 2 loops. Three loops remain. Yarn over and pull through all 3.
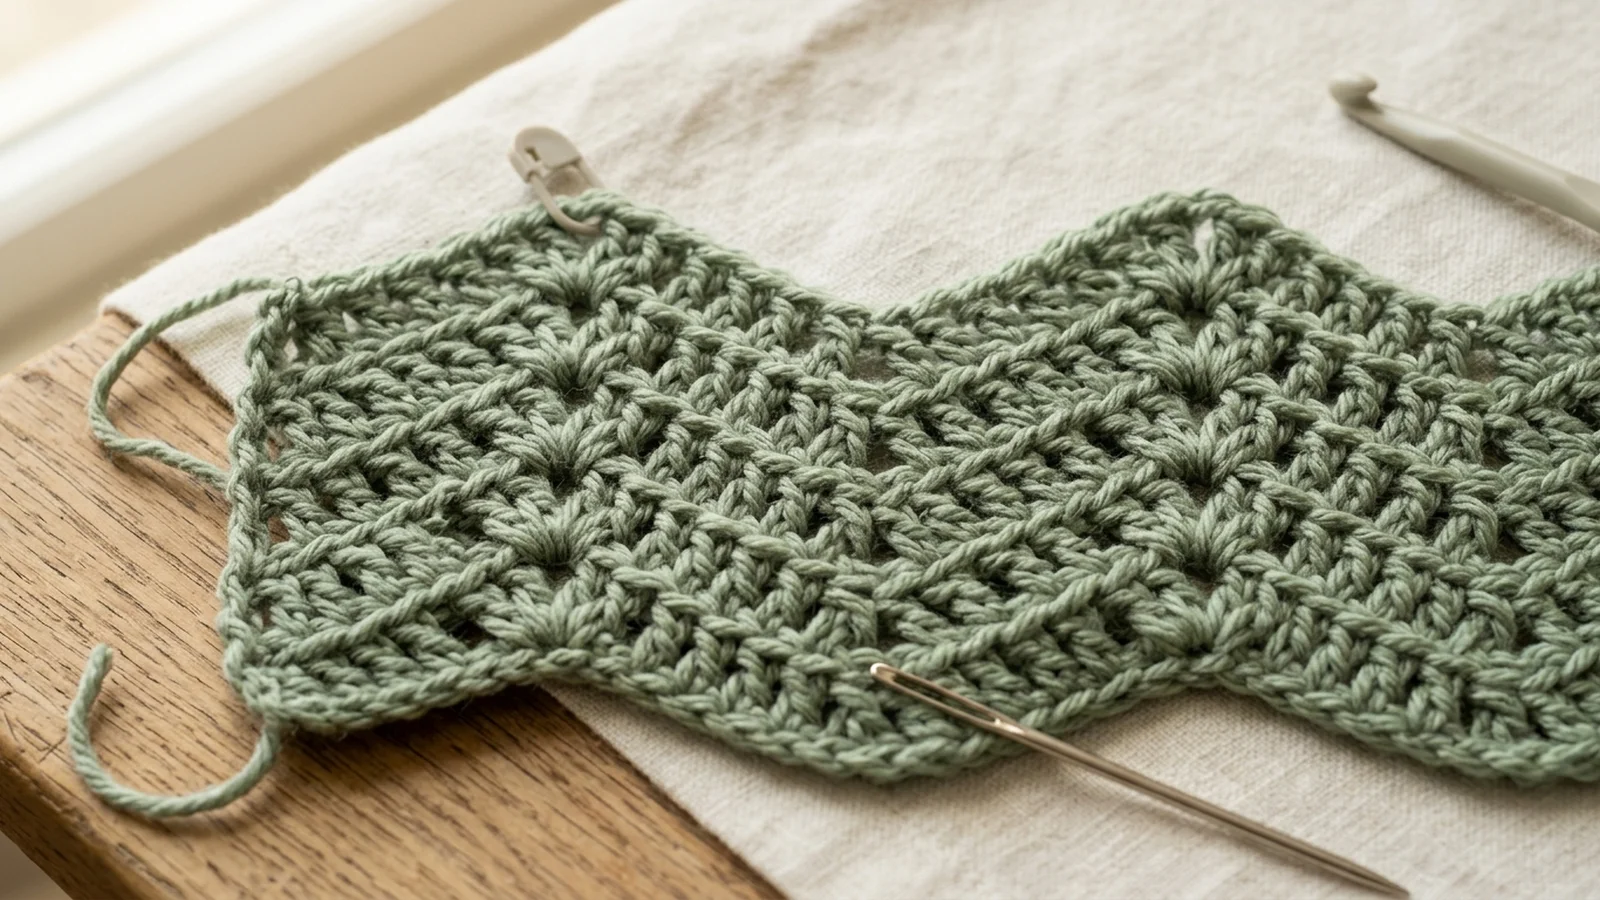
UK note: if you use UK terms, every dc here is a treble crochet (tr) and dc2tog is tr2tog.
Gauge
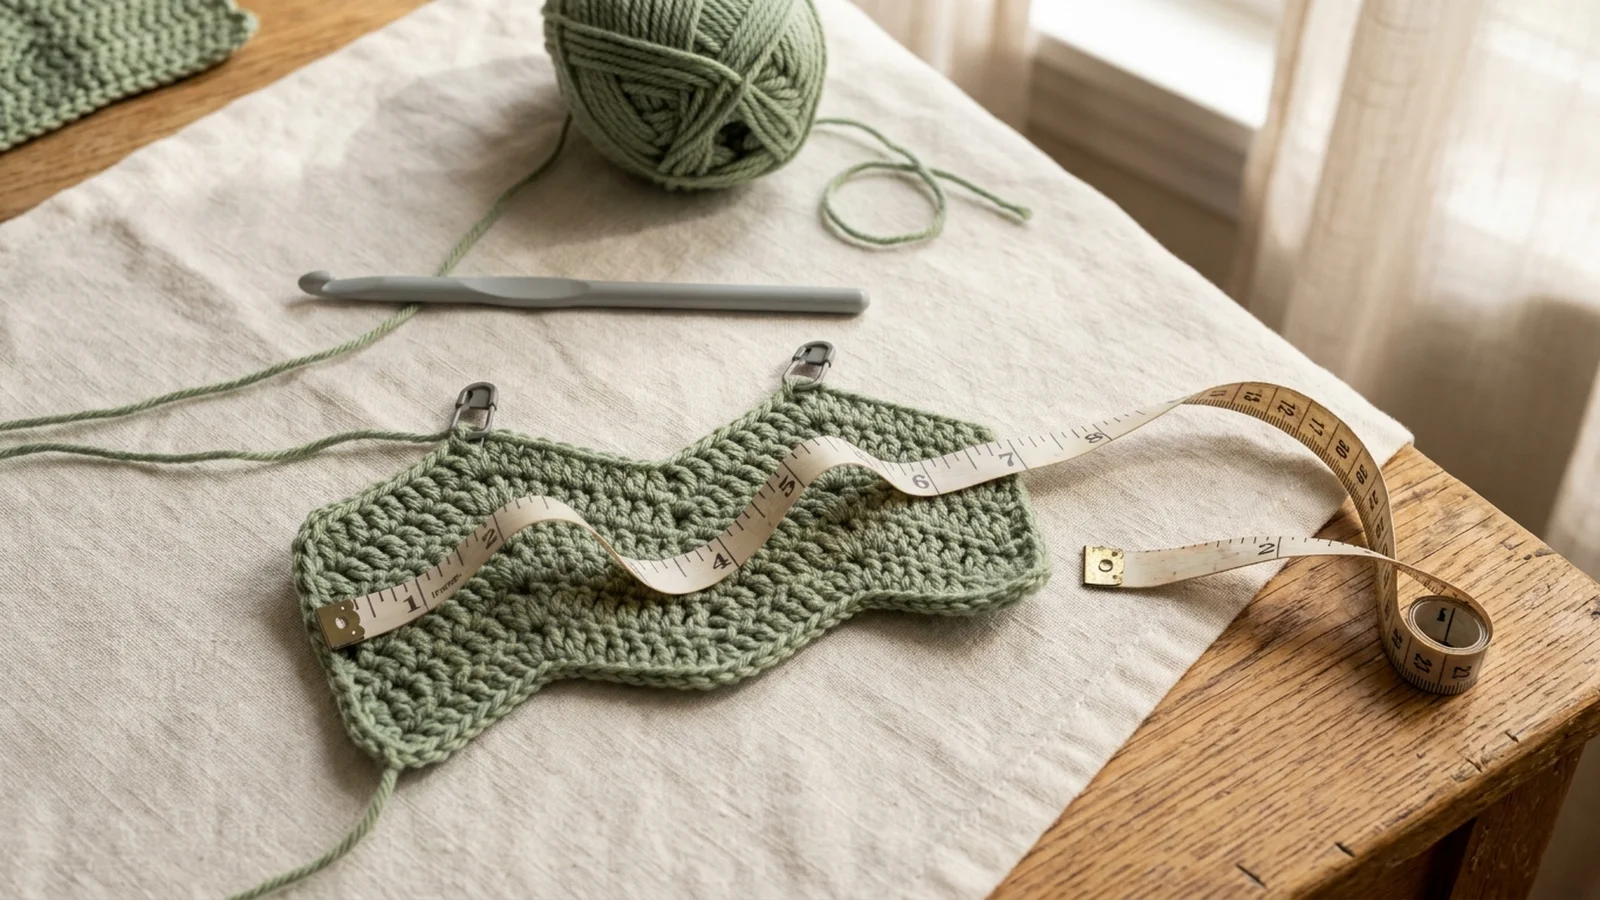
Target gauge: one 13-stitch repeat, measured peak to peak, is about 4 in (10 cm) wide, and 6 rows measure about 4 in (10 cm) tall, worked with a 5.5 mm hook. This is a target from the stitch structure rather than a measurement from a finished blanket, so treat your own swatch as the real number.
Swatch first. Chain 28, then work the pattern below with 2 repeats, which means working the bracket once, for 12 rows; each row has 26 stitches. Measure the distance between the two peaks, with the swatch lying flat and unstretched.
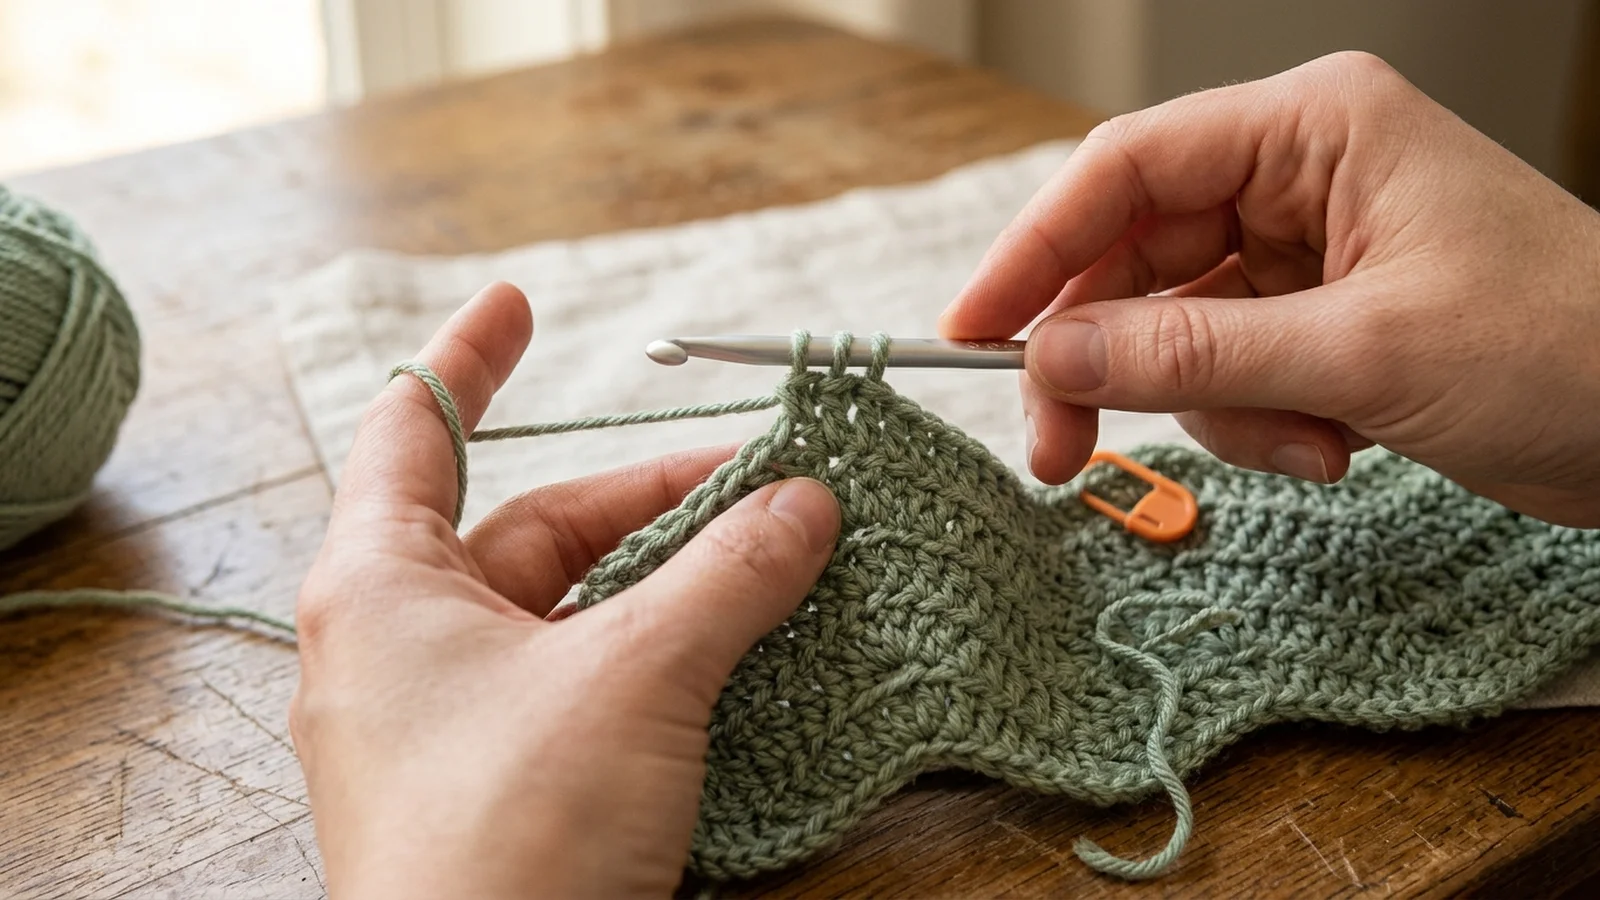
Gauge does not change the stitch counts, only the finished size: a 4.25 in repeat makes a 12-repeat throw 51 in wide instead of 48. If the repeat is more than a quarter inch off, use a smaller hook when it runs wide and a larger hook when it runs narrow.
Sizing and width planning
Because the repeat is 13 stitches, width changes only in steps of one repeat, about 4 in each. Three sizes are given below.
| Size | Repeats | Sts per row | Foundation chain | Width | Rows | Length | Yarn (est.) |
|---|---|---|---|---|---|---|---|
| Baby | 8 | 104 | 106 | 32 in | 54 | 36 in | 950 yd |
| Throw | 12 | 156 | 158 | 48 in | 90 | 60 in | 2,350 yd |
| Large throw | 15 | 195 | 197 | 60 in | 105 | 70 in | 3,450 yd |
Pediatric safe-sleep guidance generally advises keeping loose blankets out of an infant’s sleep space, so I would treat the baby size as a stroller, lap, or supervised play blanket. For a broader look at baby blanket dimensions, see the crochet baby blanket size guide.
To plan your own width: divide the width you want by your swatch’s repeat measurement and round to the nearest whole number. That is your number of repeats. Then multiply by 13 for stitches per row and add 2 for the foundation chain. Example: for a 40 in blanket with a 4 in repeat, you need 10 repeats, so 130 stitches and a chain of 132. To plan length, multiply the length you want by your swatch’s rows per inch; at the target gauge that is 1.5 rows per inch, so 60 in needs 90 rows. Because every row is identical, any row count works, and you can stop after any complete row.
Ripple blanket pattern instructions
Sizes are written as Baby [Throw, Large Throw]. One number means it applies to all sizes.
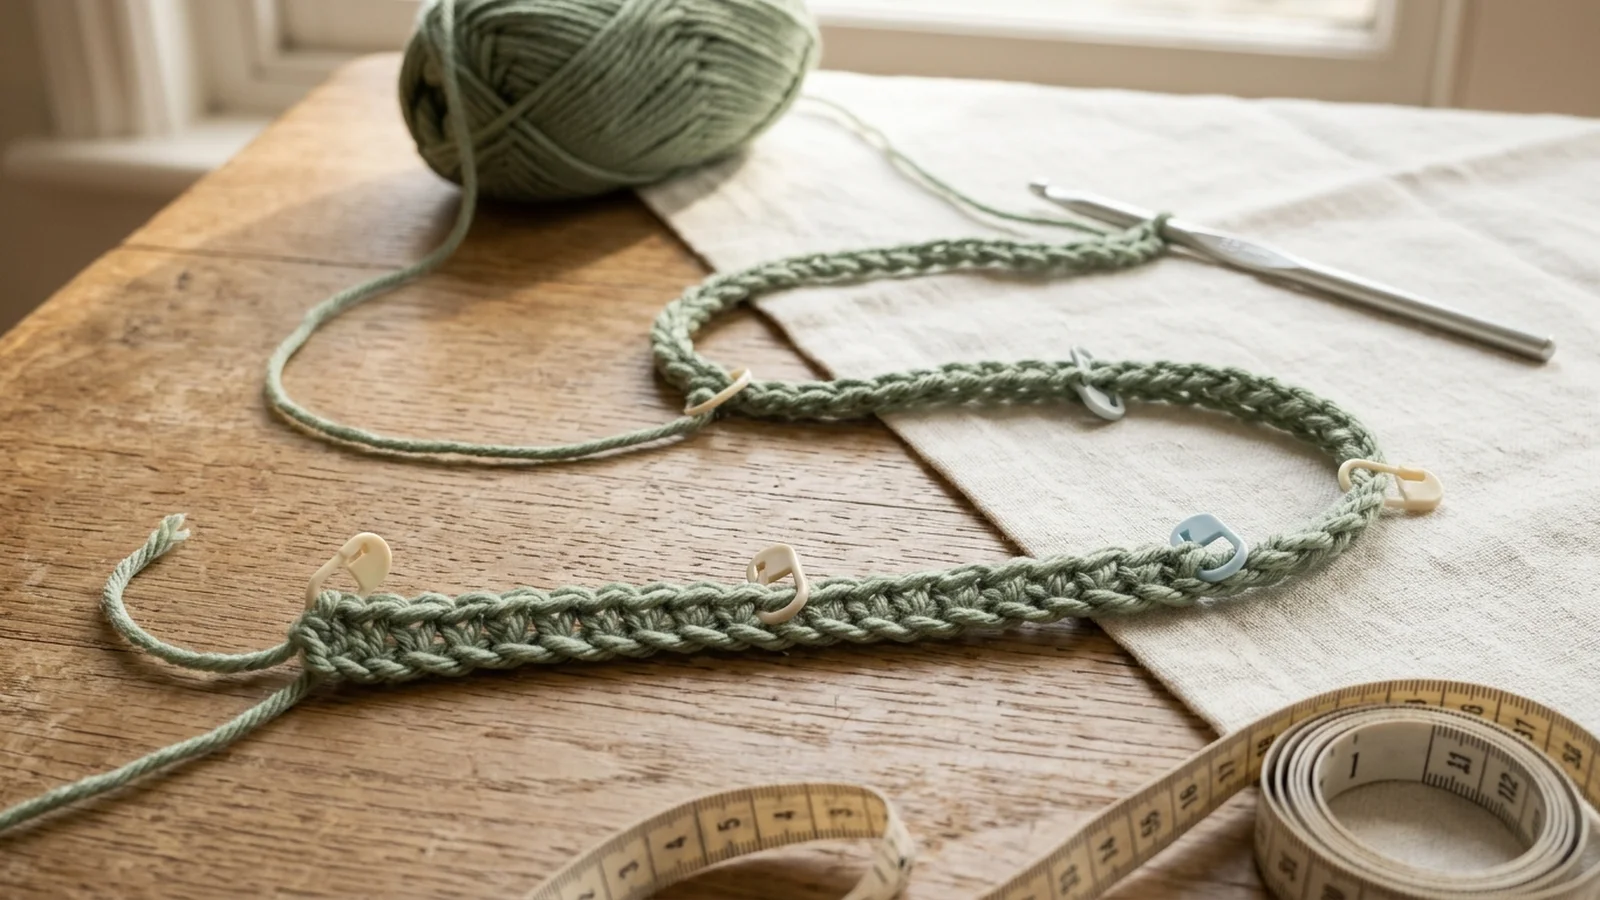
Foundation chain: Ch 106 [158, 197]. The first 2 chains act as the turning chain and are not counted as stitches. (106 [158, 197] ch)
Row 1: Skip the first 2 ch. Dc2tog over the next 2 ch. [Dc in next 4 ch, 3 dc in next ch, dc in next 4 ch, dc2tog twice] 7 [11, 14] times. Dc in next 4 ch, 3 dc in next ch, dc in next 4 ch, dc2tog over the last 2 ch. Turn. (104 [156, 195] sts)
Row 2: Ch 2 (does not count as a stitch). Dc2tog over the first 2 sts. [Dc in next 4 sts, 3 dc in next st, dc in next 4 sts, dc2tog twice] 7 [11, 14] times. Dc in next 4 sts, 3 dc in next st, dc in next 4 sts, dc2tog over the last 2 sts. Turn. (104 [156, 195] sts)
Rows 3–54 [3–90, 3–105]: Repeat Row 2. (104 [156, 195] sts)
Fasten off and weave in all ends.
Placement in Row 2 and beyond: The first dc2tog goes into the edge stitch and the stitch after it. The 3 dc go into the middle stitch of the previous row’s peak. At each valley, the two dc2tog cover four stitches: the last plain dc before the valley, the two stitches at the bottom of the valley, and the first plain dc after it. Place a marker in each peak stitch for the first few rows, and move it up as you go. After each row, check that the number of peaks matches your repeat count (8 [12, 15]).
Finishing, blocking, and care
Weave in ends along the slopes so the tails do not tug on a peak. Blocking is optional, but it can even out the shape if some peaks came out taller than others. Do not pin the fabric flat and stretch it, because that flattens the ripple. Lay the blanket out, pin only the peaks and valleys where they naturally sit, and let it dry.
Check the yarn label before wetting or steaming, since heat can permanently damage many acrylics. Follow the label for washing too, and dry the blanket flat to help it keep its shape.
Customizing: color and size
Color sequencing
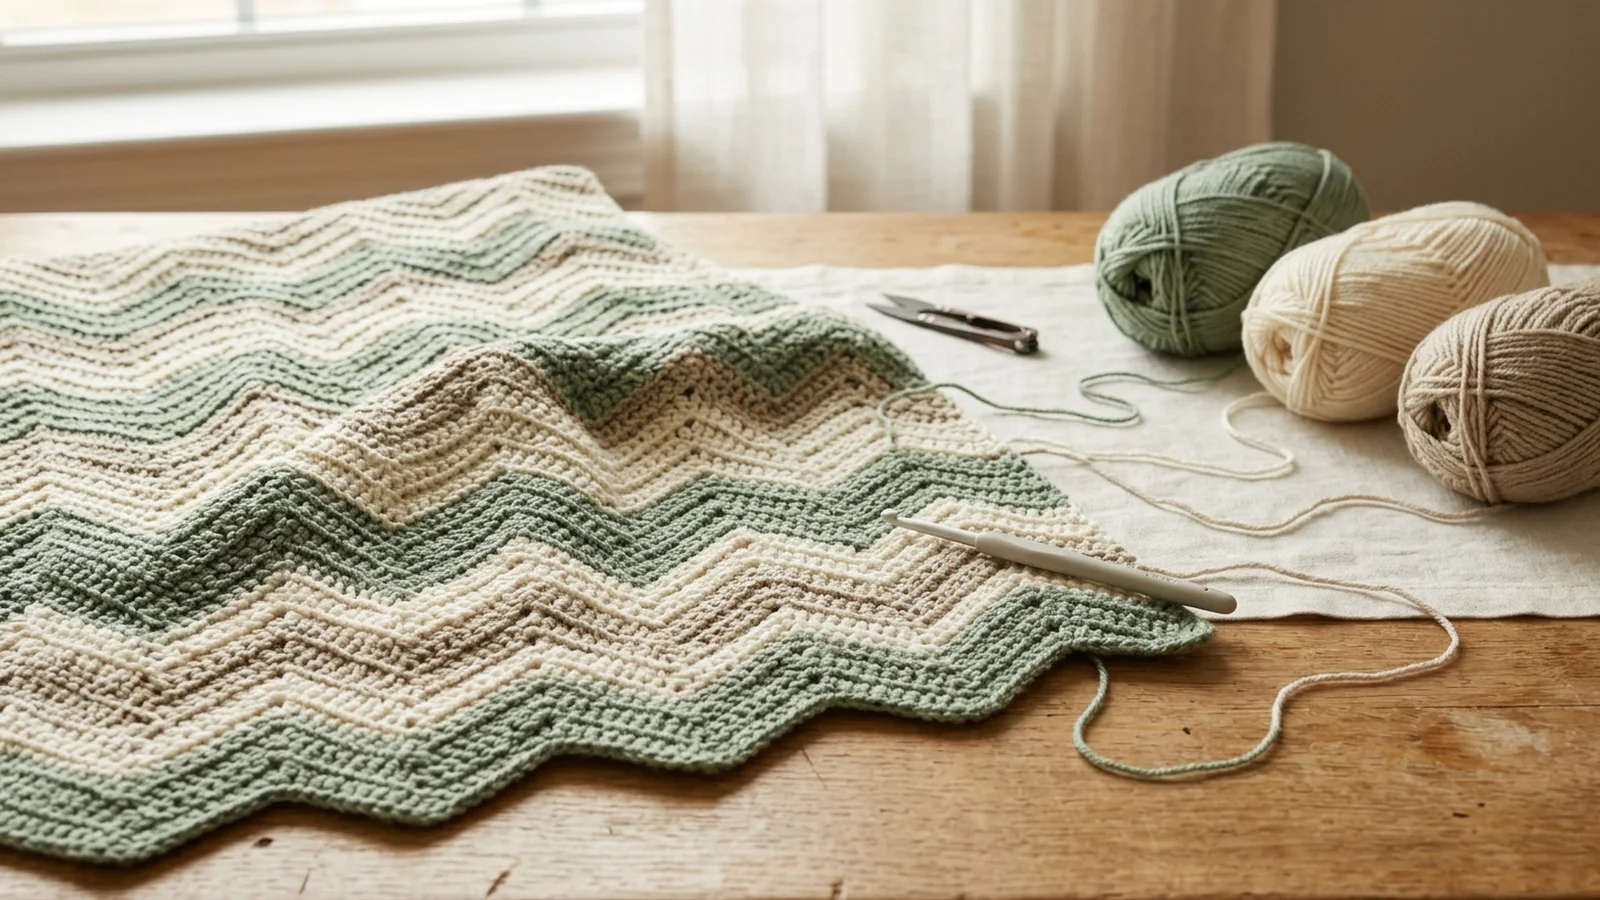
Change color only at the end of a complete row, never mid-repeat, so no peak or valley is split between colors. On the last dc2tog of the final row in a color, work the last yarn over with the new color, then turn. Stripes of an even number of rows, such as 2 or 4, keep every color at the same edge, so you can carry the unused yarn loosely up the side. With three or more colors I would cut and weave in instead, because carried strands get bulky.
Changing the size
Add or remove whole repeats only. Each repeat is 13 stitches and about 4 in of width, and the foundation chain is always 13 times the repeats plus 2. Do not add a partial repeat or a few plain dc at one edge: the shaping needs all 13 stitches to balance, and extra plain stitches at one edge push the peaks off center. For a width between two sizes, adjust your hook size slightly and re-swatch rather than changing the counts.
Troubleshooting ripple problems
The stitch count is off
Count the row against 13 times your repeats. If the total is wrong, count one repeat at a time from the edge: each peak is 3 dc, each slope is 4 dc, and each valley is 2 dc2tog. The repeat that does not match is where the mistake lives. Usual causes are a slope with 3 or 5 dc, a peak with 2 or 4 dc, a dc worked into the turning chain, and a dc2tog worked over three stitches. Rip back to where it first appears rather than compensating elsewhere, which pushes the peaks off their stack.
The blanket flares or narrows
This is the drift problem. A valley with only one dc2tog makes the blanket gain width; an extra decrease makes it narrow. Each error is small, so you see it as a slow flare or taper along the sides. Measure the width of the first row against the current one; if they differ, count stitches back to the first row where the total changed.
The blanket is flat instead of wavy
If the peaks are barely visible, the counts are usually fine and the fabric is the cause. A hook that is too large, a very drapey yarn, or loose tension lets the fabric relax instead of holding points. Try a hook one size smaller and swatch again. Also check that each peak really has 3 dc in one stitch and that each valley uses two dc2tog side by side; spreading them across more stitches softens the shape.
Extra peaks or leaning points
Peaks that wander or split usually point to a placement error rather than a count error. If the peak drifts one stitch sideways each row, the 3 dc are landing beside the middle stitch of the previous peak, and the ripple leans. If an extra small peak appears, a plain stitch got 3 dc. Check that each valley straddles the previous one.
Uneven tension
Decreases pull tight and peaks tend to loosen, so tension varies within a row. After each dc2tog, ease the final yarn over slightly. If the sides pull in, the edge dc2tog is too tight; pull up those loops a little taller.
A related construction: the plain blanket
This ripple is a rectangle with the shaping built in. If you have not yet worked a plain flat blanket, how to crochet a simple blanket is the better first project, because there is no shaping to keep track of and you can focus on tension and edges.
Ripple blanket FAQ
Why does my ripple blanket not wave?
Usually the yarn, hook, or tension is letting the fabric relax, or the shaping has been spread out instead of concentrated. See the troubleshooting section above; a smaller hook and a yarn with more spring are the first things to try.
How do I resize a ripple blanket?
Change the number of repeats. Multiply the repeats by 13 and add 2 for the foundation chain: 10 repeats gives a chain of 132 and about 40 in of width at target gauge. Adjust length by working more or fewer rows.
What is the difference between ripple and wave blankets?
There is no single official definition. In general, ripple and zig-zag describe sharp points formed by concentrated increases and decreases, as in this pattern, while wave often describes a softer curve. Some designers use the terms interchangeably, so check the actual stitch instructions before assuming two patterns match.

Last updated . Found something out of date? Let us know.