 Accessories
 Baby & Kids
 Blankets & Afghans
 Clothing
Crochet Blanket Pattern Built From 63 Flat-Joined Squares
A free crochet blanket pattern made from 63 single crochet squares in two colorways, joined with a flat slip stitch seam into a blanket about 42½ x 54½ inches (108 x 138. 5 cm).
 Nicole Sinclair
Published · 17 min read
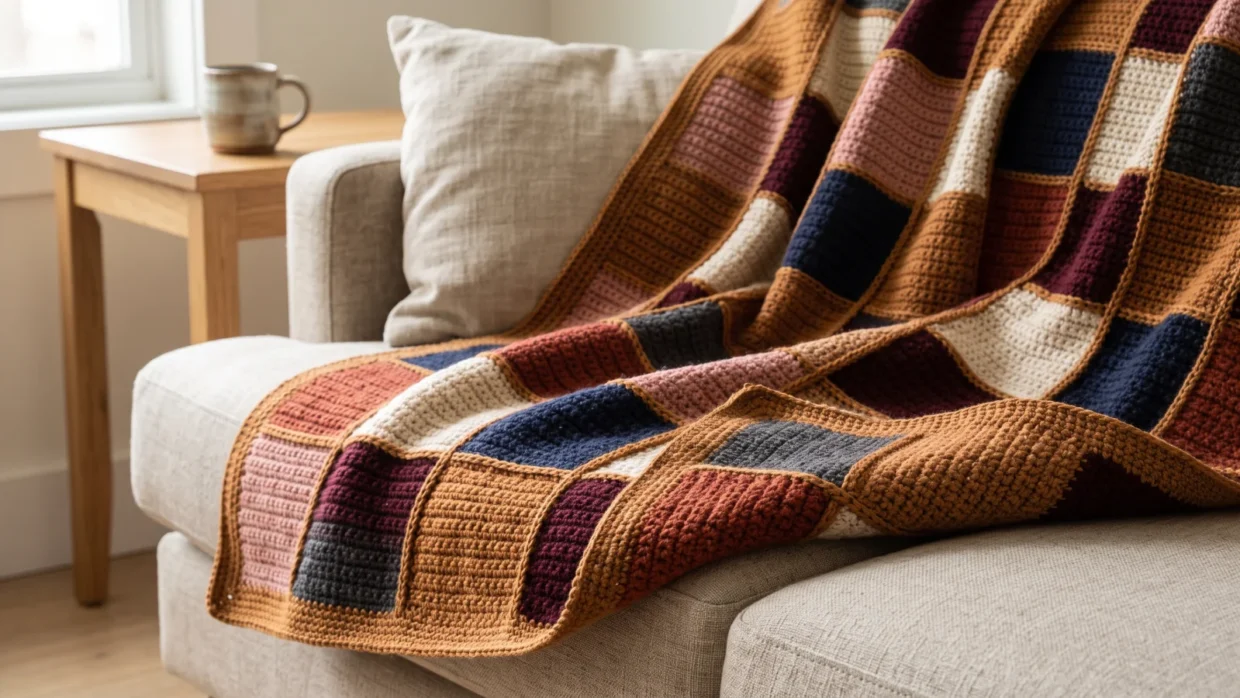
The finished blanket in two color-shifting colorways, with the alternating square direction and flat slip stitch seams
Pattern at a Glance
- Skill level
- Easy
- Hook size
- 5.5 mm (US I/9)
- Finished size
- 42½ x 54½ in (108 x 138.5 cm)
- Yarn needed
- MC 4 balls (1,302 yd), A 4 balls (1,406 yd)
- Construction
- 63 squares, flat slip stitch join
- Stitches
- Single crochet, slip stitch
- Gauge
- 12 sc x 15 rows = 4 in
- Pattern type
- Free written pattern
- Project type
- Blanket
This crochet blanket pattern is made from 63 single crochet squares, each 6 inches across, worked in two colorways and joined with a flat slip stitch seam that shows on the right side as a neat chain. It finishes at about 42½ x 54½ inches (108 x 138.5 cm), a good size for a lap or the back of a sofa.
The stitches are simple. The care goes into keeping all 63 squares the same size and turning each one the right way before joining, so every step ends with a count or measurement to check.
Materials & Supplies
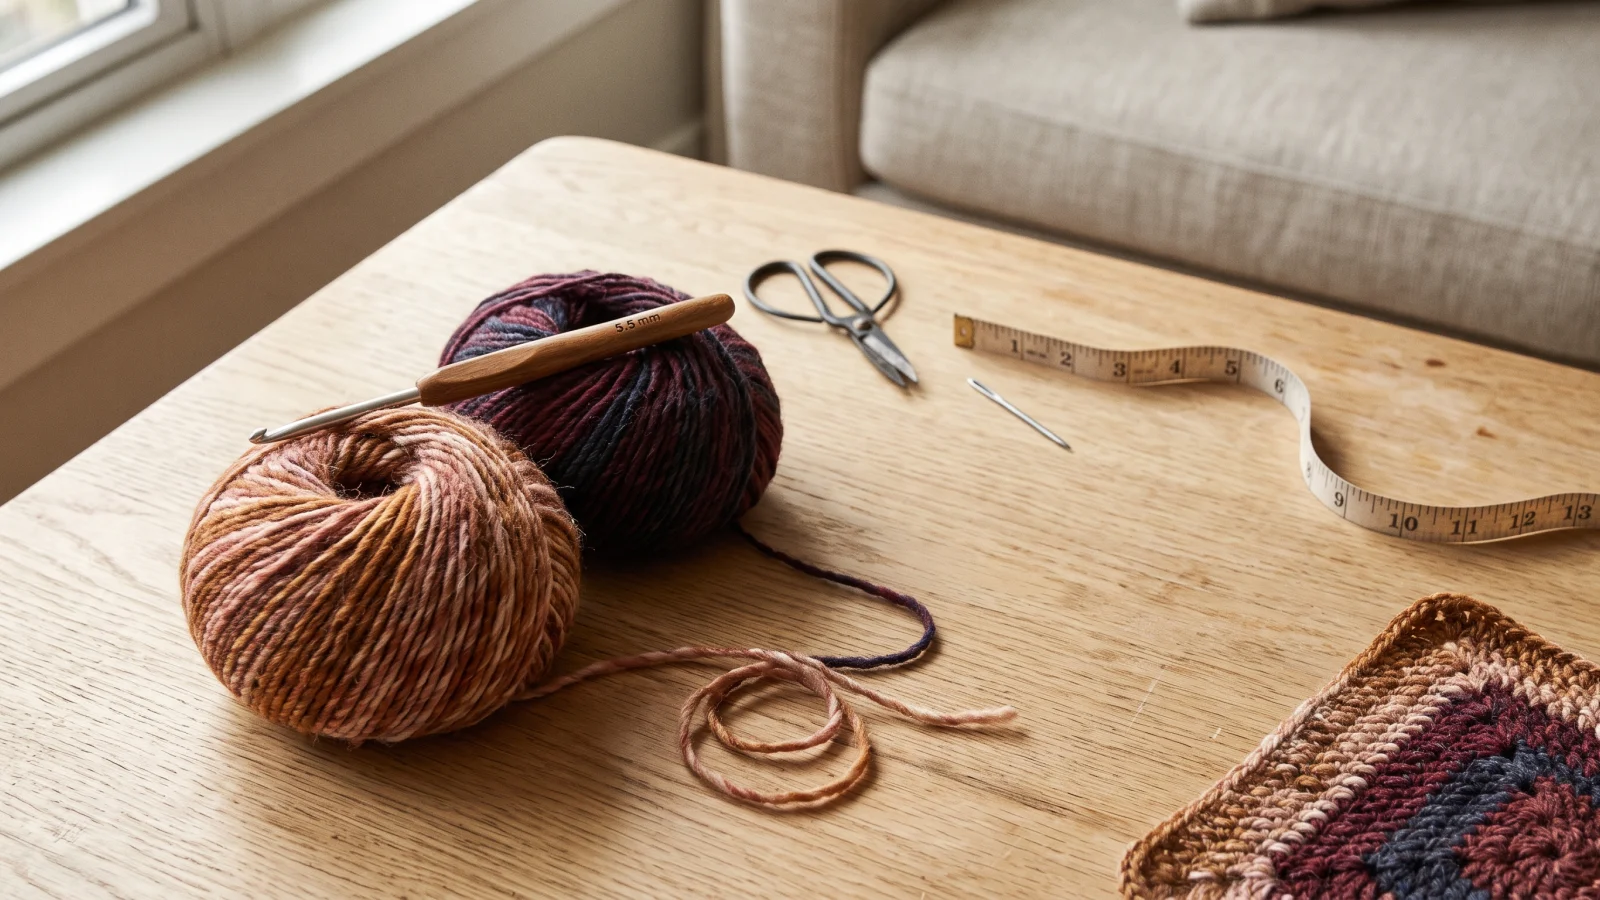
Two colorways do all the work. Main Color (MC) is used for 32 squares and the border, and Contrast A is used for 31 squares and for every seam. Each ball is 7 oz (200 g) and 372 yd (340 m), so four balls of a color hold 1,488 yd.
| Item | Details | Required? |
|---|---|---|
| Main Color (MC) | Woodwind (0003): 4 balls; 1,302 yd (1,190.5 m) needed | Required |
| Contrast A | Jewel Tone (0007): 4 balls; 1,406 yd (1,285.5 m) needed | Required |
| Crochet hook | 5.5 mm (US I/9), or the size that gives you gauge | Required |
| Yarn needle | For weaving in ends | Required |
| Scissors | For trimming tails | Required |
| Tape measure or ruler | For checking gauge and square size | Required |
| Stitch markers or safety pins | To hold squares in place while you join them | Optional |
Four balls leave about 186 yd of MC and 82 yd of A beyond what the blanket uses. A has the thinner margin because it also covers every seam, so join with steady tension and do not waste it on long tails. If you are working out yardage for another size or a different yarn, how much yarn a blanket needs walks through the calculation.
To substitute, choose a yarn that gives the stated gauge on a 5.5 mm hook (that gauge is typical of a medium-weight, worsted-type yarn, so confirm it against your yarn’s label) and buy at least the listed yardage of each color, going by yards per ball rather than ball count. A different fiber will change how the squares drape and how firmly the seams sit. Both colorways named here shift through several tones, which is why each square reads as streaks. A solid color will show the alternating square direction only as a change in the direction of the stitch rows.
Gauge & Sizing
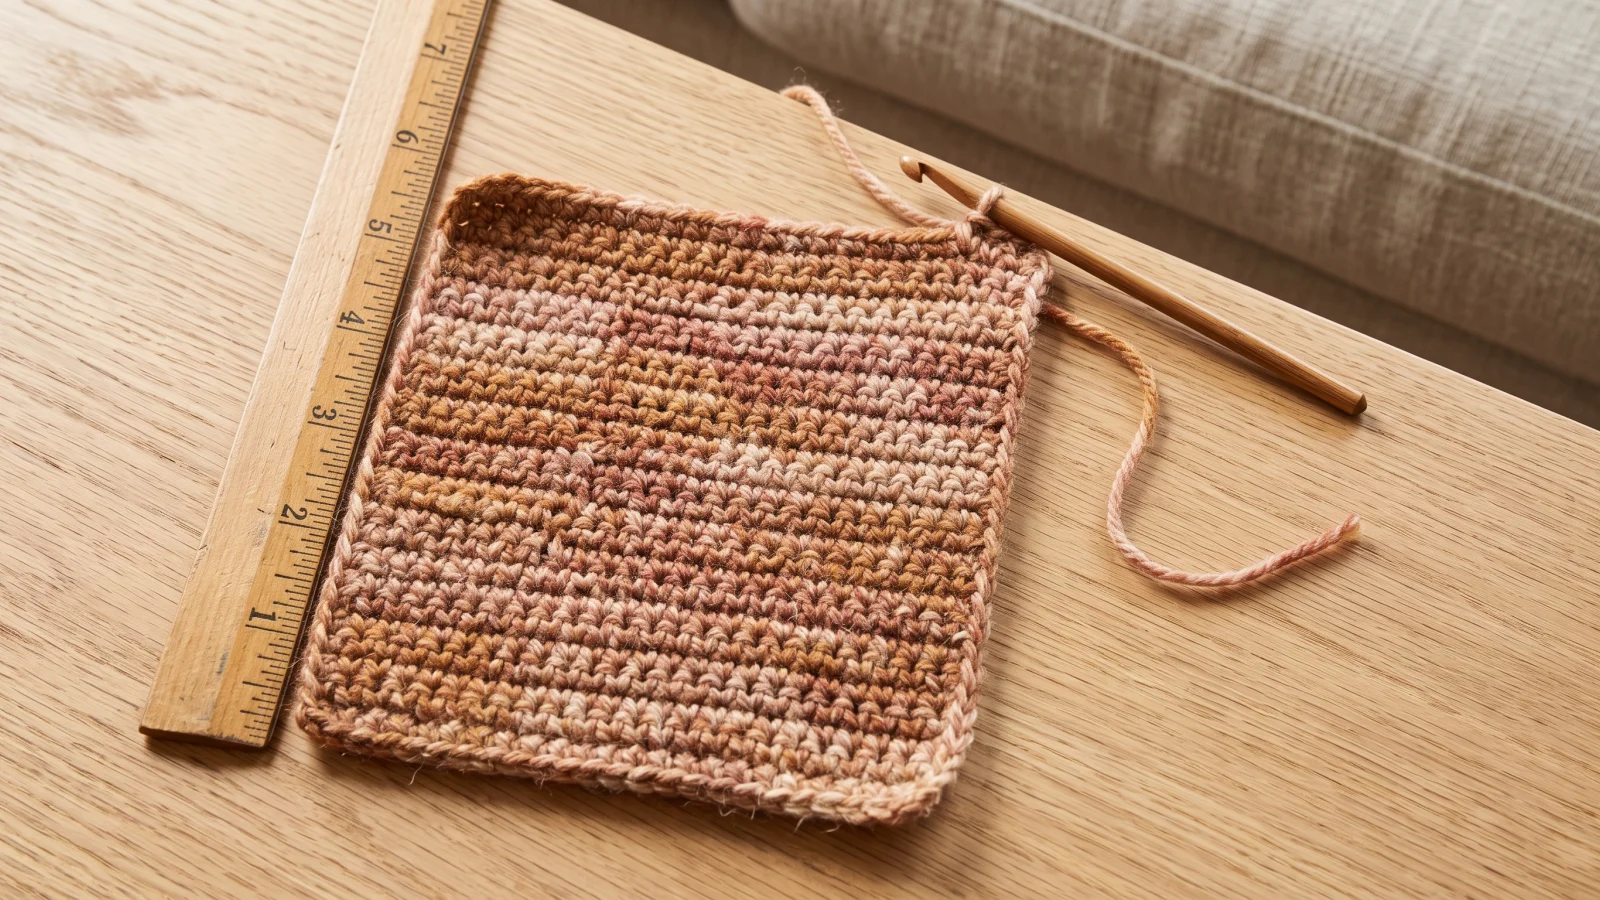
Gauge is 12 sc and 15 rows = 4 in (10 cm) in single crochet, and each finished square measures 6 in (15 cm).
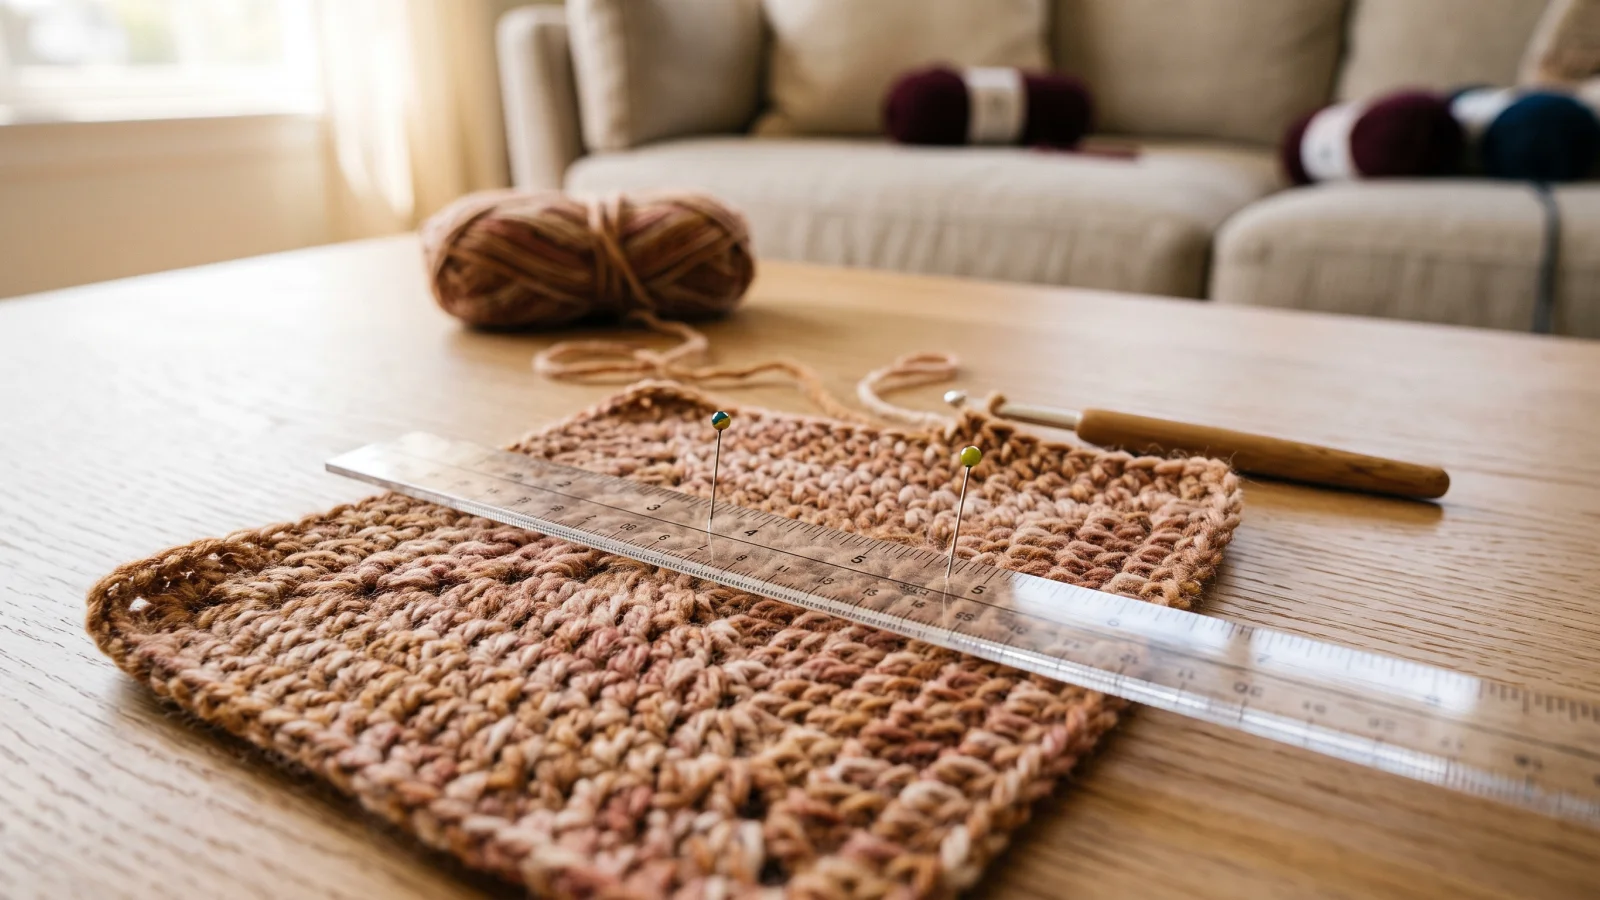
You do not need a separate swatch. Work the body of your first square (Steps 1 and 2 below) and lay it flat before the edging round. Mark off 4 in on it: you should count 12 sc across and 15 rows up. The full 16-stitch width should measure about 5⅓ in (16 ÷ 12 × 4), and the body should reach approx 5½ in tall.
Gauge is not critical to the stitch, because a blanket is forgiving, but it controls two things: the finished size and whether your squares match. One stitch more or less per 4 in changes every square by about ½ in. At 11 sc per 4 in, for example, the 16 stitches measure about 5.8 in instead of 5⅓ in, which adds roughly 3½ in across seven squares. If you get more than 12 sc per 4 in, your fabric is tight, so try a larger hook. If you get fewer, try a smaller one.
The finished blanket measures approx 42½ x 54½ in (108 x 138.5 cm): 7 squares across (7 × 6 in = 42 in) by 9 squares down (9 × 6 in = 54 in), with the border adding about ½ in to each measurement. To change the size, see the table under Variations, Sizes & Care.
Before You Begin
Abbreviations (US terms)
- MC = Main Color
- A = Contrast A
- Approx = approximately
- Ch = chain(s)
- Rep = repeat
- Rnd = round
- RS = right side
- WS = wrong side
- Sc = single crochet
- Sl st = slip stitch
- Sp(s) = space(s)
- St(s) = stitch(es)
US single crochet is called double crochet in UK terms. Everything in this pattern uses US terminology.
Special stitches
- Corner group (1 sc, ch 1, 1 sc): work 1 sc, ch 1, then 1 more sc, all in the same corner. The chain forms a small corner space that lets the edging turn the corner and lie flat.
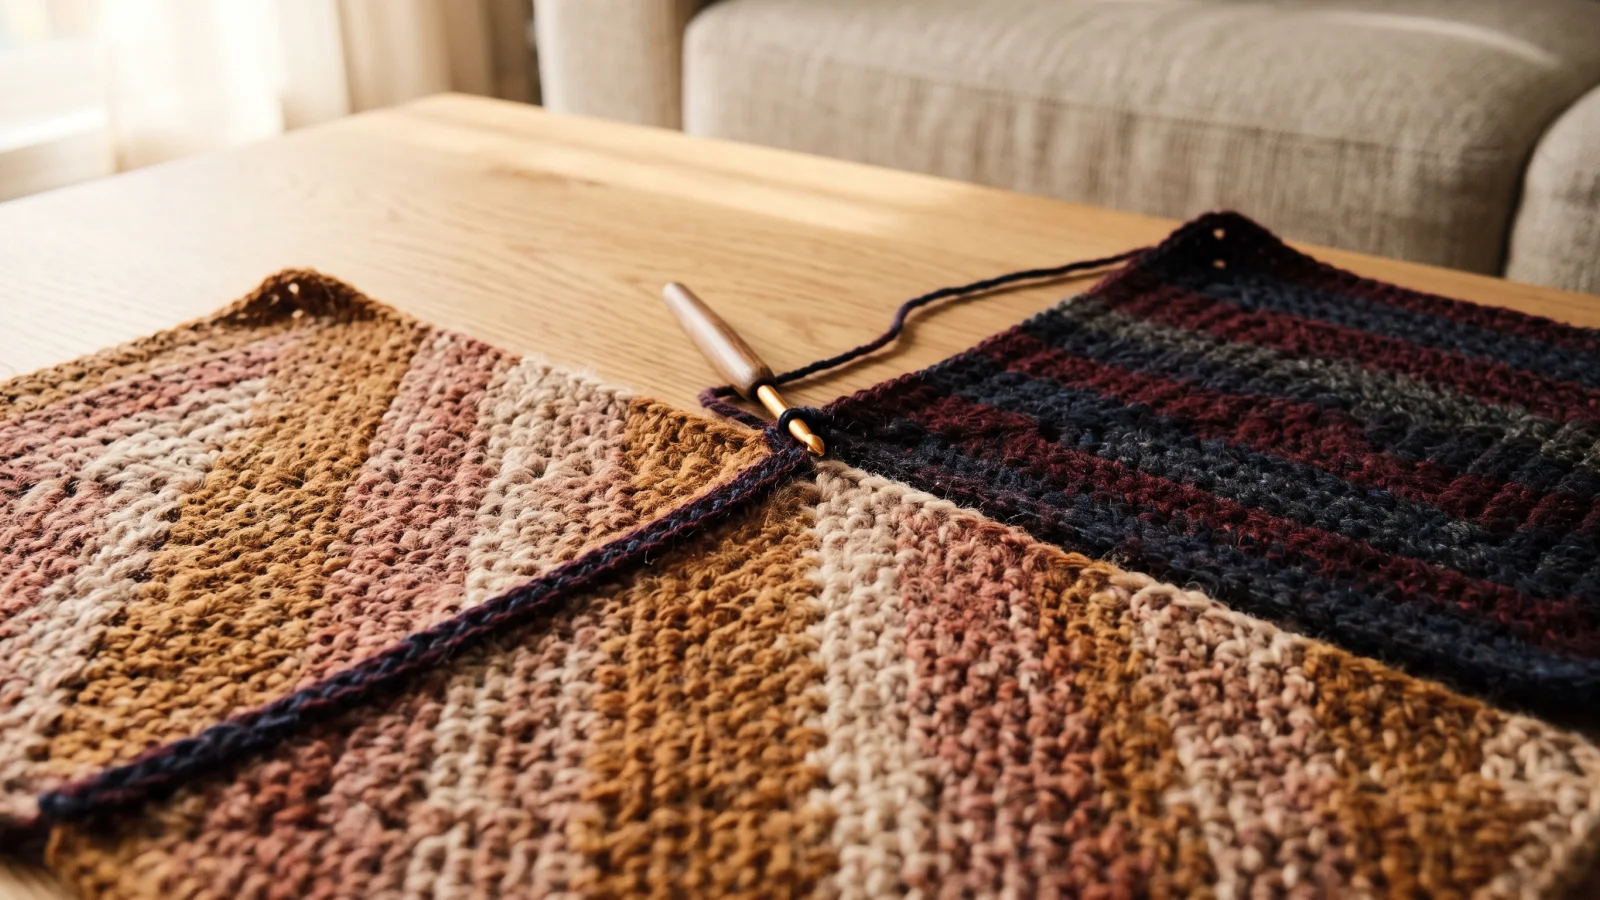
- Flat sl st join: lay two squares side by side with the RS facing you and the edges touching. Put the hook through an edge stitch on each square, keep the working yarn at the back of the work, and pull a loop through both stitches and the loop on the hook. Repeat along the seam. Only a flat chain of slip stitches shows on the RS.
Construction notes
- Each square is worked flat from a foundation chain, turning at the end of every row, then finished with one edging round.
- The ch 1 at the start of a row does not count as a stitch. Every row has 16 sc, and every count in this pattern is a stitch count.
- You will make 63 squares: 32 in MC and 31 in A. The squares are identical apart from color.
- The squares are joined in 9 strips of 7, and the strips are then joined to each other. A single round of MC single crochet finishes the blanket.
Skill level: Easy. The pattern uses only chain, single crochet and slip stitch, with no shaping inside the squares. Beginners should slow down in three places: keeping all 63 squares the same size, turning each square the right way before joining, and the flat slip stitch seam, which is the one technique many people have not used before. I would join your first two squares early, one MC and one A, to practice the seam before you commit to the other 61. If you would rather start with something simpler, a simpler beginner blanket walkthrough is a gentler first project.
Free Crochet Pattern Instructions
Part 1 – Making the squares
Every square is made the same way: a foundation chain, rows of single crochet and one edging round. Make 32 squares with MC and 31 with A. Steps 1 to 3 cover one square, so repeat them for all 63.
Step 1 – Foundation chain and Row 1
Pattern instruction: With MC, ch 17. Row 1 (RS): Sc in 2nd ch from hook, sc in each remaining ch across. Turn. (16 sc)
Beginner explanation: Make a slip knot and chain 17, keeping the chains about as loose as your stitches will be. Skip the chain next to the hook and put the hook into the second chain from it, then work 1 sc in each chain after that. The skipped chain takes the place of a turning chain, so it is not a stitch. Turn your work when you reach the end.
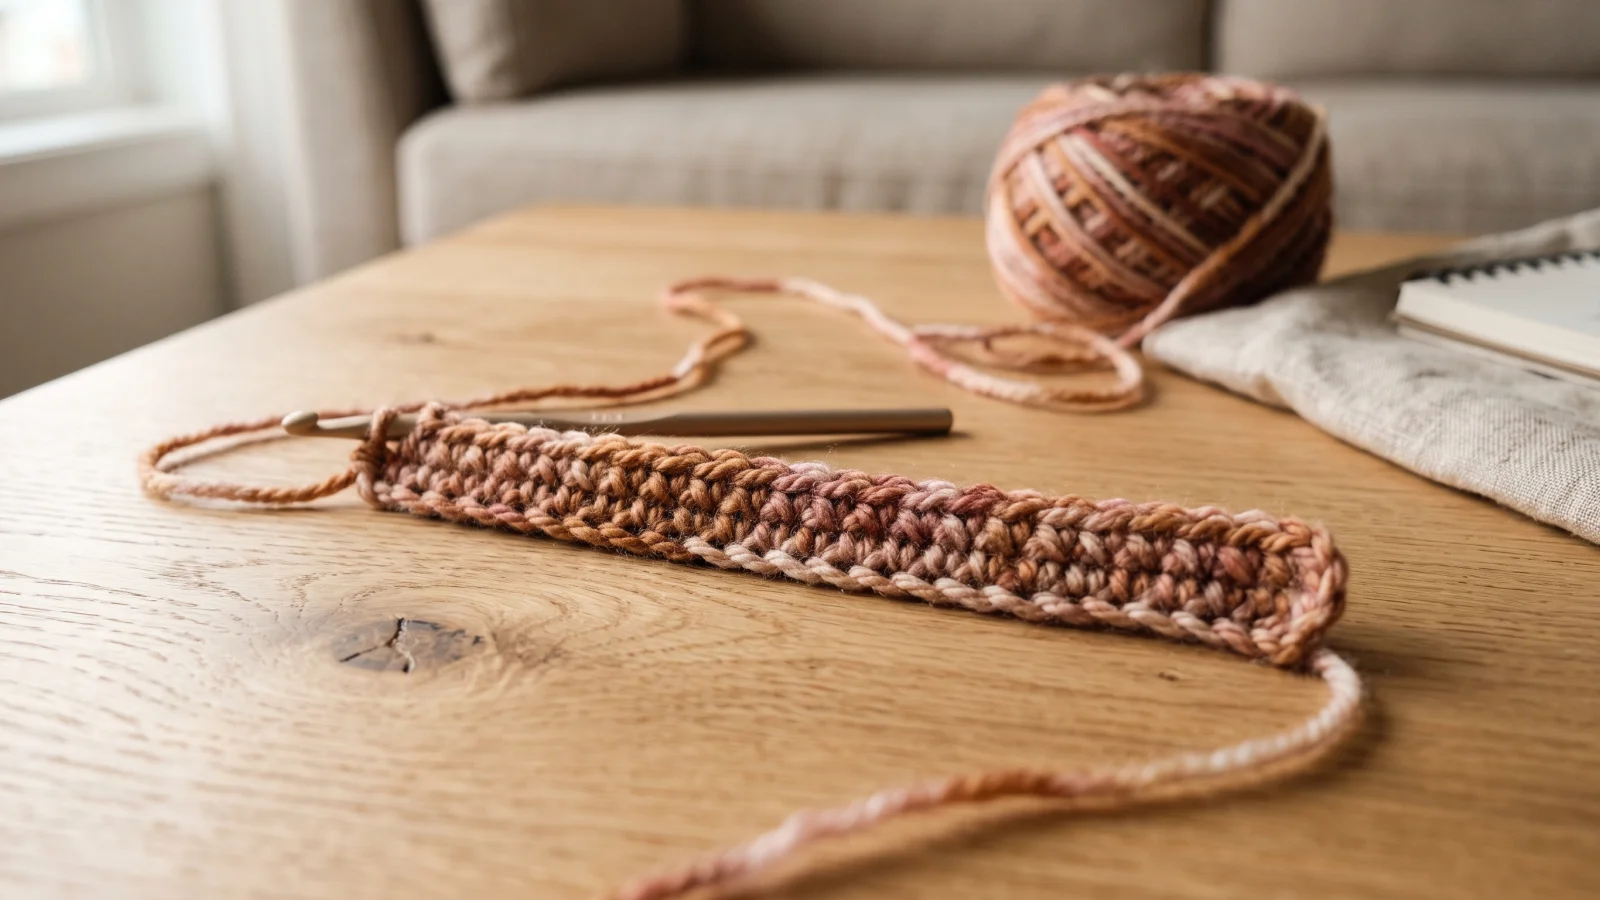
Checkpoint: Count 16 sc across the row. If you have 15 or 17, pull the row out and redo it now, because every later row follows this count.
Step 2 – Body of the square
Pattern instruction:
- Row 2 (WS): Ch 1, sc in each sc across, turn. (16 sc)
- Rep Row 2 until the piece measures approx 5½ in (14 cm) from the beginning, ending on a WS row (an even-numbered row). Do not fasten off. (16 sc in every row)
Beginner explanation: Each row starts with a single chain that lifts the hook to the height of a stitch. Work 1 sc into the top of every stitch in the row below, including the very first and the very last. The two edge stitches are where width is most often lost or gained, so find the last stitch before you reach it. Lay the piece flat to measure without stretching it. Because you finish on a WS row, the row count is even, and at the stated row gauge it comes to around 20 to 22 rows. After that last WS row, turn as usual and the RS will be facing you for the edging.
Checkpoint: The piece is 16 sc wide in every row, about 5⅓ in wide and about 5½ in tall, and your last row was a WS row. Write down your row count and use that same number for all 63 squares so they come out the same size. If the piece is clearly wider or narrower than 5⅓ in, recheck your gauge before making more.
Step 3 – Edging round
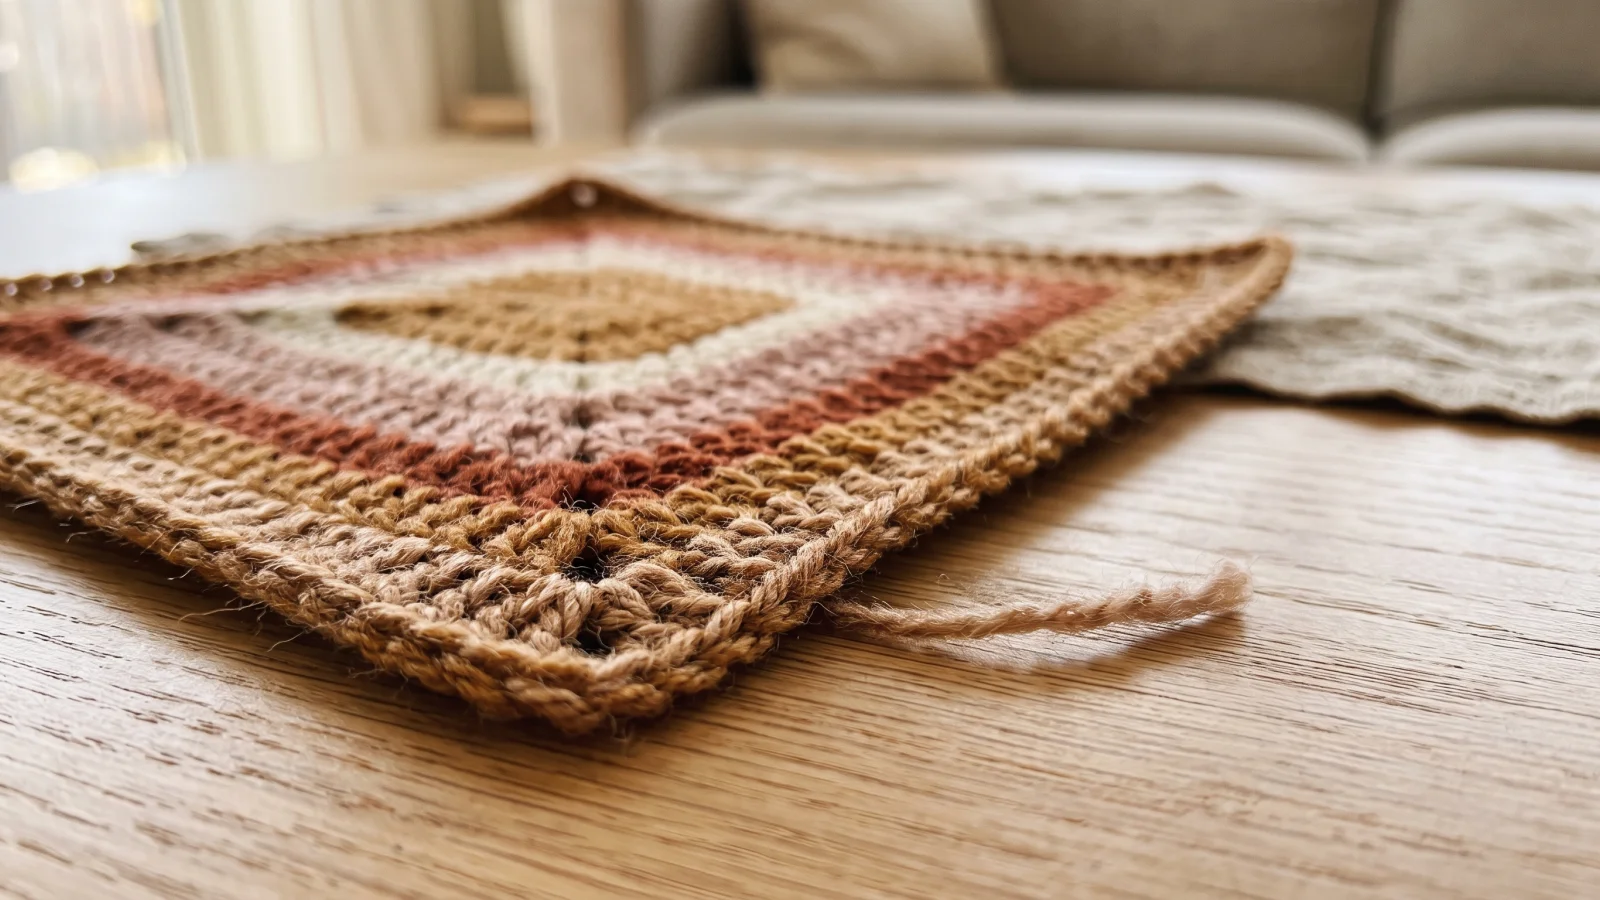
Pattern instruction: Rnd 1 (RS): Ch 1. Work 16 sc evenly along each side of the square, working (1 sc, ch 1, 1 sc) in each corner. Join with sl st in first sc. Fasten off. (16 sc along each side, 4 ch-1 corner sps, 72 sc in all)
Beginner explanation: The ch 1 at the start does not count as a stitch. The round goes all the way around the square, into the stitches on the top and bottom edges and into the row ends on the two side edges. At each corner the corner group puts two stitches and a chain space in one spot, which lets the square turn the corner without cupping. Space the sc evenly so every side gets the same number. The side edges have more row ends than you need, so you will pass over an occasional row end instead of working into each one. It helps to place half of a side, check that you are about halfway along, then place the rest. Join to the first sc with a slip stitch, then fasten off and trim, leaving a tail to weave in.
Checkpoint: Each side has 16 sc between the corners, and each corner has 1 sc, a ch-1 space and 1 sc, which makes 72 sc and 4 corner spaces. The square should measure about 6 in (15 cm) each way and lie flat. If one side has a different count, pull the round back to the nearest corner and respace it. When all 63 squares are done, move on to Part 2.
Part 2 – Laying out and joining the squares
All joining is done with A. The squares alternate between MC and A, and the direction of work alternates too, so the rows turn a quarter turn from one square to the next. Lay everything out before you join anything.
Step 4 – Lay out the squares
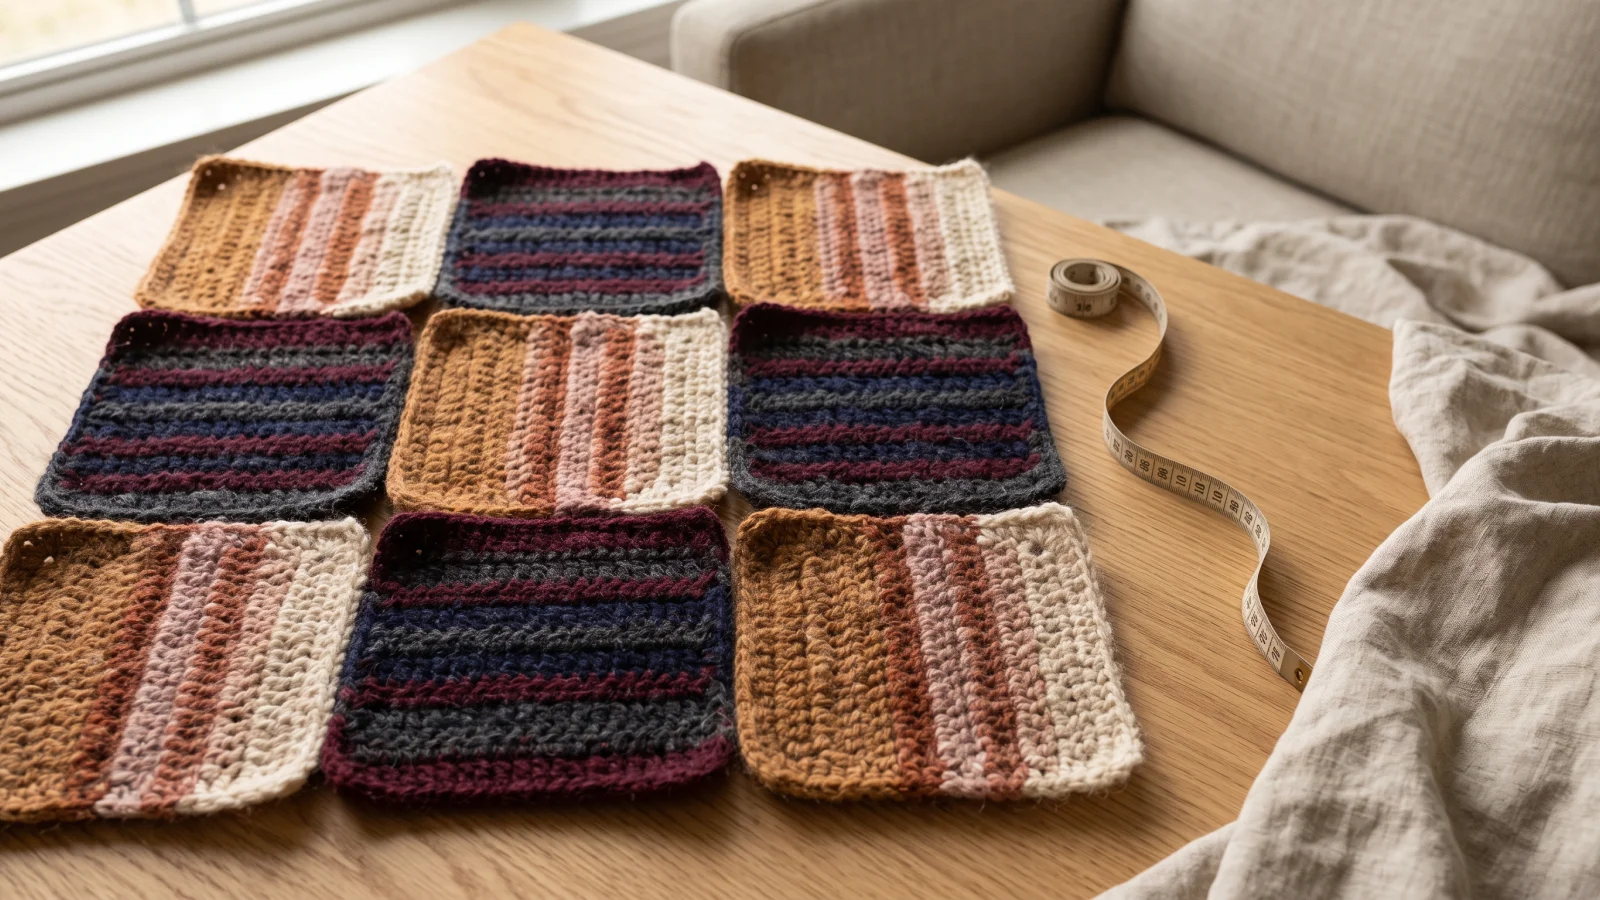
Pattern instruction: Lay out the 63 squares in 9 rows of 7, alternating MC and A as shown below. Odd-numbered rows begin and end with an MC square, and even-numbered rows begin and end with an A square. Turn each MC square so its direction of work points left, and each A square so its direction of work points up. (63 squares: 32 MC, 31 A)
| Rows | Squares across (7 per row) |
|---|---|
| 1, 3, 5, 7, 9 | MC, A, MC, A, MC, A, MC |
| 2, 4, 6, 8 | A, MC, A, MC, A, MC, A |
Beginner explanation: Direction of work is the way a square was made, from the foundation chain edge toward the last row. Hold an A square with its foundation chain along the bottom and its last row along the top, and that is pointing up. Hold an MC square with its foundation chain on the right and its last row on the left, and that is pointing left. The foundation chain edge is the one with the row of chain loops. That quarter turn is what makes the stitch rows run side to side in the A squares and up and down in the MC squares. A floor or a bed gives you room to see all nine rows at once.
Checkpoint: There are 63 squares in total. Odd-numbered rows hold 4 MC and 3 A, and even-numbered rows hold 3 MC and 4 A, giving 32 MC and 31 A. Check the direction of every square before you join, because it is much easier to turn a loose square now than to undo a seam later.
Step 5 – Join the squares into strips
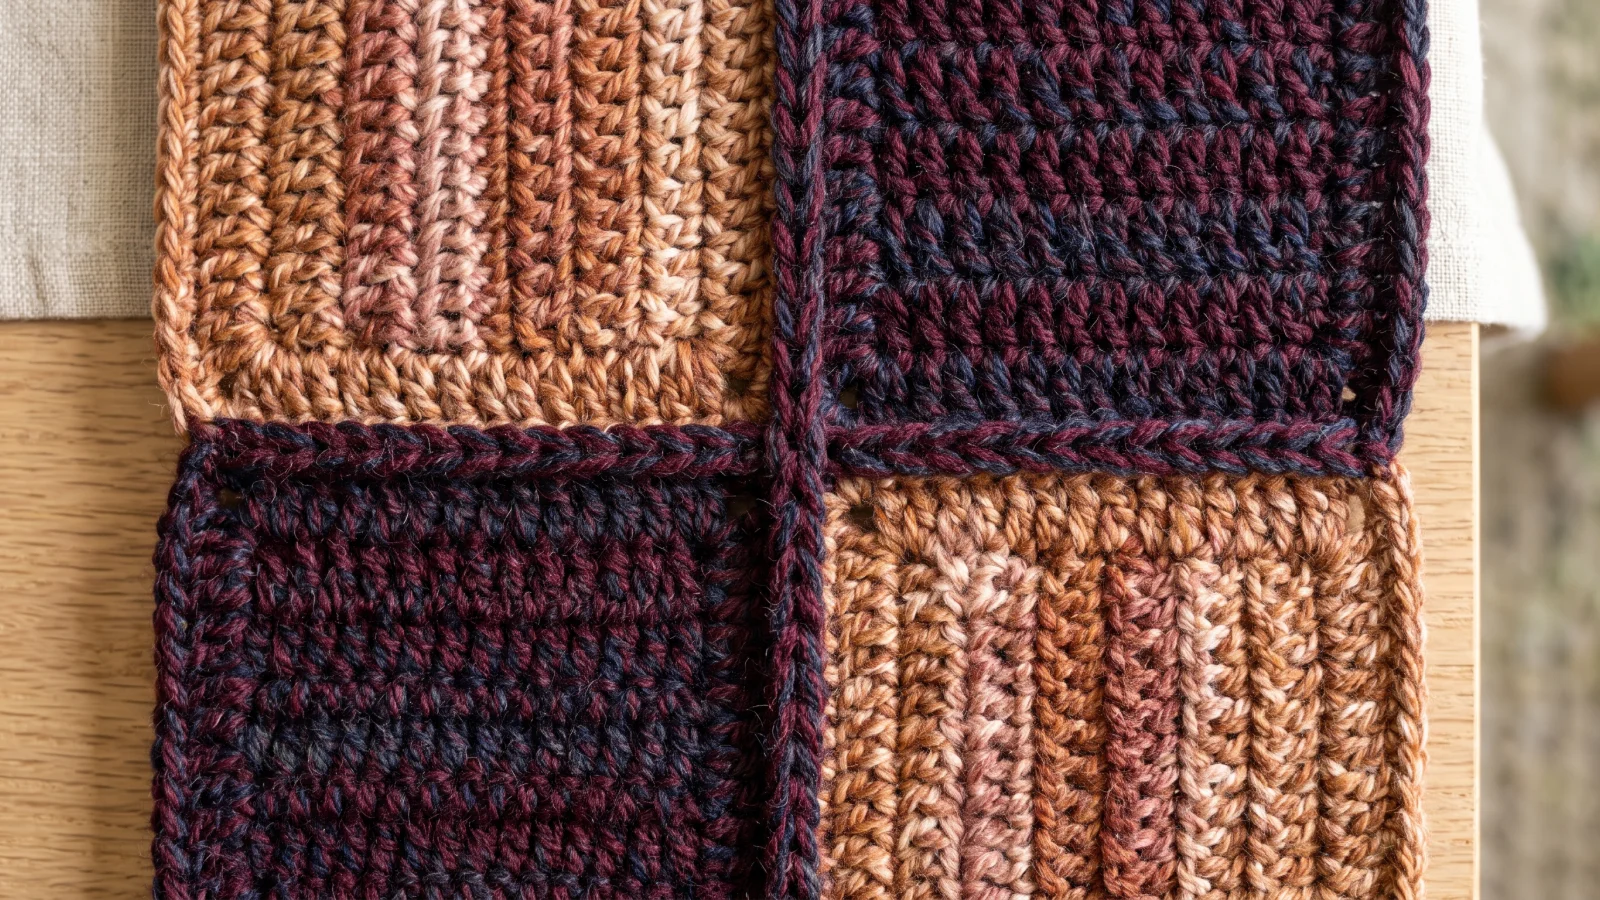
Pattern instruction: With A, and with the RS facing you, join the 7 squares of each row with the flat sl st join, keeping the direction of work and color alternating as laid out. Make 9 strips of 7 squares. (6 seams per strip, 54 seams in all)
Beginner explanation: Put two squares side by side with the RS up, the edges touching and the corners lined up. Start with a slip knot of A on your hook. Put the hook through an edge stitch on the first square and the matching stitch on the second, keep the working yarn behind the work, and pull a loop through both stitches and the loop on the hook. Repeat along the seam, taking one stitch from each square at a time. Keep the slip stitches as loose as your single crochet, because a tight seam pulls the squares together and puckers the strip. Fasten off at the end of each seam and add the next square to the same edge.
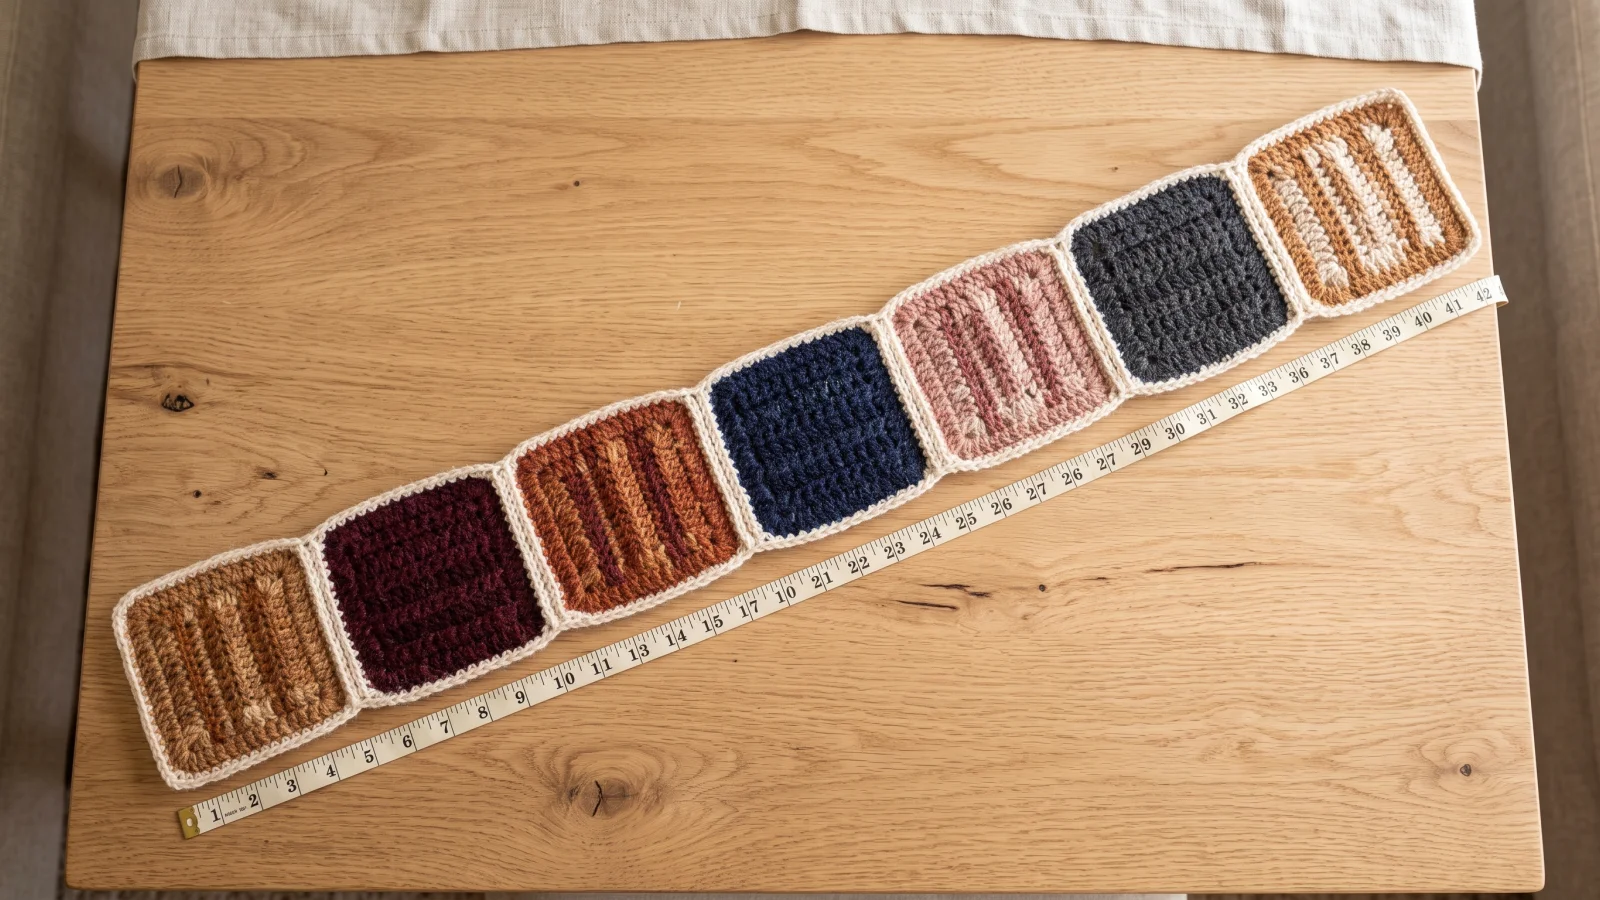
Checkpoint: Each strip holds 7 squares and measures about 42 in long (7 × 6 in). Only a flat chain of A shows at each seam on the RS. If a strip is noticeably longer or shorter than 42 in, one or more squares are a different size, so measure them before going further.
Step 6 – Join the strips
Pattern instruction: Join the 9 strips to each other as laid out, using the flat sl st join with A. Match the corners of the squares so the seams run straight across the blanket. (9 strips, 8 seams)
Beginner explanation: Lay two strips side by side with the RS up and the long edges touching, then work the same flat sl st join along the edge, one stitch from each strip at a time. Each seam crosses the seams that already join the squares. Keep the corners of the four squares meeting at that point lined up, so they form a clean cross with no square sitting higher than its neighbor. Work the strips in order, one after another, until all nine are joined.
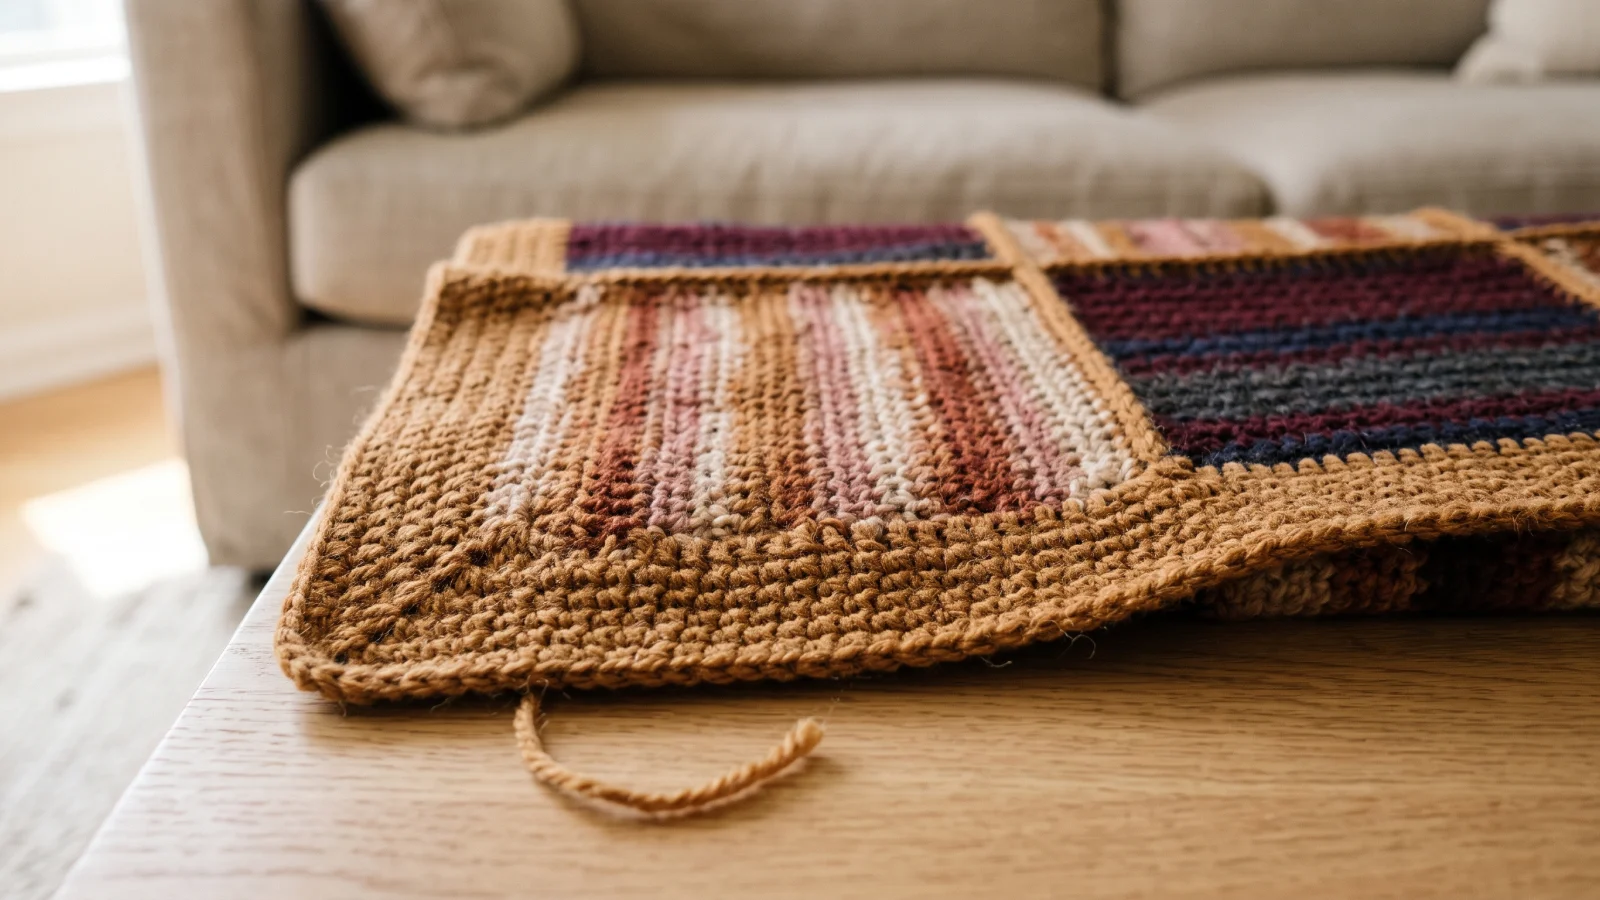
Checkpoint: The blanket is 7 squares across and 9 squares down, about 42 in x 54 in before the border, with a grid of flat chains on the RS. Four squares meet at each crossing, and the crossings sit in straight lines.
Part 3 – Border
Step 7 – Border round
Pattern instruction: Rnd 1 (RS): Join MC with sl st in the top right corner sp of the blanket. Ch 1. Work sc evenly along each side of the blanket, working (1 sc, ch 1, 1 sc) in each blanket corner. Join with sl st in first sc. Fasten off. (4 ch-1 corner sps)
Beginner explanation: The corner space is the little gap left by the ch 1 at the corner of the top right square. Join MC there with a slip stitch, then work around the whole outside edge of the blanket, passing over the seams in a steady line. Put the corner groups in the four corners of the blanket itself, not in the corners of squares along the edge. At the pattern gauge you work about 3 sc per inch, so a 6 in square edge takes about 18 sc. Use that to check that your spacing is neither tight nor loose.
Checkpoint: The blanket has 4 ch-1 corner spaces, the border lies flat, and the blanket measures approx 42½ x 54½ in (108 x 138.5 cm). If the border ripples, you used too many sc, and if the blanket pulls in at the sides, you used too few. In either case, undo the round and respace it.
Finishing
Weave in your ends. Each square leaves a starting tail and a finishing tail, which is 126 tails for 63 squares, plus the ends of the seams and the border. Weave each tail along the WS for a few inches in one direction, then back in the other, and trim. Weaving in each square’s two tails before you join is easier than reaching them later at the seams.
Blocking is optional. It can even out slightly different squares and relax the seams, but only if your yarn label allows it, so check the label first. How to block a crocheted blanket covers the steps.
Troubleshooting & Common Mistakes
- Squares come out different sizes. The row count or tension drifted between sessions. Use the row count you wrote down from your first square for every square, and measure each one against the first. To fix a square that is too short or too tall, add or remove two rows so it still ends on a WS row.
- A square is not square. The body should be about 5⅓ in wide and about 5½ in tall, so if it is clearly taller or shorter, your row gauge differs from 15 rows per 4 in. Check your gauge and adjust the hook size or the number of rows to match the square.
- The edges bow in or flare out. A stitch was missed or added at a row end. Every row must have 16 sc, so count and find the row where it changed, then pull back to that row.
- A corner ruffles or pulls. One of the four corners is missing its corner group, or one side has a different number of sc. Check that each corner has 1 sc, ch 1, 1 sc, and that each side has the same number of sc.
- The seam looks like a ridge or shows loops. The working yarn was in front of the work, or the slip stitches were too tight. Keep the yarn at the back and work the slip stitches as loosely as your single crochet. A is a separate yarn used only for joining, so you can pull out the slip stitches without disturbing the squares.
- The blanket is too wide or too long. Check that you have 7 squares across and 9 down rather than the other way round, that every square is about 6 in, and that your gauge matches. Seven squares across should measure about 42 in, and nine down about 54 in.
- A square faces the wrong way. Check the direction of work against the layout before you seam. If you find it afterward, pull out the slip stitches on that square, turn it and join again.
- A ball runs out partway through. Change balls at the end of a row, finishing the last sc of the row with the new yarn, then turn and carry on. MC has about 186 yd to spare and A about 82 yd, so A has the smaller margin. Because the yarn shifts through several tones, a new ball may start at a different point in the color sequence.
Variations, Sizes & Care
Changing the size. Each square is 6 in, and the border adds about ½ in to each measurement. That means width = 6 × squares across + ½ in, and length = 6 × squares down + ½ in. Choose an odd number across and down to keep MC squares in all four corners. The number of MC squares is then (across × down + 1) ÷ 2, and the number of A squares is (across × down − 1) ÷ 2.
| Squares across x down | Approx finished size | MC squares | A squares |
|---|---|---|---|
| 5 x 7 | 30½ x 42½ in (77.5 x 108 cm) | 18 | 17 |
| 7 x 9 (this pattern) | 42½ x 54½ in (108 x 138.5 cm) | 32 | 31 |
| 9 x 11 | 54½ x 66½ in (138.5 x 169 cm) | 50 | 49 |
Yarn needs scale with the number of squares, but A also covers every seam and MC covers the border, so buy a little extra of both instead of scaling the amounts exactly.
Colors and yarn. You can swap in other colorways. Keep MC for the border and A for the joining as written, and choose A with the seams in mind, because the flat chains show on the RS. Changing to a different yarn that still reaches gauge changes the drape and the yardage, so recheck the yardage before you start. If you want a different texture, choosing a stitch for a blanket compares the options, and moss stitch blanket on a giant hook is a textured blanket worked as a single piece instead of joined squares.
Care. This pattern does not depend on a particular fiber, so wash, dry and apply heat according to the ball band of the yarn you used. The seams and border are plain slip stitch and single crochet, so washing and drying come down to what the yarn allows.
Frequently Asked Questions
What is the difference between an afghan, a throw and a blanket?
In everyday US use the names overlap. Blanket is the general word, afghan is the traditional name for a crocheted or knitted blanket, often one kept on a sofa, and throw usually means a blanket of moderate size for draping. At about 42½ x 54½ in, this one sits at the smaller end of what most people call a throw, so use whichever word you prefer.
Why do the squares look striped in different directions?
Both colorways shift through several tones as you work, so the color changes appear as streaks along the rows. Alternate squares are turned a quarter turn when you lay them out, with A squares pointing up and MC squares pointing left, so the streaks run side to side in some squares and up and down in others. That is intended, and it gives the checkerboard its look.
Do I have to use the flat slip stitch join?
The pattern is written for it, and the flat chain of A on the right side is part of the finished look. You can use another join, but the seams will look different and may change the size slightly. Join two squares first and measure them: they should come to about 12 in together.
Can I make this as a baby blanket?
This pattern is sized for a larger blanket, at about 42½ x 54½ in. For a blanket made for a newborn, crochet blanket for a newborn is planned for that purpose, which is a better starting point than shrinking this one.

Last updated . Found something out of date? Let us know.