 Accessories
 Baby & Kids
 Blankets & Afghans
 Clothing
How to Block a Crocheted Blanket
Knowing how to block a crocheted blanket starts with knowing what blocking can change. It can relax curling edges, even out stitches, sharpen ripple or scallop points, and help a finished blanket settle toward its intended dimensions.
 Nicole Sinclair
Published · 13 min read
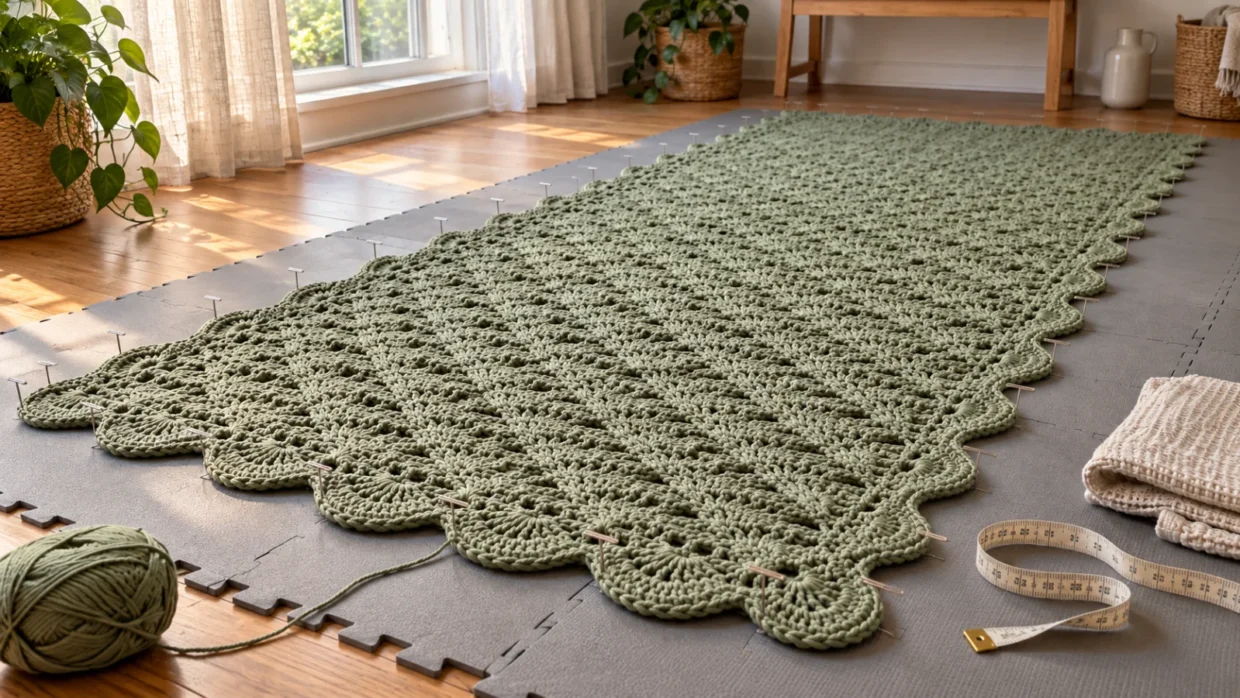
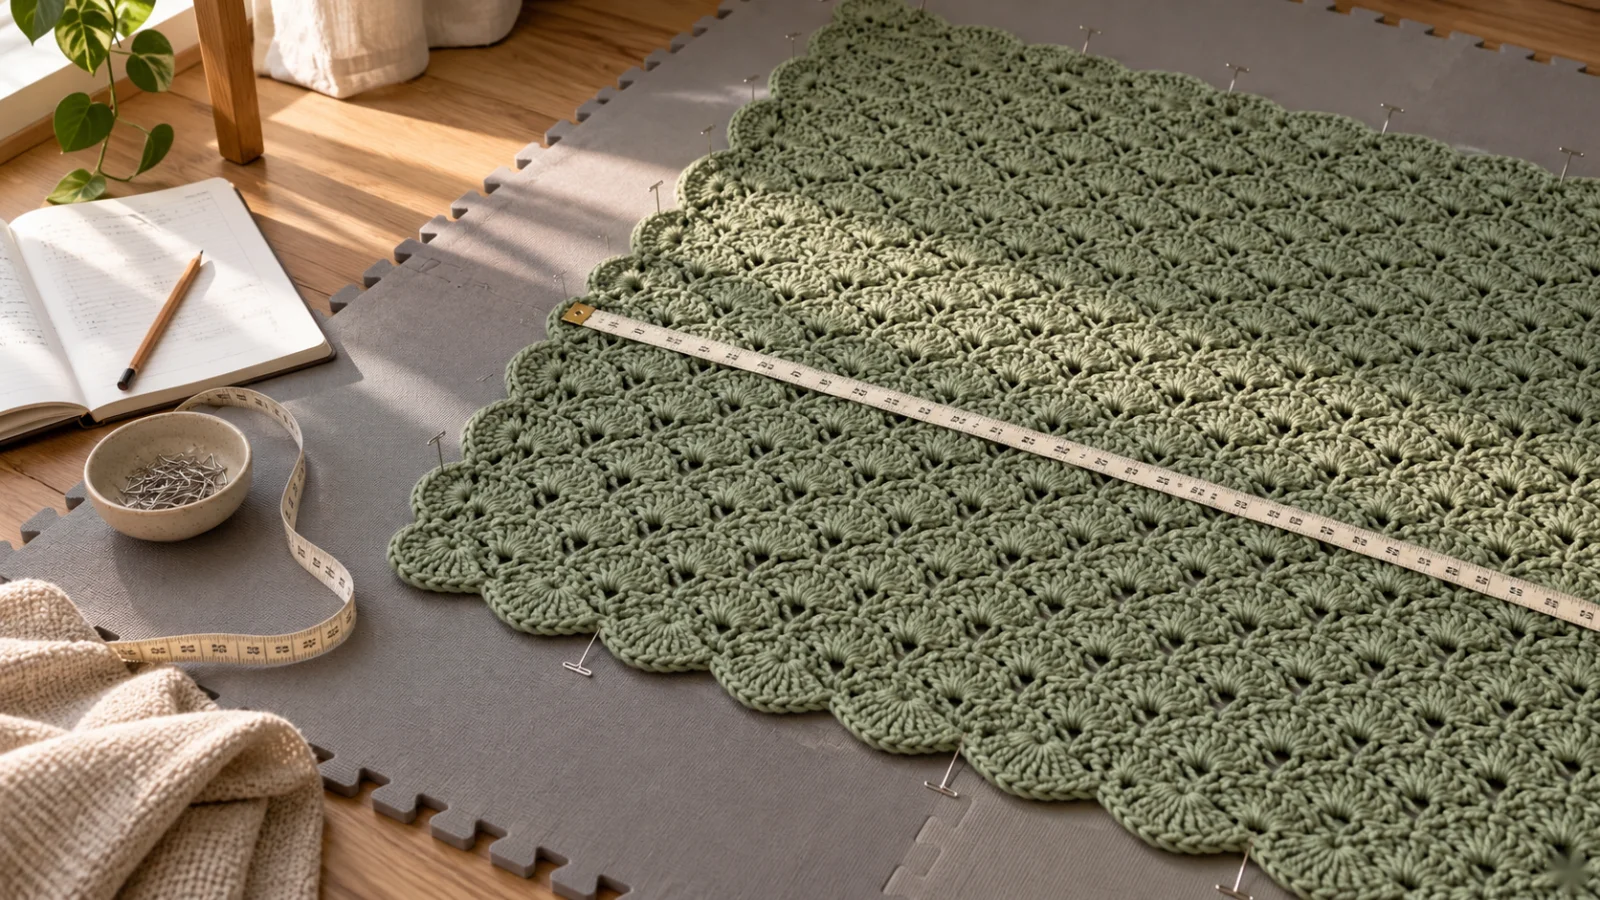
A finished sage-green crochet blanket pinned out on foam blocking mats beside a tape measure
What blocking can and cannot change
When you block a crocheted blanket, you wet or steam the finished piece, shape it to the dimensions you want, and let it dry so the fibers hold that shape. The usual results are straighter edges, more even stitches, a flatter fabric, and cleaner points on ripples and scallops. The useful word is settle. You are guiding the fabric toward the shape it was designed to have, not rebuilding it.
Blocking works with the stitches you already have. If one end is narrower because a few rows lost stitches, if the border has too many stitches and ruffles, or if the whole blanket simply came out smaller than planned, pinning it harder will not repair the counts. It may gain you some size, and part of that can relax back over time, especially in yarns with some elasticity. I think of blocking as a finishing step that polishes a correctly made blanket, not a rescue for one whose proportions are off.
Does your blanket need blocking?
Not every blanket does. A blanket that lies flat, has straight edges, and is already close to its target size may need nothing more than the care the yarn label recommends. I would consider blocking when one or more of these applies:
- The edges curl, wave, or pull in unevenly.
- The stitch pattern is lacy or has defined points, such as ripples or shells, and the points look rounded or collapsed.
- Joined squares or motifs differ slightly in size, so seams do not line up.
- The blanket is a little short of the size you want.
- The fabric looks bunched or uneven after the ends are woven in.
If the blanket is already flat, square, and the right size, I would leave it alone. Every extra round of wetting and pinning is handling the fabric does not need, and with some fibers that handling carries real risk.
How to choose a blocking method for your yarn
Start with the yarn label, then with the fiber. Fiber decides how much water the yarn absorbs, how it reacts to heat, and how much it stretches. Stitch structure comes second, because it decides how the blanket responds to pinning. I would not recommend a single method for every blanket, and this table is a starting point rather than a rule.
| Fiber | Usual approach | Main caution |
|---|---|---|
| Cotton, linen, and blends | Wet blocking or spray blocking | Heavy when wet and slow to dry. Limited elasticity means it can sag or hold a pulled shape. |
| Wool (not superwash) | Cool-water wet blocking or spray blocking | Hot water and agitation can felt and shrink it. Do not wring or twist. |
| Superwash wool | Gentle wet blocking or spray blocking | Can be less stable when wet, so support it and avoid pulling hard. |
| Acrylic | Light spray blocking, or no blocking | Absorbs little water. Steam or heat can permanently relax the fibers. |
| Mixed-fiber yarns | Follow the most sensitive fiber | Check the label and test a leftover-yarn swatch first. |
Wet blocking
Wet blocking soaks the whole blanket, which relaxes the fibers most thoroughly. It is the method I would reach for when a cotton or wool blanket needs real reshaping, such as uneven squares or noticeably wavy edges. The tradeoffs are handling and time. A soaked blanket is heavy, it needs a large surface, and it takes longer to dry than a misted one.
Spray blocking
Spray blocking dampens the blanket after it is already pinned out. It suits blankets that are mostly in shape and need a tidy-up, and it avoids lifting a heavy wet blanket out of a tub. The catch is evenness. The moisture has to reach the full thickness of the fabric, not just the surface, or the stitches will not relax evenly. Mist in passes and press gently to check that the dampness has soaked through.
Steam blocking and acrylic
Steam relaxes fibers with heat and moisture, and it deserves the most caution. With acrylic, heat can permanently change the fibers, leaving the fabric limp and drapey with less bounce, and that cannot be reversed. Some makers do this on purpose to soften the drape. If you want the blanket to keep its current texture, I would skip steam. If you do try it, test on a swatch of the same yarn first, hold the steamer above the fabric without touching it, and never press a hot iron onto the stitches.
What you need
The supplies are modest, but the surface matters most. It has to be large enough for the whole blanket, accept pins, and stay put for a day or more.
- A blocking surface: interlocking foam mats, or a thick layer of clean towels over a mattress or carpet protected by a waterproof sheet
- Rustproof pins, such as stainless steel T-pins, or blocking wires for long straight edges
- A tape measure and a rigid ruler
- Clean towels for pressing out water
- A basin or bathtub for wet blocking, or a spray bottle for spray blocking
- A mild wash made for the fiber, only if the yarn label allows washing
- A notebook or phone for recording measurements
Check colorfastness and measure first
Two checks come before any water touches the blanket. First, read the yarn label for the recommended water temperature and care symbols. If the label is gone, treat the blanket as delicate and use cool water. Second, test dye stability, especially with deep reds, dark blues, and other saturated colors. Wet a leftover yarn tail, press it onto a white cloth, and see whether color transfers. If it does, reconsider wet blocking, since a light misting is lower risk, though still worth testing.
Then measure the dry blanket. Lay it flat on the blocking surface and smooth it without pulling. Measure the width at the top, middle, and bottom, and the length along both sides and through the center. Finally, measure the diagonals from corner to corner. If the two diagonals differ, the blanket is out of square, and you will want to correct that while shaping. Write every number down. The before and after comparison is how you learn what blocking actually did for this yarn and stitch.
Setting target dimensions
Decide where you want the blanket to end up before you pin anything. Good reference points are the finished size in the pattern, the dimensions you need for the bed, couch, or crib it will go on, or the width the stitch pattern naturally wants. Compare that target with your measurements. If the difference is small, blocking can reasonably close it. If it is large, look for the cause in the stitch counts or gauge before relying on blocking.
No formula reliably predicts how much a blanket will grow or shrink. The same blanket can change more in length than in width, and fiber, stitch structure, and tension all affect the result. Treat your target as a goal you confirm with the tape measure, not a number the fabric has agreed to. I would set it slightly conservative: dimensions the stitches can hold without looking pulled.
Stitch structure also changes how far you can safely go:
- Dense stitches, such as tightly worked single crochet or half double crochet, have little give, so there is less to gain and less risk of distortion.
- Open or lacy stitches stretch easily, which makes it easy to overshoot the target and leave holes that look pulled.
- Ripples and scallops rely on their shaping. Pulling the fabric to its full width flattens the zigzag, so pin the points and let the curves between them fall naturally.
How to block a crocheted blanket, step by step
1. Finish the blanket first
Weave in every end and complete any border before wetting the blanket. Loose tails can shift as the fabric relaxes, and the true shape of the edges is easier to judge once the finishing is done.
2. Prepare the surface
Lay out the mats or towels where the blanket can stay undisturbed, away from pets, direct sun, and heaters. If dye transfer is a concern, cover the surface with a clean, colorfast towel. A large blanket may need the surface built up in sections.
3. Wet or dampen the blanket
For wet blocking, fill a clean tub or basin with enough water to cover the blanket, at the temperature the label allows. Cool water is the safer default for wool. Add a mild wash only if the label allows washing, then submerge the blanket and press it gently under the water. Soak for about 15 to 20 minutes, or as the wash directs, without rubbing, twisting, or agitating. For spray blocking, skip the tub, pin the dry blanket to shape in step 5, and mist it afterward.
4. Press out the water without wringing
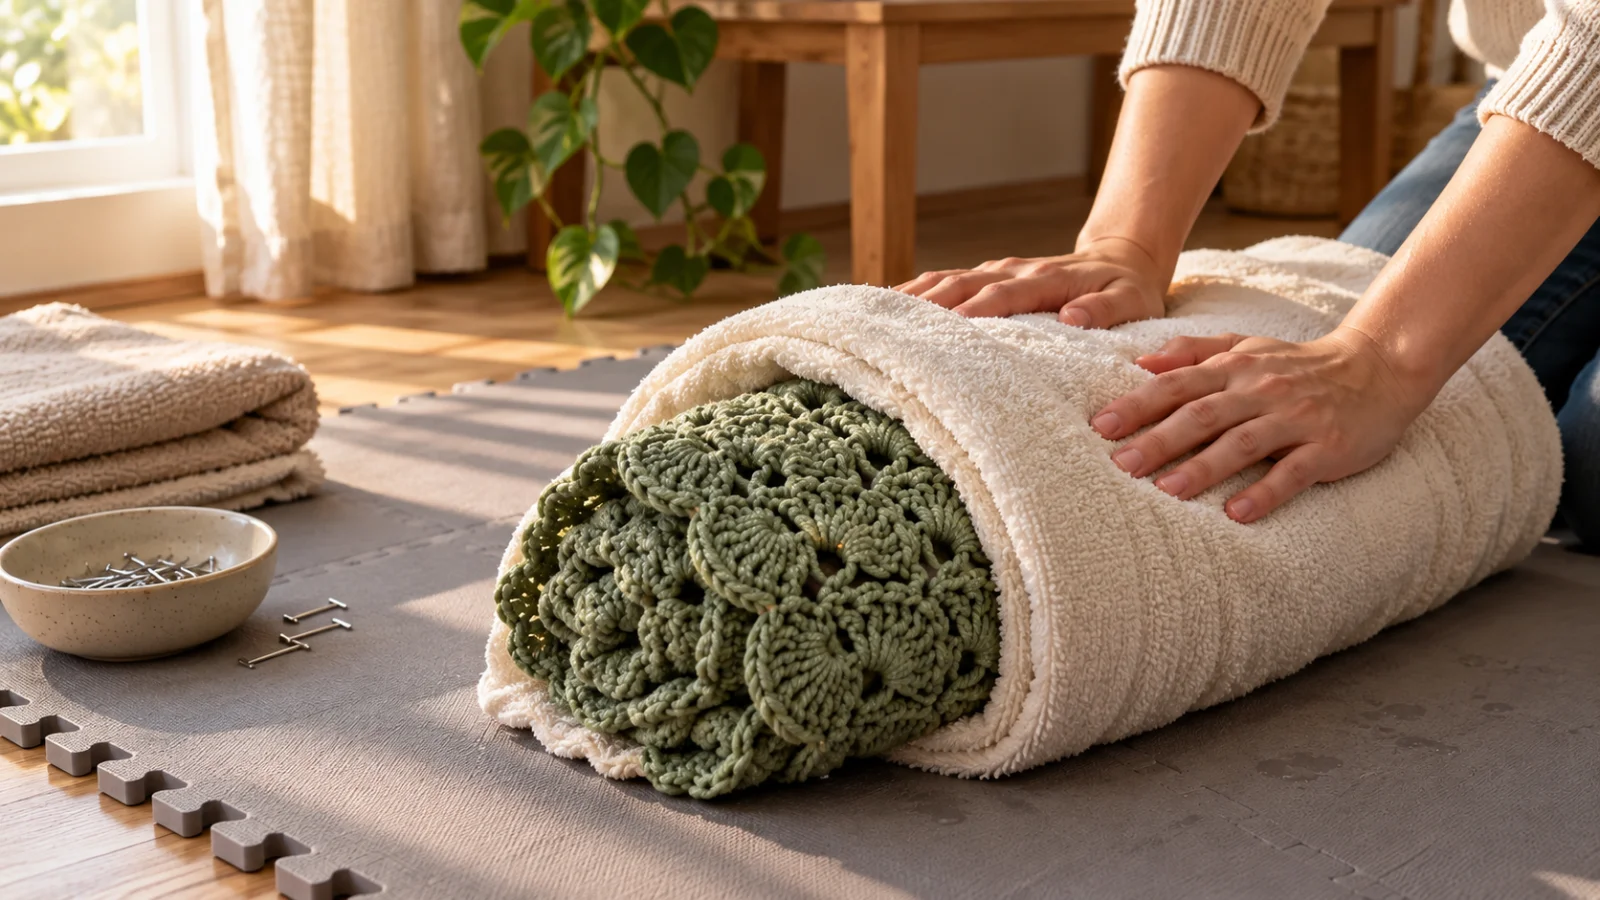
Lift the blanket out as a supported bundle with your arms beneath it. Wet cotton especially is heavy enough to stretch under its own weight if it hangs. Do not wring or twist. Lay the blanket on a clean towel, roll the towel up with the blanket inside, and press along the roll to transfer water into the towel. Repeat with a dry towel until the blanket is damp rather than dripping.
5. Lay it out and pin to shape
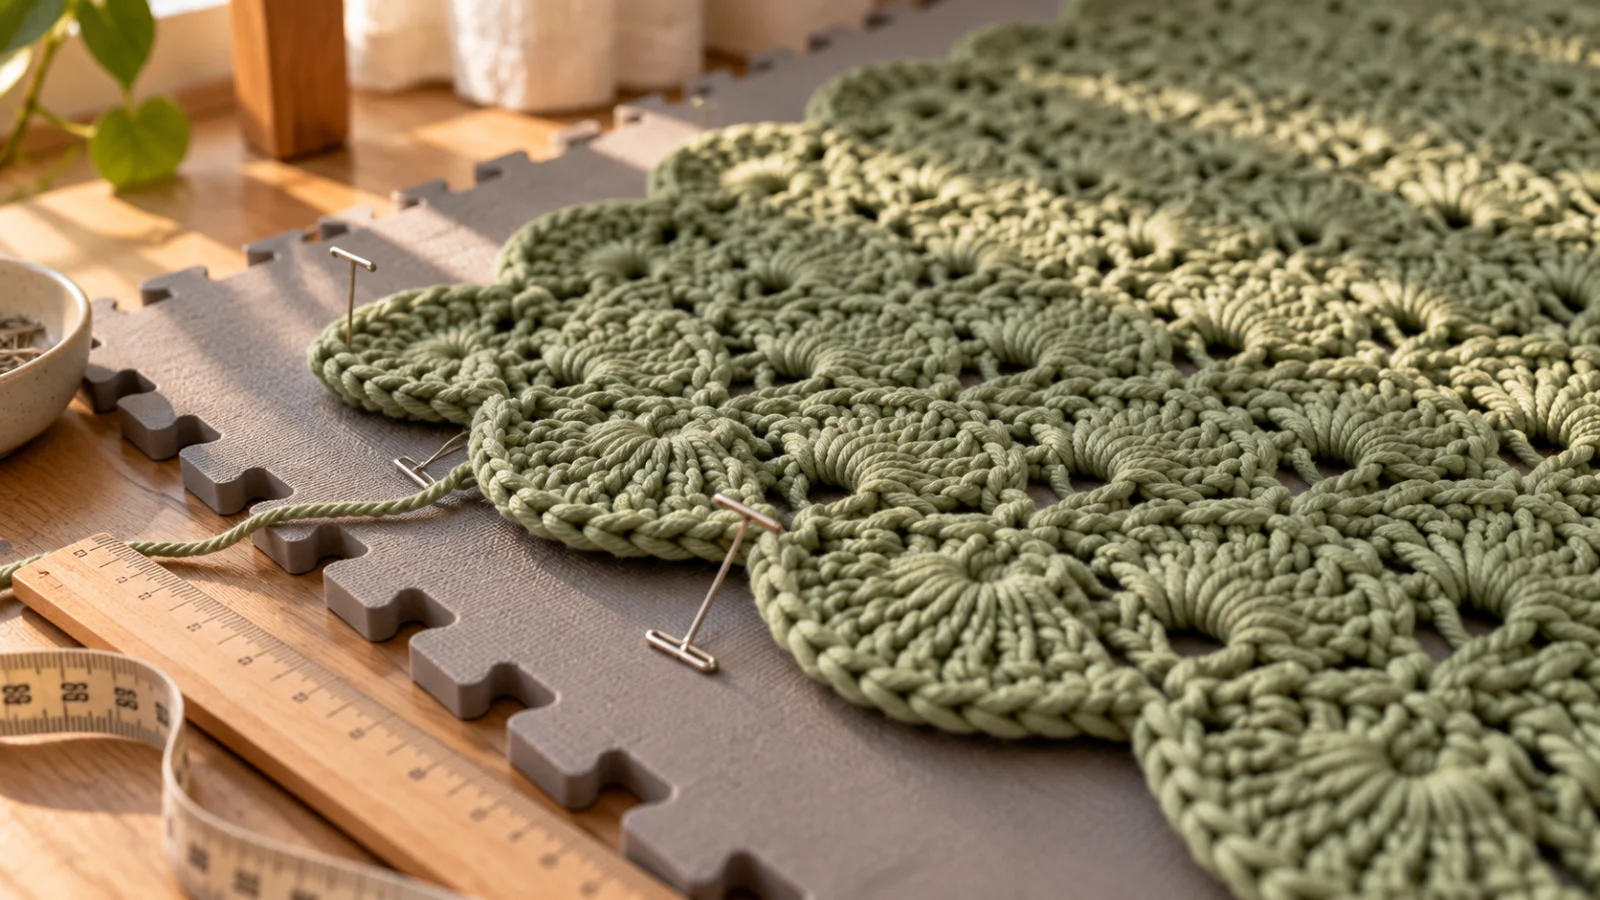
Move the damp blanket to the blocking surface and ease it into position instead of hauling it. Pin the four corners first, using your measurements to place them at the target width and length, then pin the midpoints of each side. Work between the pins, setting them every few inches along straight edges. On scalloped or zigzag edges, pin each point and leave the curves between them unpulled. Check the width in several places and compare the diagonals again, adjusting pins until they match.
Pull only until the fabric is smooth. If stitches look slanted or holes open up, you are pulling too hard.
Drying: the step that makes blocking last
Leave the blanket flat and undisturbed until it is completely dry. Drying is where the shape sets, and a blanket unpinned while damp will relax back toward its old shape. Keep it away from direct sun, which can fade some yarns, and from heaters or hair dryers, which can damage sensitive fibers and dry the surface faster than the center.
A fan moving air across the room speeds things up without heat. Thick blankets and cotton can take a day or more, so plan a space you can spare. Check the center and thicker areas, such as borders and seams, by touch on both sides. The fabric should feel dry and room temperature, not cool or clammy. If the towels underneath become damp, replace them with dry ones without disturbing the blanket.
When it is fully dry, remove the pins, let the blanket rest for a short while, and measure again. Write the new numbers next to the old ones. A small amount of relaxation after unpinning is normal.
Troubleshooting blocking problems
Uneven edges
If the edges still wave or pull after blocking, count the stitches along each side. An extra or missing stitch in the edge rows, or a border worked with too many stitches per row, creates a difference that blocking can only partly hide. Mild waviness often improves with careful pinning, but a pronounced ruffle may return after washing. In that case the lasting fix is to rework the border with an adjusted stitch count.
Overstretching
Signs include slanted stitches, open holes, or scallops pulled into straight lines. It usually means the pins were set wider than the fabric wanted to go, or a heavy wet blanket was left hanging. Loosen the pins and let the blanket relax while it is still damp. Recovery depends on the fiber, since wool tends to bounce back better than cotton, which has limited elasticity. If needed, re-wet lightly and re-pin to a more modest target.
The blanket will not dry
A blanket that still feels damp after a day or two is usually too wet to begin with, sitting on a damp surface, or in a humid room. Add airflow, swap out damp towels, and press out more water next time. Avoid high-heat shortcuts. Damp cotton in particular should not stay damp for long, because it can develop a musty smell.
Unexpected size changes
A blanket that grows in one direction and shrinks in the other is not unusual, especially with heavy, drapey stitches. Wool that is not superwash can shrink if the water was too hot or the blanket was agitated, and pinning afterward only partly undoes it. Check the label, measure again once the blanket has rested, and compare with your notes. Expect blocking to shift the dimensions, not to land on a precise number.
Fiber damage
Watch for a glossy or limp feel on acrylic after steam, dense or matted stitches on wool after hot water or agitation, color on the towels, and rust marks from pins that were not rustproof. Most of these cannot be reversed, which is why a few minutes of testing on leftover yarn is worth it before treating a finished blanket.
After blocking: finishing and next steps
Once the blanket is dry, treat the blocked shape as its baseline. Wash it the way the yarn label directs. Washing can relax the fabric again, so if the shape drifts, you can re-block using the same steps and your recorded measurements. Keep those notes, because they show how this particular yarn and stitch responded.
If you want to practice on a blanket where pin placement matters, the crochet shell stitch blanket pattern gives you scalloped edges to work with, and how to crochet a ripple blanket covers a zigzag fabric where pulling too far flattens the waves.
Blocking questions
Does every crochet blanket need blocking?
No. A blanket that lies flat, has straight edges, and is close to its intended size can simply be cared for as the yarn label directs. Blocking helps most with wavy edges, uneven squares, lacy or pointed stitch patterns, and small gaps between the blanket’s size and your target.
Can acrylic blankets be blocked?
Yes, with limits. Acrylic absorbs little water, so wet or spray blocking tends to have a mild effect. Steam or other heat can permanently relax the fibers and leave the fabric limper. Test a swatch from the same yarn first and decide whether that change is what you want.
How do I keep a blanket square while blocking?
Pin the four corners to your measured target first, then the midpoints of each side, then fill in between. Use a rigid ruler or the grid on your mats to check that opposite edges are parallel, and compare the two diagonals, since equal diagonals mean square corners. If the blanket will not square up, look for stitch-count differences instead of pulling harder. Blocking wires can help keep long straight edges true.
What happens if a blanket is overstretched?
The stitches can look slanted or open, and edges may lose their shape. If you notice while the blanket is still damp, loosen the pins and let it relax. After drying, a light re-wetting may let the fibers ease back, but the result depends on the yarn, and some distortion can remain, particularly in fibers with limited elasticity.

Last updated . Found something out of date? Let us know.