 Accessories
 Baby & Kids
 Blankets & Afghans
 Clothing
Crochet Blanket Pattern Worked in Front Post Treble Rows With an Ombre Fade
This free crochet blanket pattern makes a throw of approx 50" x 60" [127 x 152. 5 cm], with rows of front post treble crochet alternating with single crochet rows in an ombre yarn that fades from dark to light and back again.
 Nicole Sinclair
Published · 14 min read
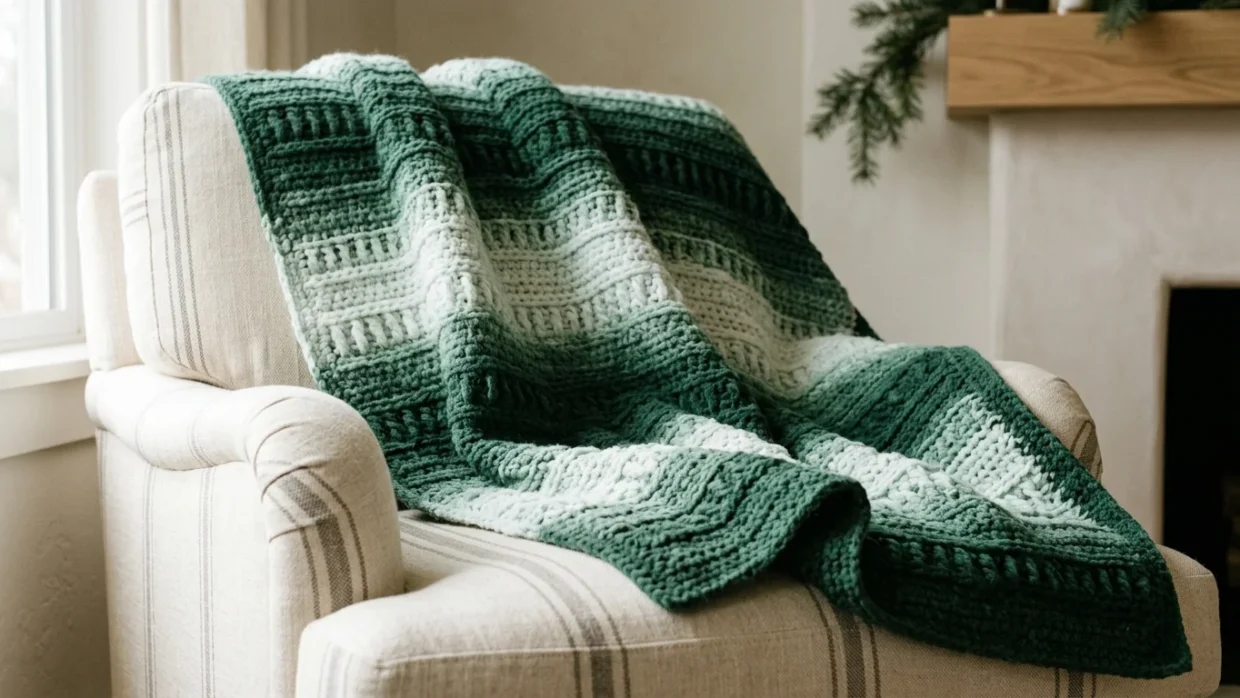
A finished throw draped over a cream armchair, fading from dark green to pale and back across rows of raised post stitches
Pattern at a Glance
- Skill level
- Intermediate
- Hook size
- 8 mm (US L/11)
- Finished size
- Approx 50" x 60" [127 x 152.5 cm]
- Yarn needed
- 7 balls, or 1466 yds/1340 m
- Construction
- Worked flat in rows, then edged
- Stitches
- sc, dc, front post treble (trfp)
- Gauge
- 7 sts x 6 rows = 4" [10 cm] in pattern
- Pattern type
- Free written pattern
- Project type
- Throw blanket
This crochet blanket pattern repeats a four-row sequence of single crochet, double crochet and front post treble stitches, so the raised ridges stagger from one post row to the next while the ombre yarn shifts shade across the blanket.
Front post treble is the only stitch beyond single and double crochet, and every row has 85 stitches to count. Each step below ends with a checkpoint, and the notes cover keeping the post stitches in place and the ombre shades matched.
Materials & Supplies
| Item | Details | Required? |
|---|---|---|
| Yarn | Forest (43010), 7 balls, or 1466 yds/1340 m in total. Each ball is 10.5 oz/300 g and 220 yds/201 m. | Required |
| Hook | U.S. L/11 (8 mm), or the size needed to obtain gauge | Required |
| Yarn needle | For weaving in ends | Required |
| Scissors | For cutting yarn | Required |
| Measuring tape | For checking gauge and the length of the blanket | Recommended |
Because this is an ombre yarn, check which end of each ball is the lightest and which is the darkest before you start. You will need that when you join the next ball, and the ball-matching note in Before You Begin explains why.
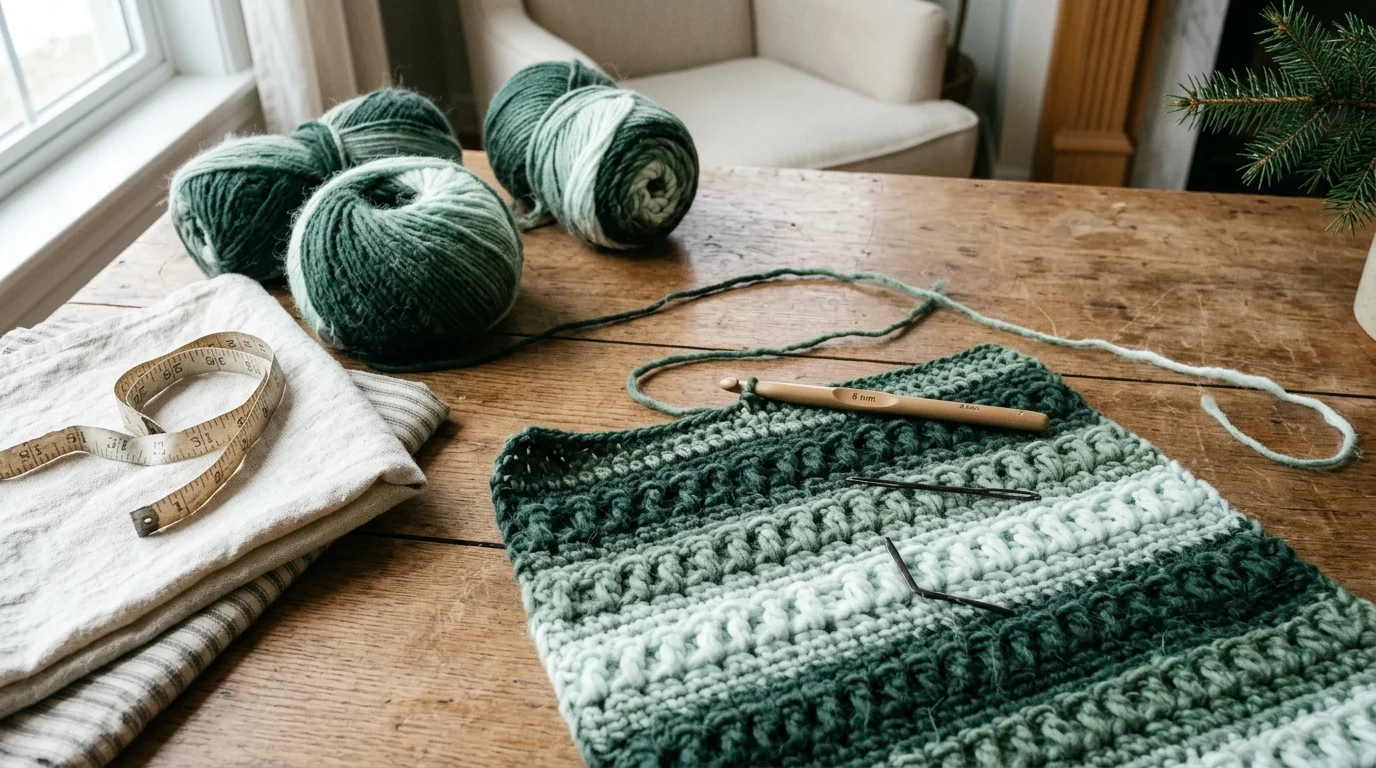
If you use a different yarn, match the gauge below with a swatch rather than relying on the hook size, and expect the fabric, the finished size and the fade to change. The 1466 yds/1340 m figure applies to this pattern at the stated gauge. To plan a quantity for a different size, how yardage changes with blanket size shows how the numbers move.
Gauge & Sizing
Gauge is given two ways: 7 sc and 8 rows = 4″ [10 cm], and 7 sts and 6 rows = 4″ [10 cm] in pattern. Check the pattern gauge, because it measures the fabric you will actually be making. Its rows are taller than plain sc rows, which is why 6 pattern rows cover the same 4″ [10 cm] as 8 sc rows.
To swatch, work the pattern with a U.S. L/11 (8 mm) hook, starting from Row 1 as written. Keep the foundation chain count even, as in the pattern, so the post stitches alternate with the dc. Make the swatch wider and taller than 4″ [10 cm] so you can measure away from the edges, lay it flat without stretching it, and count the stitches and rows across 4″ [10 cm].
Gauge is not as strict as it would be for a garment, but on a blanket this size it still decides the finished dimensions. A different gauge changes the width, which the 85-stitch foundation sets, and the number of rows needed to reach the length. If you get more than 7 stitches over 4″ [10 cm], try a larger hook; if you get fewer, try a smaller one. A different gauge also changes how far the yarn goes.
The finished blanket measures approx 50″ x 60″ [127 x 152.5 cm]. The body is worked to approx 59″ [150 cm], and the edging round completes the size.
To change the size, remember that the foundation chain and your gauge set the width, and the number of repeats sets the length, because the pattern ends by measurement. If you change the width, keep the chain count even so the trfp and dc keep alternating, and swatch first to confirm the new width at your gauge.
Before You Begin
Abbreviations (US terms)
| Abbreviation | Meaning |
|---|---|
| approx | approximately |
| ch | chain(s) |
| dc | double crochet |
| pat | pattern |
| rep | repeat |
| RS | right side |
| sc | single crochet |
| sl st | slip stitch |
| st(s) | stitch(es) |
| trfp | front post treble crochet (see below) |
| yoh | yarn over hook |
US terms are used throughout. In UK terms, US sc is double crochet, US dc is treble crochet, and trfp is a front post double treble.
Special stitch: front post treble crochet (trfp)
Trfp: Yoh twice, then insert the hook from right to left around the post of the indicated stitch at the front of the work and draw up a loop. (Yoh and draw through 2 loops on the hook) 3 times.
The post is the upright stem of a stitch. Most stitches are worked into the top of the stitch below, but a post stitch wraps the hook around that stem from the front, so the new stitch stands out in front of the fabric. Here, each trfp is worked around a stitch two rows below the row you are working, which is why the stitches in between are left unworked. That raised ridge against flat sc rows is what textures this blanket. How different stitches change a blanket’s fabric compares it with other blanket stitches, and a different textured blanket worked in moss stitch shows another way to texture a throw.
Pattern notes
- Ch 3 at the beginning of a row counts as dc.
- Always skip the sc above any stitch that a trfp is worked around.
- To maintain the ombre effect, join the next ball from the opposite end so the shades match (lightest end to lightest end, or darkest end to darkest end) as necessary. This gives a fade from dark to light to dark and back again across the blanket.
The skipped sc matters because the post stitch takes its place. If you also work into that sc, you add a stitch to the row, and across 85 stitches that shows up as an edge that slowly widens.
Ch 3 counts as the first dc of the row, so it is one of the 85 stitches. Include it whenever you count.
Each ball fades from dark at one end to light at the other. Joining the next ball at the matching shade lets the colour carry on from where it left off instead of jumping, so the fade runs dark to light, back to dark, and on. Before you join, check which end of the new ball matches the shade where the last ball finished. Ends are woven in with the yarn needle when the blanket is done.
Construction and row map
The blanket is worked flat in rows from a foundation chain, turning at the end of every row, and finished with a single edging round. You count individual stitches, not blocks, and every row has 85 stitches. Row 1 is the right side.
| Row | Stitches | Where the post stitches go |
|---|---|---|
| 1 | Sc in each ch (RS) | None |
| 2 | Sc in each sc | None |
| 3 | Ch 3 (counts as dc), then trfp and dc alternating | Around the sc in Row 1 |
| 4 | Sc in each st | None |
| 5 | Ch 3, dc, then trfp and dc alternating, ending with a dc | Around a dc in Row 3 |
| 6 | Sc in each st | None |
| 7 | Ch 3, then trfp and dc alternating | Around a dc in Row 5 |
| Repeat | Rows 4 to 7 until approx 59″ [150 cm], ending on Row 4 or Row 6 | Same as Rows 5 and 7 |
This pattern asks for sc, dc and one specialised stitch, trfp. After Rows 1 to 3, Rows 4 to 7 repeat, but each row is 85 stitches long and worth counting. If you have not worked post stitches before, I would practise trfp on a swatch before starting the blanket, because the hook position is the only unfamiliar part.
Free Crochet Pattern Instructions
Part 1 – Foundation and base rows
Rows 1 and 2 are plain sc rows with 85 stitches each. The post stitches of Row 3 reach back to Row 1.
Step 1 – Foundation chain and Row 1
Pattern instruction: Ch 86. Row 1 (RS): 1 sc in 2nd ch from hook. 1 sc in each ch to end of chain. Turn. (85 sc)
Beginner explanation: Skip the chain next to your hook and work the first sc into the second chain from the hook, then work one sc into each remaining chain. When you reach the end, you will have a flat row of sc and the work is turned to start Row 2.
Checkpoint: 85 sc. If your count is different, rework the foundation now, because every later row depends on this one.
Step 2 – Row 2
Pattern instruction: Row 2: Ch 1. 1 sc in each sc to end of row. Turn. (85 sc)
Beginner explanation: Work one sc into the top of each sc of the row below. The fabric should be a flat, even row of sc with straight sides.
Checkpoint: 85 sc and a straight edge on both sides. If an edge looks tilted, count again before moving on.
Part 2 – Post stitch rows and the repeat
Rows 3 to 7 introduce the post stitches. After Row 7, Rows 4 to 7 repeat until the blanket reaches length.
Step 3 – Row 3 (first post stitch row)
Pattern instruction: Row 3: Ch 3. 1 trfp around sc 2 rows below. 1 dc in next sc. Rep from to end of row. Turn. (85 sts)
Beginner explanation: The ch 3 stands in for the first dc. Each trfp goes around the sc in Row 1, which is the row below the one you just worked. Then you skip the sc of Row 2 that sits directly above that stitch, and work 1 dc into the next sc. The trfp stitches should stand out in front of the fabric with a dc between each pair.
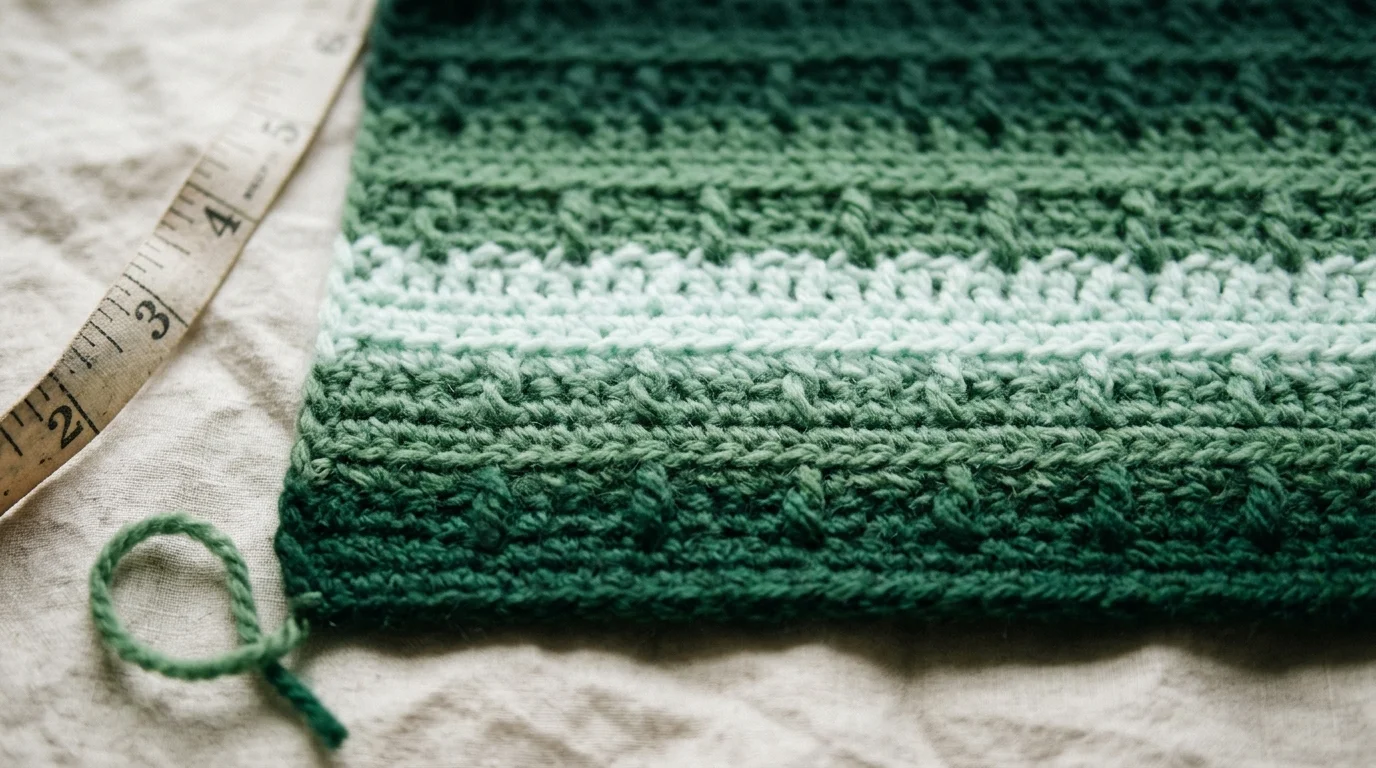
Checkpoint: 85 sts, made up of 43 dc (counting the ch 3) and 42 trfp, with the row ending on a dc. If you are one stitch over, look for an sc you worked into above a trfp instead of skipping it. If you are one short, look for a missed dc.
Step 4 – Row 4
Pattern instruction: Row 4: Ch 1. 1 sc in each st to end of row. Turn. (85 sc)
Beginner explanation: Work one sc into every stitch of Row 3, including each trfp. The ch 3 counts as a stitch, so it is part of the 85. You should see a flat row of sc with the post stitches of Row 3 standing in front of it.
Checkpoint: 85 sc. If you are one short, check that you counted the ch 3 as a stitch.
Step 5 – Row 5
Pattern instruction: Row 5: Ch 3. 1 dc in next sc. 1 trfp around dc 2 rows below. 1 dc in next sc. Rep from to last sc. 1 dc in last sc. Turn. (85 sts)
Beginner explanation: This row starts with an extra dc and ends with an extra dc, which shifts the trfp stitches one stitch over from where they were in Row 3. Each trfp goes around a dc of Row 3, never around a post stitch. Skip the sc directly above the dc you are working around, then work 1 dc into the next sc.
Checkpoint: 85 sts, made up of 41 trfp and 44 dc (counting the ch 3), with a dc at each end of the row. The post stitches should sit in the gaps between the post stitches of Row 3, not on top of them.
Step 6 – Row 6
Pattern instruction: Row 6: Rep Row 4. (85 sc)
Beginner explanation: Work 1 sc into each stitch of Row 5, including the trfp stitches. The ch 3 counts as a stitch here too. The row should lie flat behind the post stitches.
Checkpoint: 85 sc. If the count is different, find the row where it changed and rip back to that row before continuing.
Step 7 – Row 7
Pattern instruction: Row 7: Ch 3. 1 trfp around dc 2 rows below. 1 dc in next sc. Rep from to end of row. Turn. (85 sts)
Beginner explanation: Row 7 is worked the same way as Row 3, so the post stitches return to the positions they held in Row 3. Each trfp goes around a dc of Row 5. Skip the sc above it, then work 1 dc into the next sc.
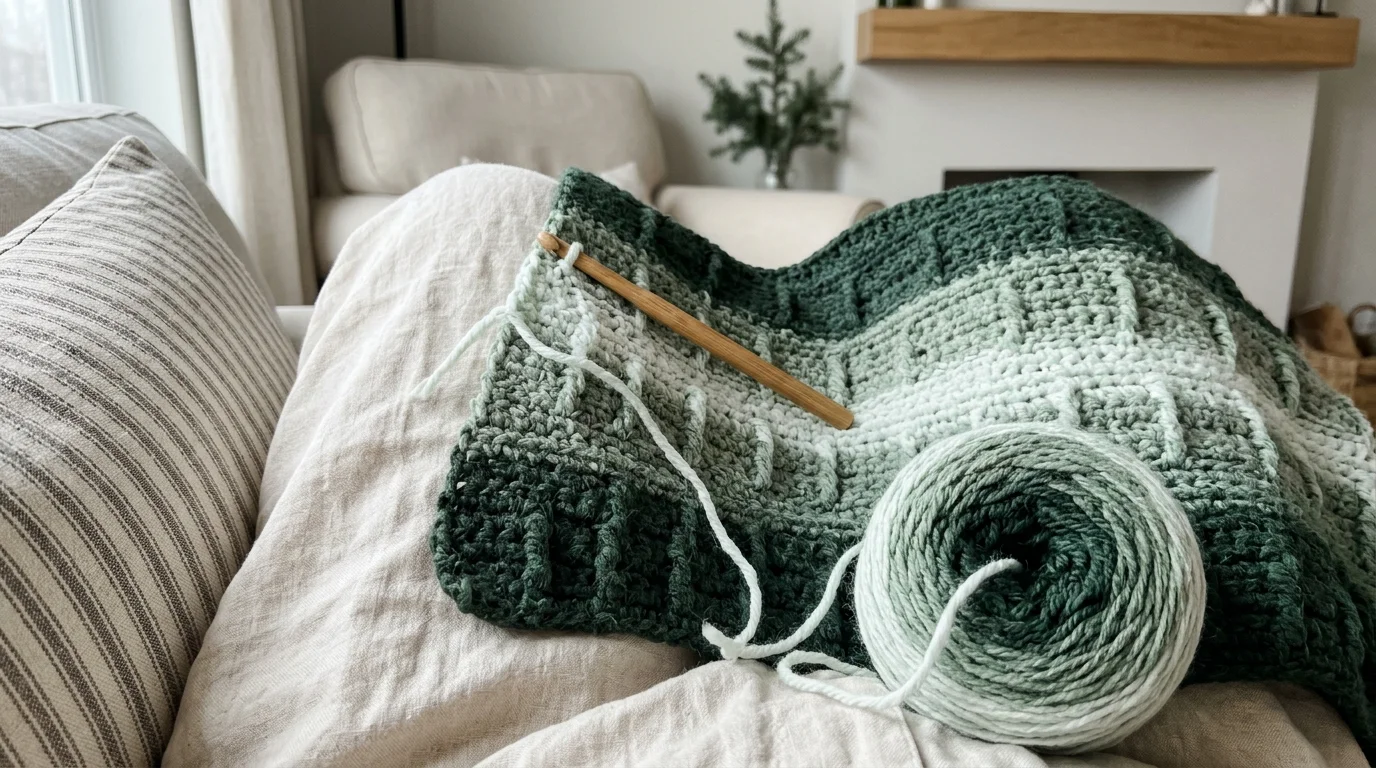
Checkpoint: 85 sts, made up of 43 dc (counting the ch 3) and 42 trfp, ending on a dc. Looking across the fabric, post stitch rows 3, 5 and 7 should alternate in position, with plain sc rows between them.
Step 8 – Repeat Rows 4 to 7
Pattern instruction: Rep Rows 4 to 7 for pat until blanket measures approx 59″ [150 cm], ending on a 4th or 6th row of pat. Do not fasten off.
Beginner explanation: Each repeat is Row 4 (sc), Row 5 (post stitches), Row 6 (sc) and Row 7 (post stitches). Keep working the four rows in order, and stop only when the blanket is long enough and you have just finished a plain sc row. Join each new ball at the matching shade, as described in the pattern notes, so the fade carries on.
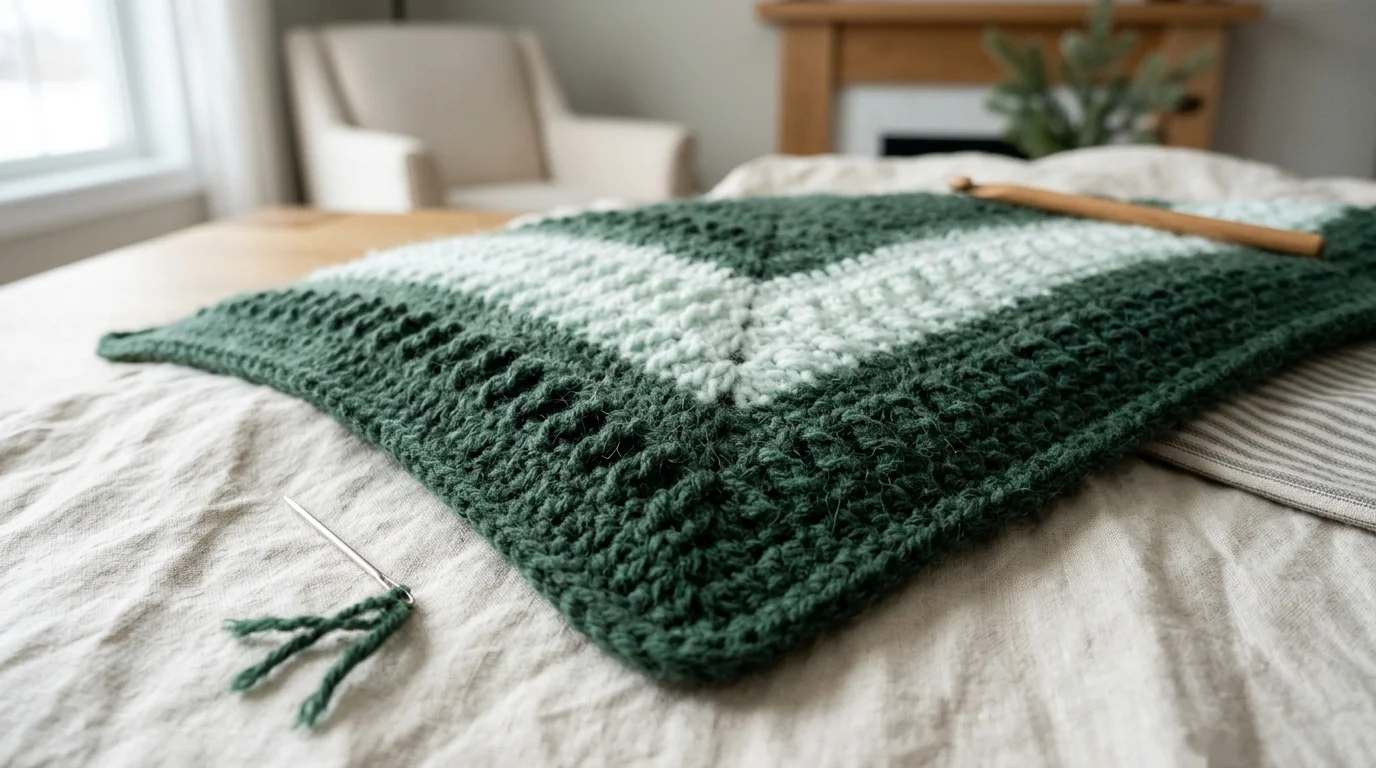
Checkpoint: Every row still has 85 sts, and the blanket measures approx 59″ [150 cm] when laid flat. The last row you worked is a sc row (Row 4 or Row 6 of the pattern), and you have not fastened off.
Part 3 – Edging
The edging is one round of sc worked around all four sides. It is the only round in the pattern.
Step 9 – Edging round
Pattern instruction: Edging round: (RS). Ch 1. (1 sc in each st to end of row. 3 sc in corner. Work sc evenly along side edge to next corner. 3 sc in corner) twice. Join with sl st to first sc. Fasten off.
Beginner explanation: The last row ends with a turn, so the right side is facing you and you can start without fastening off. Work 1 sc into each stitch across the top, then 3 sc into the corner so the border turns without pulling. Space your sc evenly down the side edge, work 3 sc into the next corner, and repeat along the foundation edge and the other side. Close the round with a sl st into the first sc.
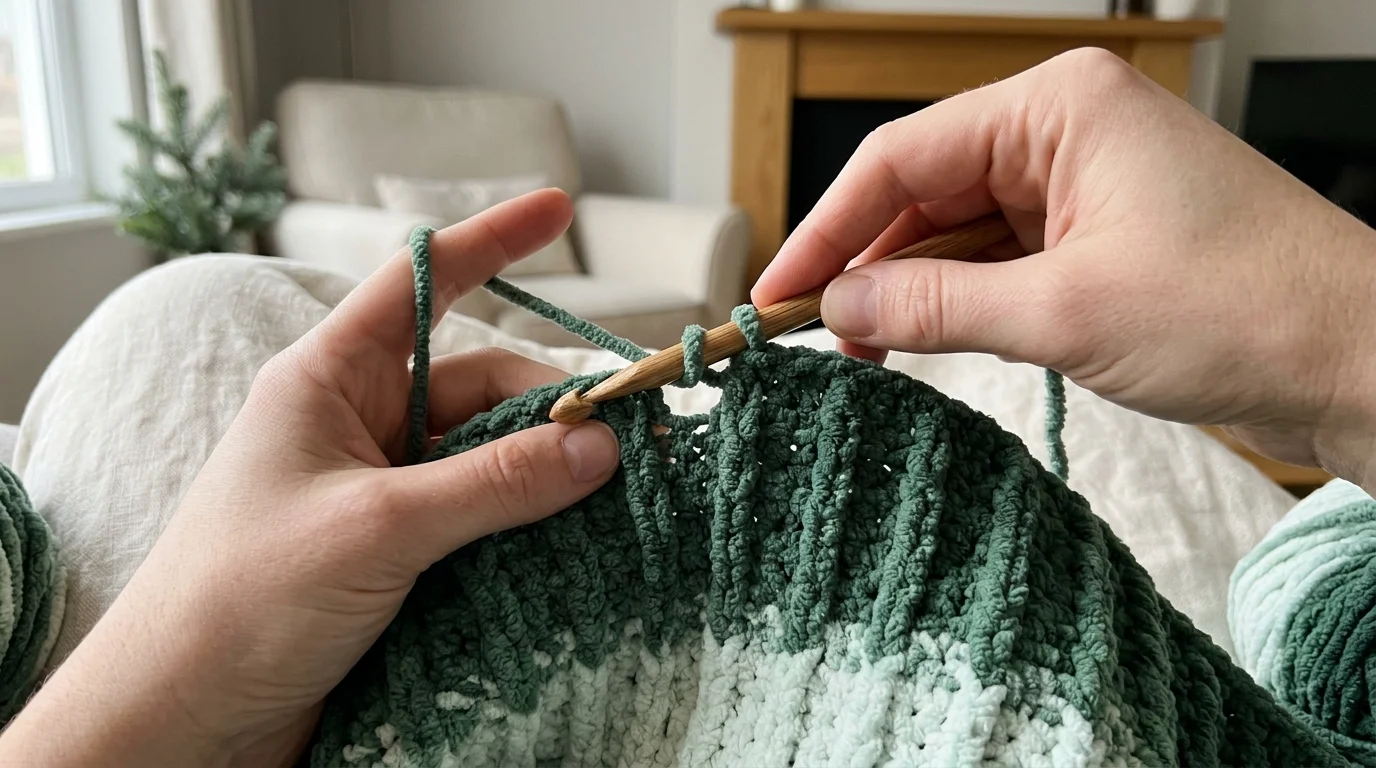
Checkpoint: Four corners with 3 sc each, an even border that lies flat, and the round joined with a sl st before you fasten off. If a corner ripples, check that you worked all 3 sc into the same corner stitch.
Finishing
Fasten off after joining the edging round. Use the yarn needle to weave in the yarn tails, including those left at each ball change, so that they sit within the stitches of the same shade.
Whether blocking suits your blanket depends on the fibre of your yarn, so check the ball band first. How to block a crocheted blanket covers the method.
Troubleshooting & Common Mistakes
- The count is not 85. The usual cause is working into the sc above a trfp instead of skipping it (one stitch too many), or missing a dc at the start or end of a row (one stitch too few). Count the stitches at the end of each row, find the row where the count changed, and rip back to the last correct row.
- The post stitches land in the wrong place after Row 5. Row 5 starts with ch 3 and a dc and ends with a dc in the last sc, which is what shifts the trfp over by one stitch. If your post stitches sit directly above those of Row 3, check that you worked the extra dc at the start of the row.
- A trfp was worked around the wrong stitch. Each post stitch goes around the stitch two rows below, not around a stitch in the row you have just worked. Rip back to the row and rework it.
- The edges drift in or curl inward. The cause is usually a count that has slipped, or a ch 3 that was not counted as a stitch at the start of Rows 3, 5 and 7. Count every row for a few repeats until the pattern is familiar.
- The shades do not match at a ball change. Before joining, check which end of the new ball matches the shade where the last ball finished, as in the pattern notes. If the colour has jumped, rework the join with the other end of the ball.
- The gauge is off. Check the pattern gauge, 7 sts and 6 rows = 4″ [10 cm], and change the hook size until it matches.
- The edging corners do not lie flat. Work all 3 sc into the corner stitch, and keep the sc along the sides evenly spaced.
Variations, Sizes & Care
Size. The resizing note in Gauge & Sizing explains how the foundation chain and gauge set the width, and why the chain count stays even.
Colour. A single-colour yarn removes the fade, and with it the need to match shades at a ball change. Everything else in the pattern stays the same.
Yarn. A different yarn changes the gauge, the finished size and the quantity needed, so swatch before you buy a full amount.
Care. Washing and drying depend on the fibre of your yarn, so follow the care label on its ball band.
If you would rather work a blanket from joined squares than from rows, another free crochet blanket pattern built from joined squares uses a different construction.
Frequently Asked Questions
Why does the colour change in bands across the blanket?
The yarn shifts shade along its length, and the blanket is built row by row, so each stretch of rows takes on the shade being worked. Those rows stack into bands that run across the 85-stitch width. Down the length, that reads as a fade from dark to light to dark.
Which rows are worked on the right side?
Row 1 is the right side, and you turn at the end of every row, so Rows 1, 3, 5 and 7 are worked with the right side facing. Those are the rows with the post stitches, so the trfp are worked at the front of the work. Rows 2, 4 and 6 are worked with the wrong side facing.
Why does the blanket end on a 4th or 6th row?
Rows 4 and 6 are the plain sc rows, so stopping on one leaves a flat row of 85 sc along the top for the edging round to follow. Because every row ends with a turn, the right side faces you when the edging round starts.

Last updated . Found something out of date? Let us know.