 Accessories
 Baby & Kids
 Blankets & Afghans
 Clothing
Free Crochet Bag Patterns: A Sturdy Cross Body Bag With Flap and Tassel
Among free crochet bag patterns, this cross body bag is written out from the first chain to the tassel, with materials, gauge, finished size and every row on the page.
 Nicole Sinclair
Published · Updated · 24 min read
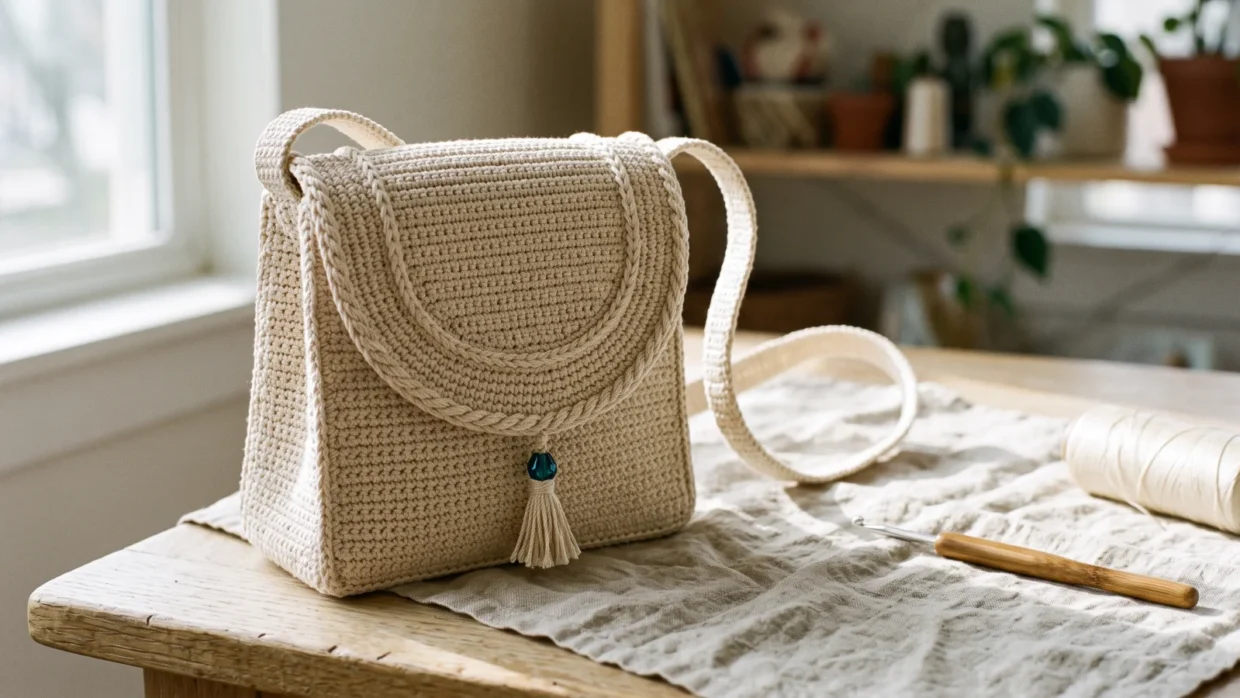
The finished cross body bag in natural nylon, with its rounded flap, surface slip stitch line and tassel
Pattern at a Glance
- Skill level
- Intermediate
- Yarn weight
- Size 18 crochet nylon
- Hook size
- 3.75 mm (US F-5)
- Finished size
- About 10 in wide x 9 in high x 2½ in deep (25.5 x 23 x 6.5 cm), without strap
- Yarn needed
- 4 tubes, color 16 Natural
- Construction
- 5 pieces worked flat, joined with reverse sc
- Stitches
- sc, sc2tog, reverse sc, surface slip stitch
- Gauge
- 17 sts x 20 rows = 4 in in sc
- Pattern type
- Written pattern
- Project type
- Cross body bag
Most free crochet bag patterns end up soft and stretchy. This cross body bag is built to be the opposite: it is worked in Size 18 crochet nylon, in five separate pieces joined with reverse single crochet, so it comes out firm instead of floppy.
You will need a 3.75 mm (US F-5) hook and 4 tubes of nylon. The finished bag is about 10 in wide, 9 in high and 2½ in deep, with a curved flap, a long strap and an optional jeweled tassel.
Materials & Supplies
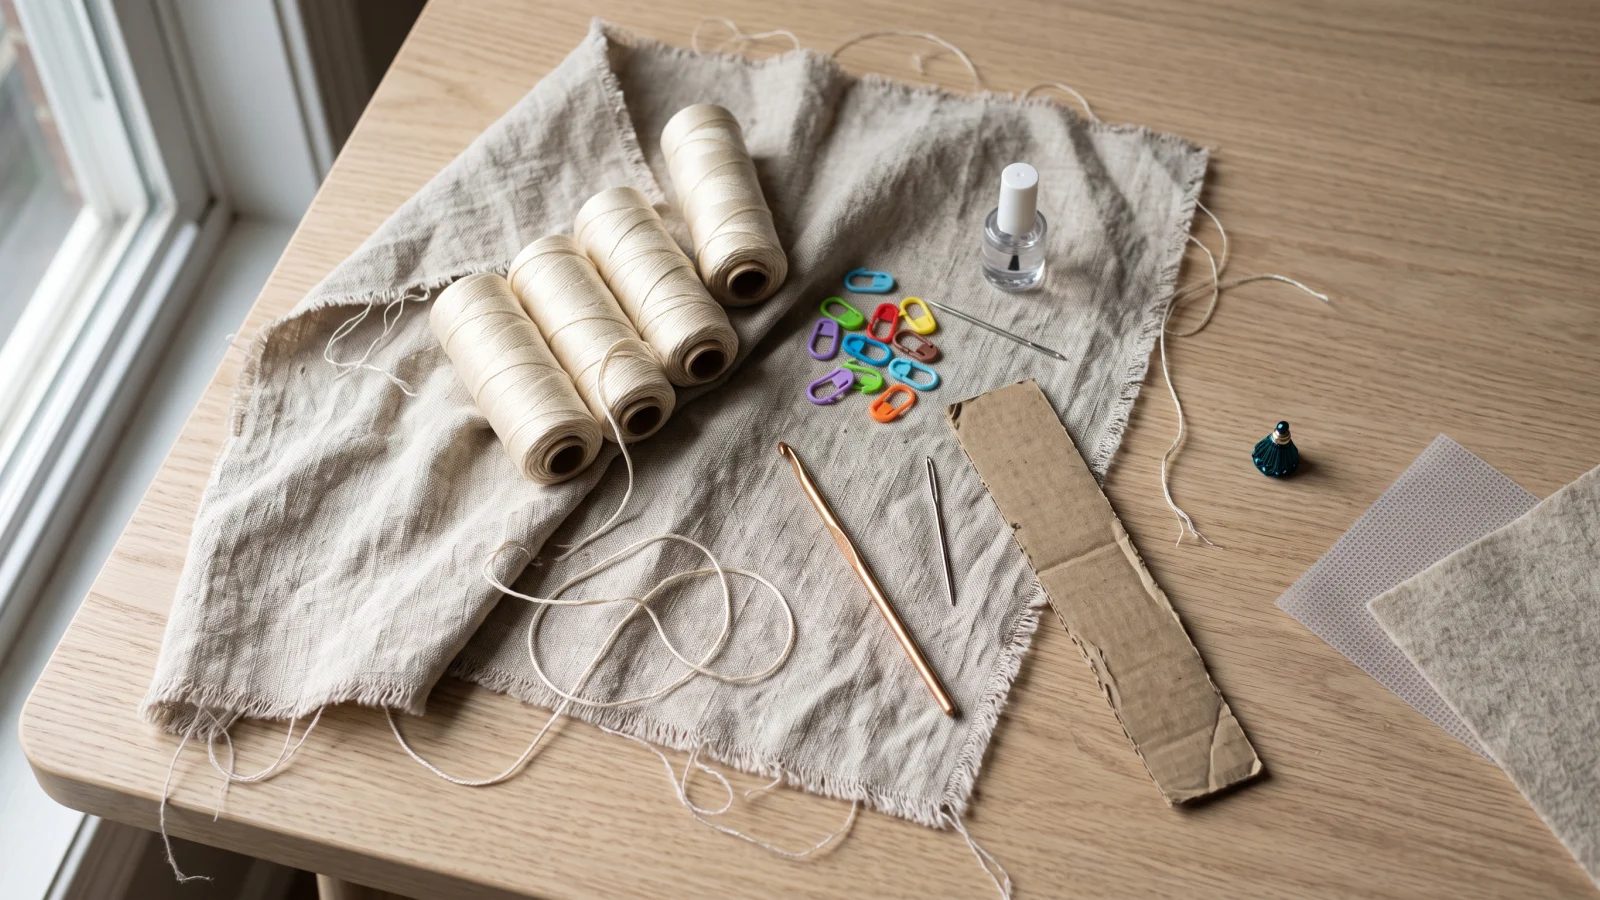
Everything in this table is required unless it is marked optional.
| Item | Details | Required or optional |
|---|---|---|
| Yarn | 100% nylon, Size 18 crochet nylon, color 16 Natural, 4 tubes | Required |
| Hook | 3.75 mm (US F-5). Any hook size that gives the stated gauge will do | Required |
| Stitch clips | Susan Bates Knit Klips, 10 pack, for holding pieces together while you join them | Required |
| Yarn needle | For sewing on the strap and weaving in ends | Required |
| Clear nail polish | A drop on every cut end of nylon so woven-in ends stay put (super glue also works) | Required |
| Tassel form | 10–11 in (25.5–28 cm) piece of heavy cardboard or a thin book, for wrapping the tassel | Required for the tassel |
| Decorative tassel cap and super glue | For finishing the tassel top | Optional |
| Lining and stiffening | Craft felt, fabric, interfacing and/or plastic canvas | Optional |
The nylon is what keeps this bag from behaving like a typical crocheted bag. Nylon has very little give compared with the cotton or acrylic most bags are made from, and plain single crochet worked at this tension makes a dense fabric that holds its shape.
If you substitute, match the gauge rather than the label. You need a firm, low-stretch thread or yarn that gives 17 sts and 20 rows to 4 in in single crochet. A softer or stretchier yarn will make a floppier bag from the same stitch counts, and a thicker one will make a larger bag. Compare the total yardage of your yarn with 4 tubes of the nylon above before you buy.
Gauge & Sizing
Gauge is 17 sts = 4 in (10 cm) and 20 rows = 4 in (10 cm) in single crochet. Use whatever hook size gets you there; 3.75 mm (US F-5) is the starting point. Gauge matters more here than in a blanket, because the bag is made of fixed-count pieces that have to fit each other, and your tension decides how firm the finished fabric is.
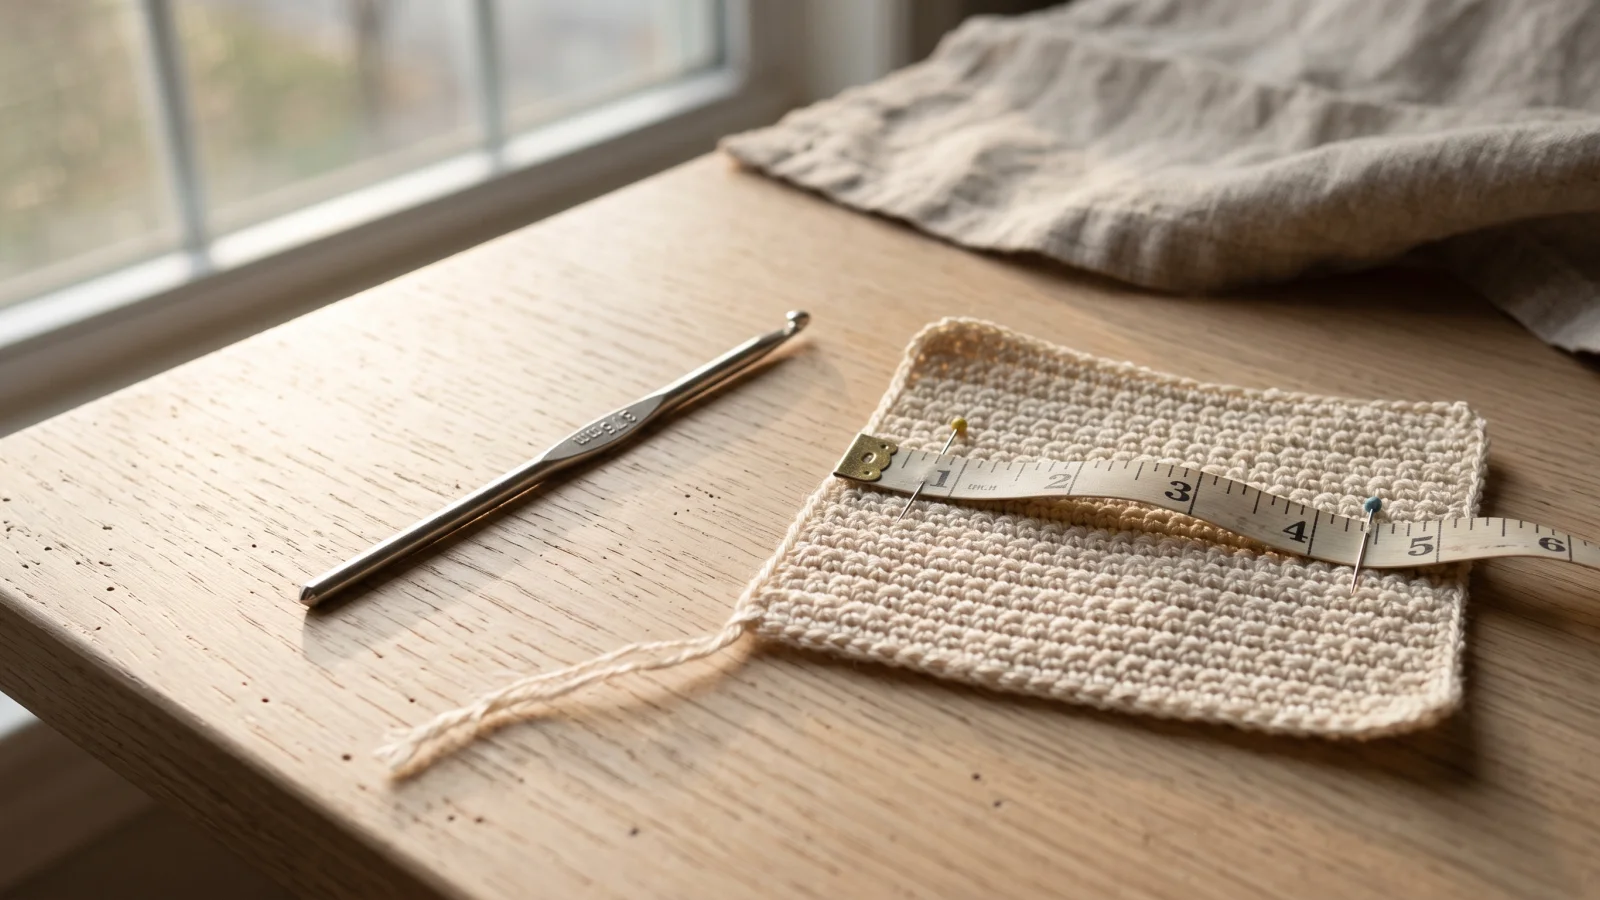
To check it, make a swatch about 5 in square: ch 22, sc in 2nd ch from hook and in each ch across (21 sc), then work 24 more rows of ch 1, turn, sc in each st across (25 rows in all). Lay the swatch flat without stretching it and measure the center 4 in, counting stitches across and rows up. If you have more stitches than 17 in 4 in, go up a hook size; if you have fewer, go down.
Even a small gauge difference shifts the size. To estimate the change, multiply a stated measurement by 17 divided by your stitches per 4 in. For example, 16 sts per 4 in instead of 17 makes each piece about 6% wider (17 ÷ 16 = 1.06). The same arithmetic works for height using rows: 20 rows per 4 in is the target. A looser gauge also gives a softer, less structured bag, which is the opposite of what this design is for.
The finished bag measures about 10 in (25.5 cm) wide, 9 in (23 cm) high and 2½ in (6.5 cm) deep, not including the strap.
No alternate sizes are written. The front, back and flap share the same 40-stitch top edge, and the sides panel and strap are matched to them, so I would not change the counts on one piece without changing the others. Two things can be adjusted safely: the sides panel, which you measure against the bag edges and lengthen or shorten by rows, and the strap, which you can work longer or shorter in rows. At 20 rows per 4 in, every 5 rows adds or removes 1 in.
Before You Begin
Abbreviations (US terms)
- ch = chain
- sc = single crochet (US term; this is a UK double crochet)
- st(s) = stitch(es)
- sc2tog = single crochet 2 stitches together
- reverse sc = reverse single crochet (also called crab stitch)
- [ ] = work the directions in brackets the number of times specified
Special stitches and technique
- sc2tog: [Insert hook in next st, yarn over and pull up a loop] twice, yarn over and draw through all 3 loops on hook.
- Reverse sc: Work single crochet in the opposite direction from usual: left to right if you are right-handed, right to left if you are left-handed. Do not turn. It makes a rope-like, twisted edge and is also known as crab stitch.
- Adjustable ring: Wrap the yarn into a ring so the tail falls behind the working yarn. Grip the ring and tail between middle finger and thumb, insert the hook through the center of the ring, yarn over with the working yarn and draw up a loop. Work the first row of stitches in the ring, then pull gently on the tail to tighten the ring.
- Surface slip stitch: Make a slip knot and hold it on the wrong side of the piece. Insert the hook from right side to wrong side in a space between stitches, place the slip knot on the hook and draw up a loop, stretching it to about ½ in (1.5 cm) long. *Insert the hook from right side to wrong side in the next space, yarn over and draw the loop through the fabric and through the loop on the hook; repeat from * as far as needed. To finish the last stitch, on the right side remove the loop from the hook, insert the hook from wrong side to right side in the next space, return the loop to the hook and draw it to the wrong side. Cut the nylon, draw the end through the loop, pull to tighten and weave in the end securely.
Construction notes
- The bag is made in 5 pieces: front, back, sides panel, flap and strap. Each is worked flat and separately, then the pieces are crocheted together with reverse sc.
- The front and back are worked from the top edge down. The flap starts at the center of its top edge in an adjustable ring and is worked in rows, not rounds.
- Every row begins with ch 1, turn. The turning chain does not count as a stitch, so work your first sc into the first stitch of the row.
- All counts in this pattern are individual stitches.
- The pattern says right side and wrong side only where pieces are joined. Choose the same side of the front and back as the right side (the outside) and keep that choice for every piece.
- Put a drop of clear nail polish or super glue on every cut end of nylon.
Free Crochet Pattern Instructions
Work the five pieces in this order: front, back, flap, sides panel, strap. The finishing steps (surface slip stitch line, tassel, optional lining) follow in the next section.
Part 1 – Front
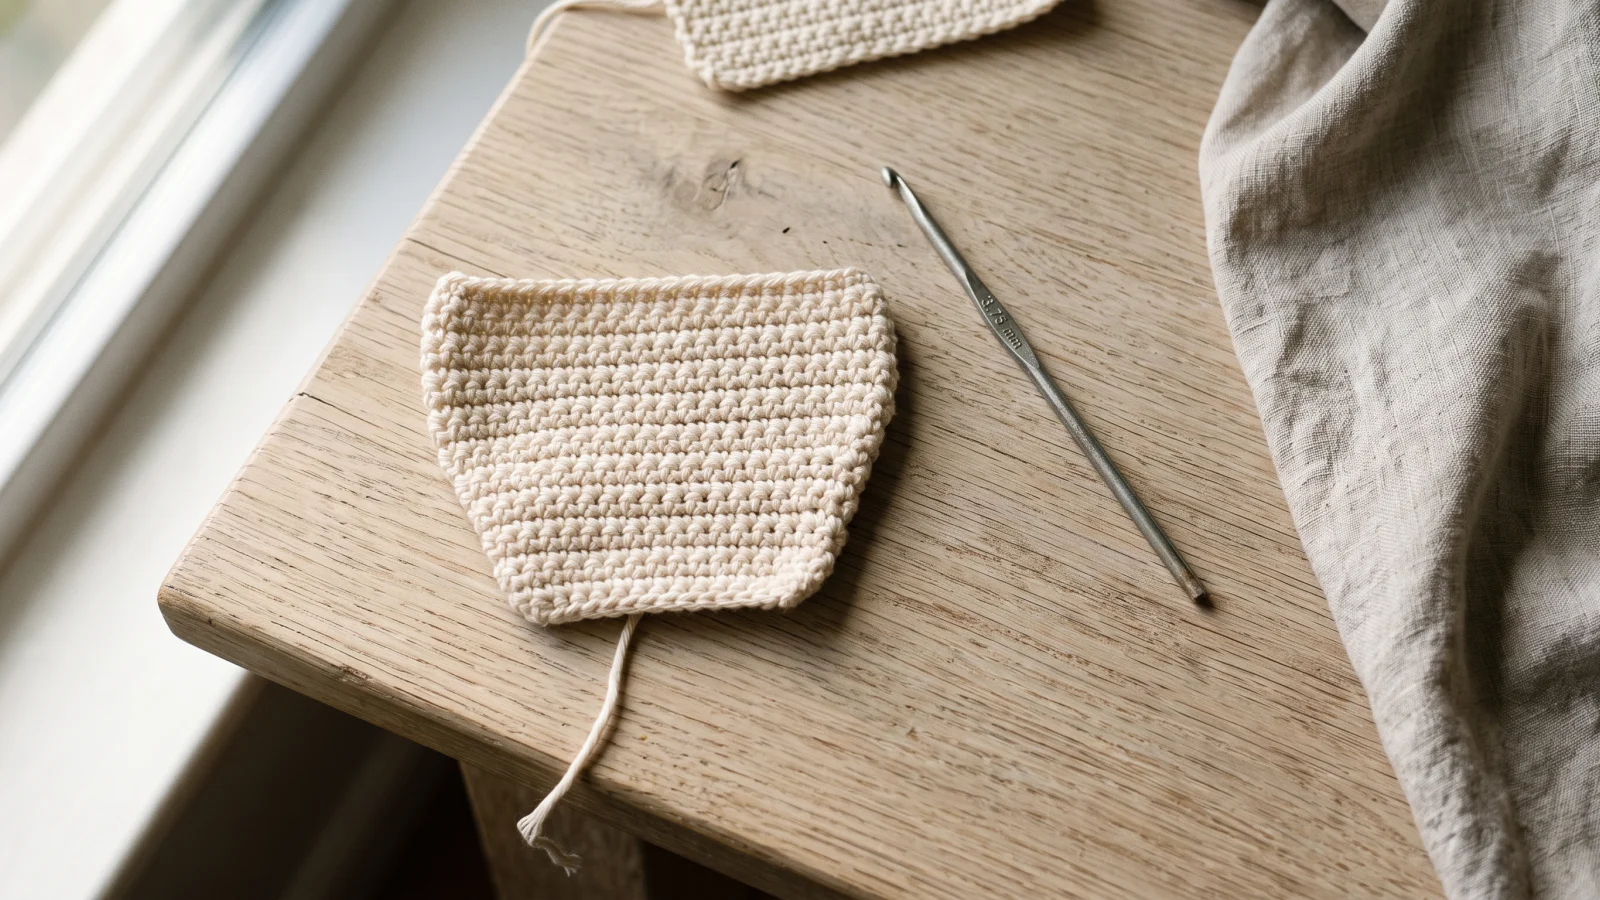
The front is 42 rows: 34 rows of straight single crochet, then 8 rows of shaping that narrow the lower section.
Step 1 – Foundation chain and Row 1
Pattern instruction: Beginning at top edge, ch 41. Row 1: Sc in 2nd ch from hook and in each remaining ch across. (40 sc)
Beginner explanation: Skip the chain next to the hook and put your first stitch in the next one, then work one stitch in every remaining chain. The foundation chain becomes the top edge of the bag, so keep it relaxed enough that the hook slides into each chain easily.
Checkpoint: Row 1 has 40 sc. If your count is off, count the foundation chain before going further, because correcting it later means unraveling the whole piece.
Step 2 – Straight rows
Pattern instruction: Rows 2–34: Ch 1, turn, sc in each st across. (40 sc in each row)
Beginner explanation: Turn the work, make one chain, then work a single crochet into the first stitch and every stitch after it to the end of the row. Look for the top two loops of the last stitch of the previous row so the edges stay straight and the width does not drift.
Checkpoint: You now have 34 rows in all (Row 1 plus 33 more), and every row has 40 sc. At the stated row gauge the piece is about 6¾ in tall from the foundation chain. If a row has 39 or 41, find the row where the count changed and redo from there.
Step 3 – Shape the lower section
Pattern instruction: Rows 35–42: Ch 1, turn, sc2tog, sc in each st to last 2 sts, sc2tog. Fasten off after Row 42.
Work every one of Rows 35 to 42 the same way. After each row you have:
| Row | Stitches after the row |
|---|---|
| 35 | 38 |
| 36 | 36 |
| 37 | 34 |
| 38 | 32 |
| 39 | 30 |
| 40 | 28 |
| 41 | 26 |
| 42 | 24 |
Beginner explanation: Each row now starts and ends with a decrease, so the piece gets narrower at both sides and the lower part of the bag tapers. Stop working plain stitches when two stitches are left in the row, then finish with the second decrease. The sloped edges you create here are the edges the sides panel will follow later.
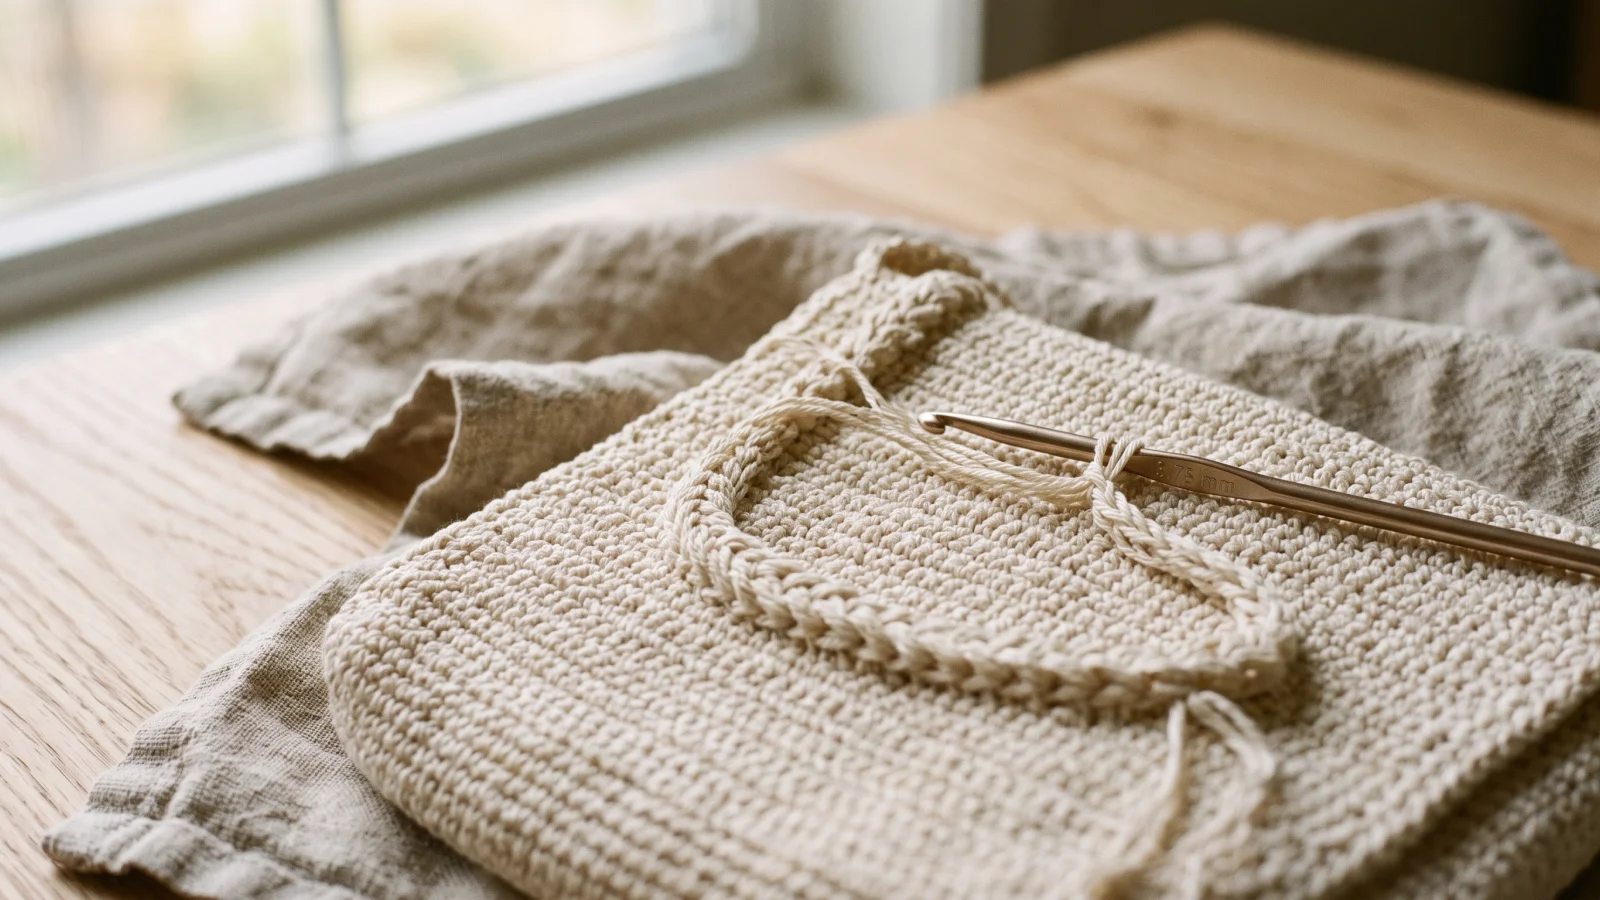
Checkpoint: Every shaping row is 2 stitches shorter than the one before, and Row 42 has 24 sc. The front is 42 rows in all. If Row 42 has more than 24, you missed a decrease at one end in one of the rows; count back through the rows to find it.
Part 2 – Back
The back is an exact twin of the front, so it takes the same 42 rows.
Step 4 – Make the back
Pattern instruction: Make same as front: ch 41; Row 1, sc in 2nd ch from hook and in each ch across (40 sc); Rows 2–34, ch 1, turn, sc in each st across (40 sc); Rows 35–42, decrease as in Step 3 (24 sc in Row 42). Fasten off after Row 42.
Beginner explanation: Follow Steps 1 to 3 again without changing anything. The front and back need to match, because the sides panel will be joined around the edges of both.
Checkpoint: Lay the back on top of the front: same width at the top, same taper, same 42 rows. If one is longer or wider, compare row counts and stitch counts before moving on.
Part 3 – Flap
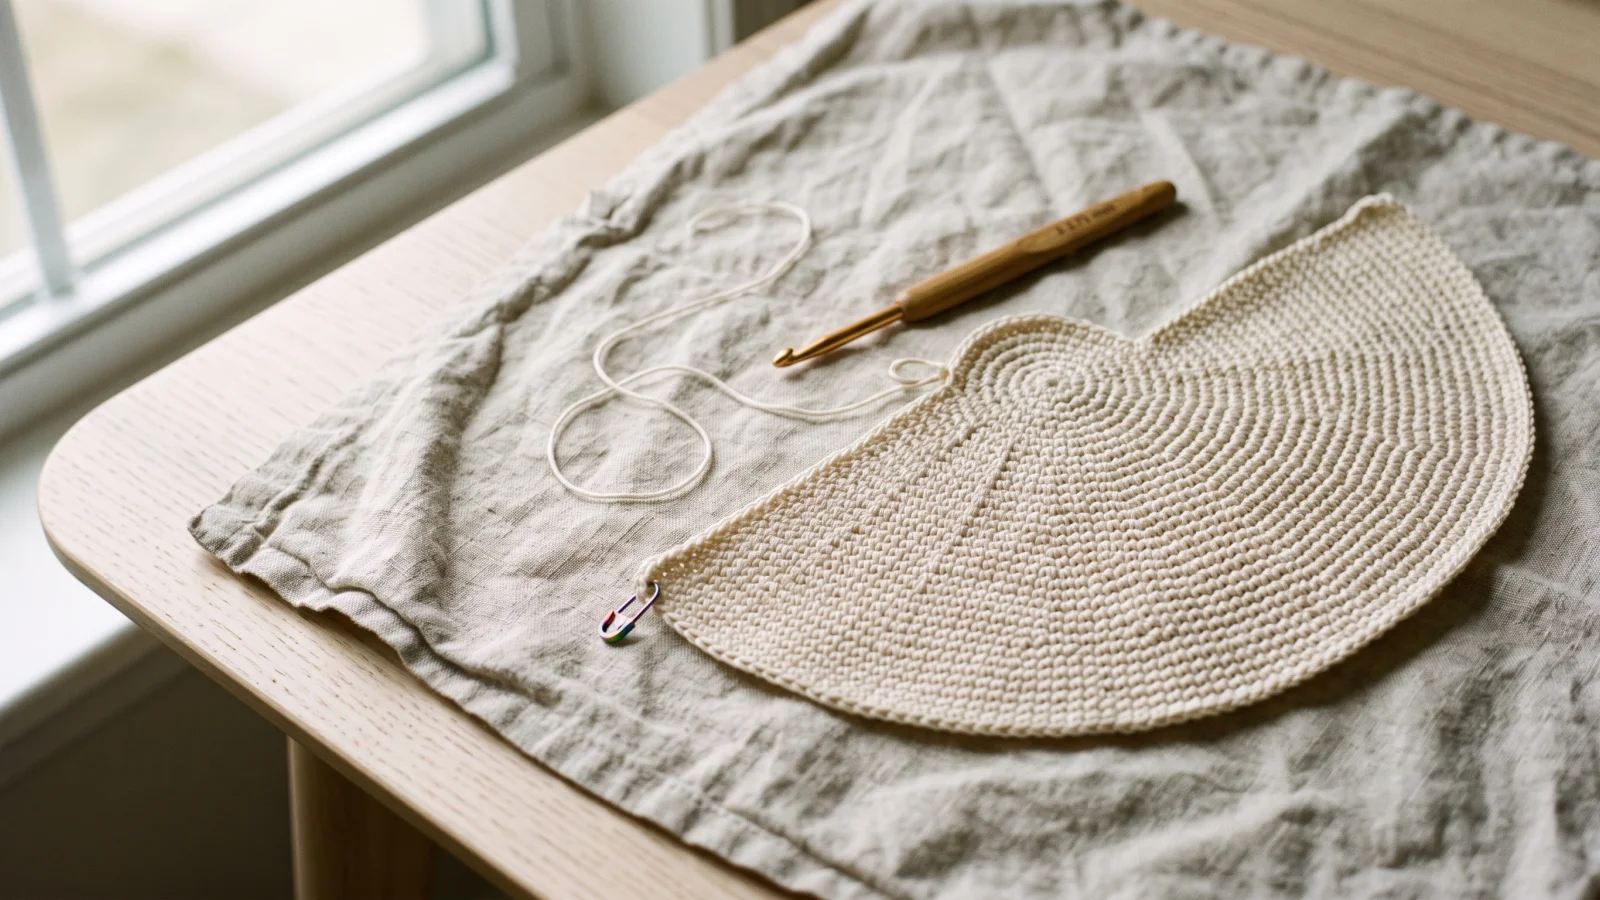
The flap is worked outward from the center of its top edge in 21 increase rows, then a band of 8 rows is worked along the straight top edge.
Step 5 – Adjustable ring and Rows 1–2
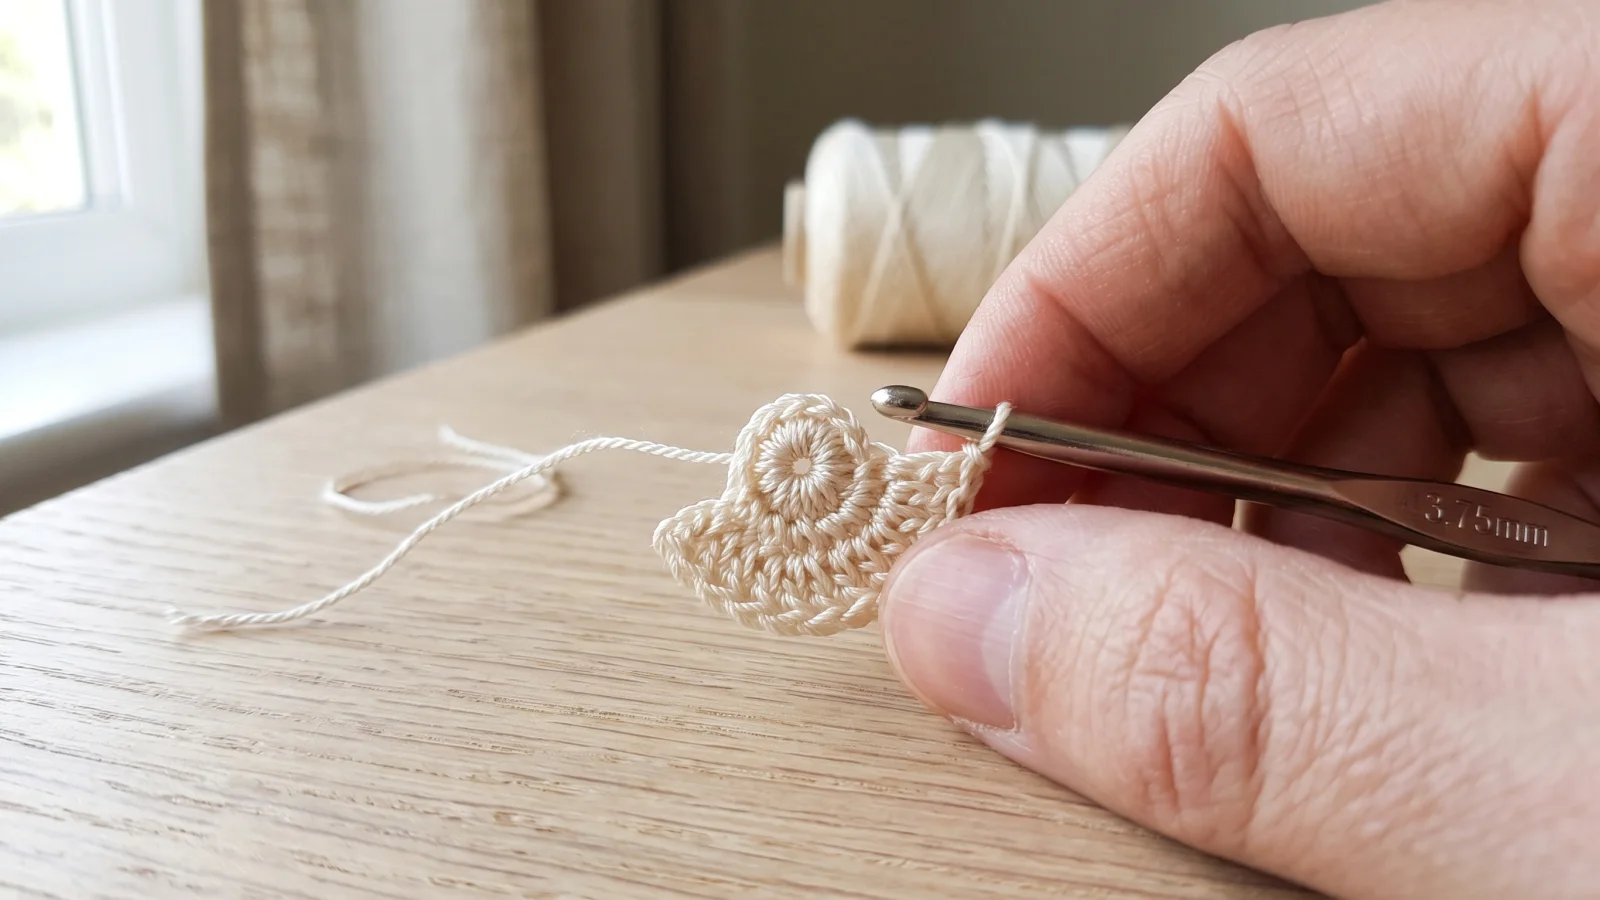
Pattern instruction: Beginning at center of top edge, make an adjustable ring. Work back and forth in rows (not rounds). Row 1: Ch 1, 3 sc in ring. (3 sc) Row 2: Ch 1, turn, 2 sc in each st across. (6 sc)
Beginner explanation: Make the ring, chain once, and work the first row of stitches into the center of the ring. Pull the tail gently to tighten it, then turn and work two stitches into every stitch of the first row. You will see a small fan-shaped piece with the ring at the center of its top edge.
Checkpoint: Row 1 has 3 sc and Row 2 has 6 sc. If Row 2 does not have 6, undo it and work 2 sc in each of the 3 stitches again.
Step 6 – Increase Rows 3–11
Pattern instruction: Rows 3–11: Ch 1, turn, 2 sc in first st, sc in next N sts, [2 sc in next st, sc in next N sts] twice. Use the N for your row from the table.
| Row | N (plain sc between increases) | Stitches after the row |
|---|---|---|
| 3 | 1 | 9 |
| 4 | 2 | 12 |
| 5 | 3 | 15 |
| 6 | 4 | 18 |
| 7 | 5 | 21 |
| 8 | 6 | 24 |
| 9 | 7 | 27 |
| 10 | 8 | 30 |
| 11 | 9 | 33 |
Beginner explanation: Every row has three increases: one in the first stitch and one at each of two places spaced evenly along the row. Between the increases, you work one more plain stitch than in the previous row, so the number after “sc in next” goes up by one each row. That keeps the three increase points lined up and the flap widening evenly.
Checkpoint: Each row has 3 more stitches than the one before, and Row 11 has 33 sc. If a row comes out short, check that you made the increase in the first stitch and both bracketed increases.
Step 7 – Increase Rows 12–21
Pattern instruction: Rows 12–21: Ch 1, turn, 2 sc in first st, sc in next N sts, [2 sc in next st, sc in next N sts] twice. Use the N for your row from the table.
| Row | N (plain sc between increases) | Stitches after the row |
|---|---|---|
| 12 | 10 | 36 |
| 13 | 11 | 39 |
| 14 | 12 | 42 |
| 15 | 13 | 45 |
| 16 | 14 | 48 |
| 17 | 15 | 51 |
| 18 | 16 | 54 |
| 19 | 17 | 57 |
| 20 | 18 | 60 |
| 21 | 19 | 63 |
Beginner explanation: Keep working the same three-increase row, adding one more plain stitch between increases each time. Row 17 matters later, because the decorative surface slip stitch line follows it, so you may want to mark it with a removable marker. When Row 21 is done, the piece is a rounded fan that widens from the ring at its top to a long curved lower edge.
Checkpoint: The stitch count in any row is three times the row number, so Row 17 has 51 sc and Row 21 has 63 sc. Rows 3–21 make 19 increase rows, and the flap has 21 rows in all. If the count in a row is off, count the stitches between the increases, which should be the same in all three sections.
Step 8 – Work along the straight edge (top) of the flap
Pattern instruction:
- Row 1: Ch 1, do not turn, working in ends of rows, draw up a loop in end of next 2 rows, yarn over and draw through all 3 loops on hook (sc2tog made), sc in end of next 18 rows, draw up a loop in end of next row, draw up a loop in center adjustable ring, yarn over and draw through all 3 loops on hook (sc2tog made), sc in end of next 19 rows, sc2tog (working in ends of last 2 rows). (40 sc)
- Rows 2–8: Ch 1, turn, sc in each st across. (40 sc in each row)
Do not fasten off.
Beginner explanation: Now you work along the sides of the fan, the row ends that line up along both sides of the ring, and the ring sits in the middle of this straight edge. The first decrease joins the ends of two rows, the middle decrease joins one row end with the center of the ring, and the last decrease joins the ends of the final two rows. After this first row, the next seven rows are plain single crochet.
Checkpoint: Row 1 uses 21 row ends on each side of the ring and has 40 sc: 3 sc2tog and 37 plain sc. Rows 2–8 each have 40 sc, so the top band is 8 rows deep and exactly as wide as the top edge of the back. If your count is not 40, recount the row ends on each side; there should be 21.
Step 9 – Connect the flap to the back
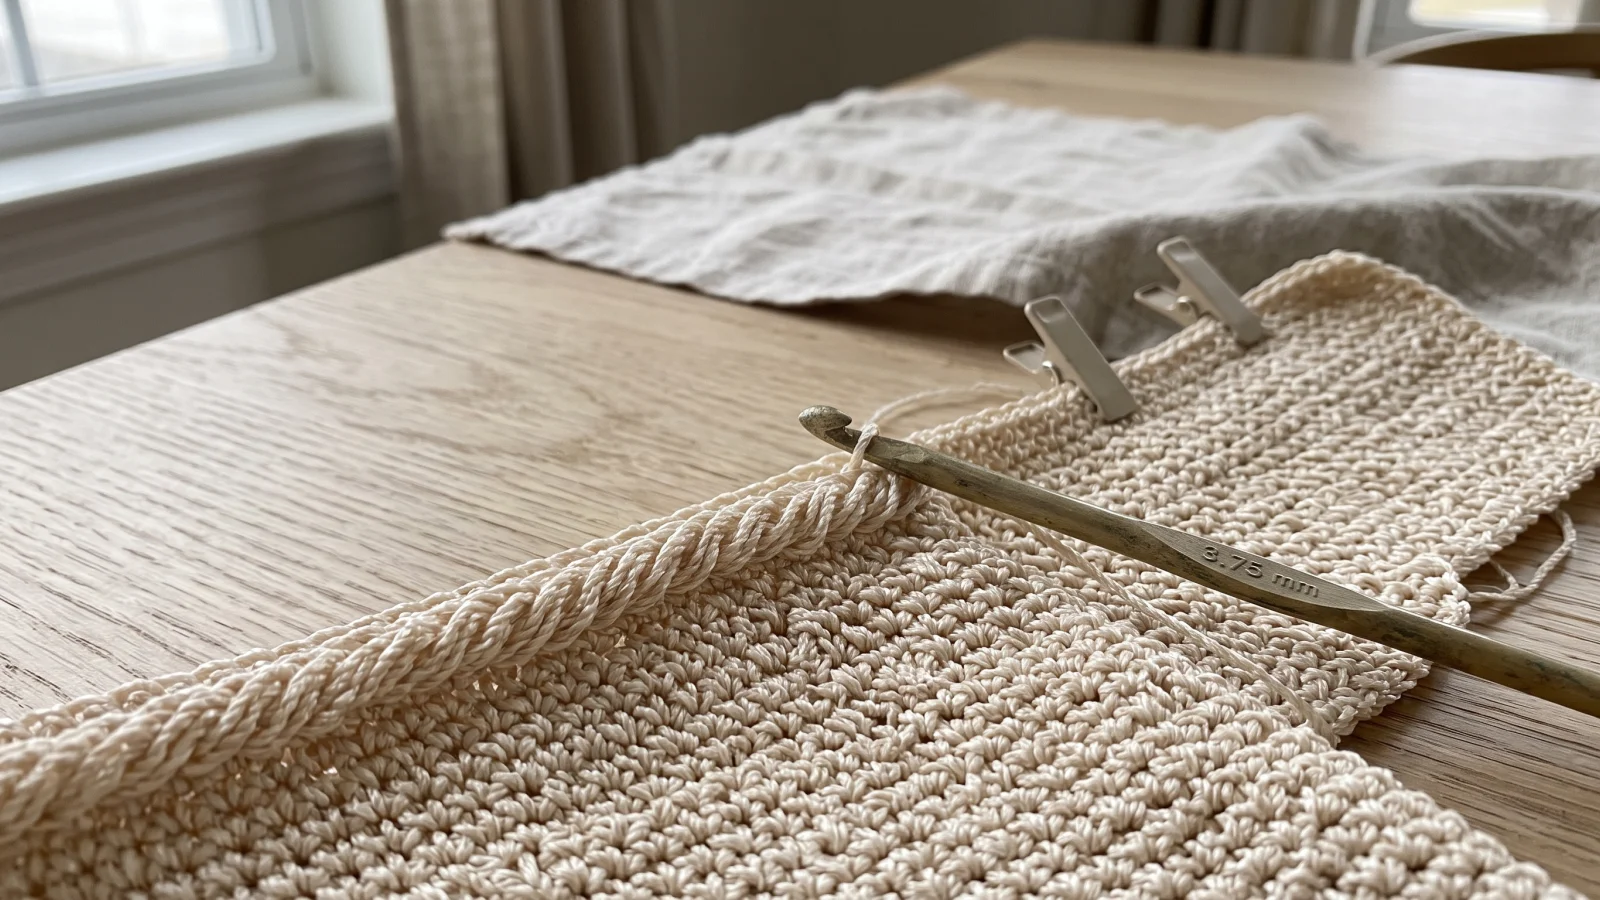
Pattern instruction: Hold flap and back with wrong sides (insides) together and stitches of top edges matching. Use Knit Klips to hold the pieces together. With right side of flap facing you and working through both thicknesses, reverse sc in each st across top edges to connect flap to back. Continue around the remaining curved edges of the flap, working reverse sc evenly spaced. Fasten off.
Beginner explanation: Line up the 40 stitches of the flap’s top edge with the 40 stitches of the back’s foundation chain edge, and clip them together every few inches. Then work reverse single crochet through both layers, one stitch in each pair of stitches, so the two pieces are joined by a twisted rope-like edge. Around the curved edge of the flap, space the stitches evenly so the edging lies flat rather than puckering.
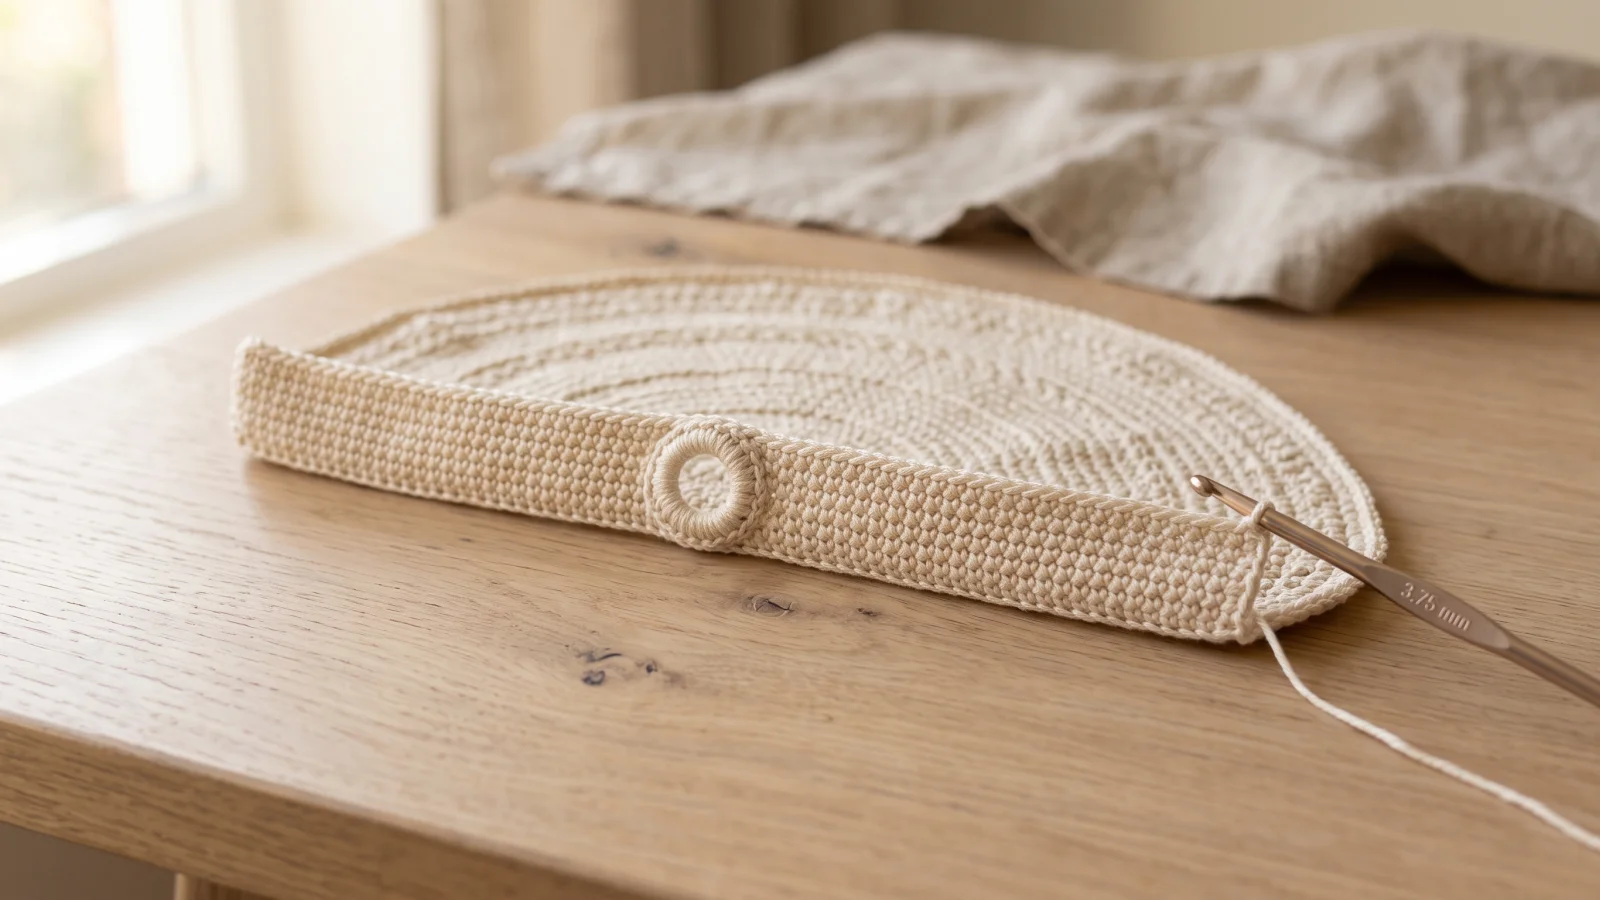
Checkpoint: You made one reverse sc in each of the 40 stitch pairs across the top edge, with no gaps and no stitch left over on either piece. If one piece runs out of stitches first, take out the joining and re-clip with the edges lined up from the first stitch.
Part 4 – Sides panel
The sides panel is a long, narrow strip that runs along both sides and the bottom of the bag, forming its depth. It is worked to a starting length and then measured against the bag.
Step 10 – Make the sides panel
Pattern instruction: Ch 12. Row 1: Sc in 2nd ch from hook and in each remaining ch across. (11 sc) Rows 2–112: Ch 1, turn, sc in each st across. (11 sc in each row) Do not fasten off. Measure the sides panel to ensure it will fit correctly around the side and lower edges of the back. Work additional rows or unravel rows if necessary.
Beginner explanation: This is a plain strip, so it moves quickly once you settle into the rhythm. Because the panel is not fastened off, you can easily add rows or take some out when you hold it against the edges of the back. Lay it along the edge without stretching it to check the length.
Checkpoint: Every row has 11 sc, and the strip has 112 rows (Row 1 plus 111 more), which is about 22½ in at the stated row gauge. Check it against the side and lower edges of the back; at 20 rows per 4 in, every 5 rows you add or remove changes the length by 1 in.
Step 11 – Connect the sides panel to the back
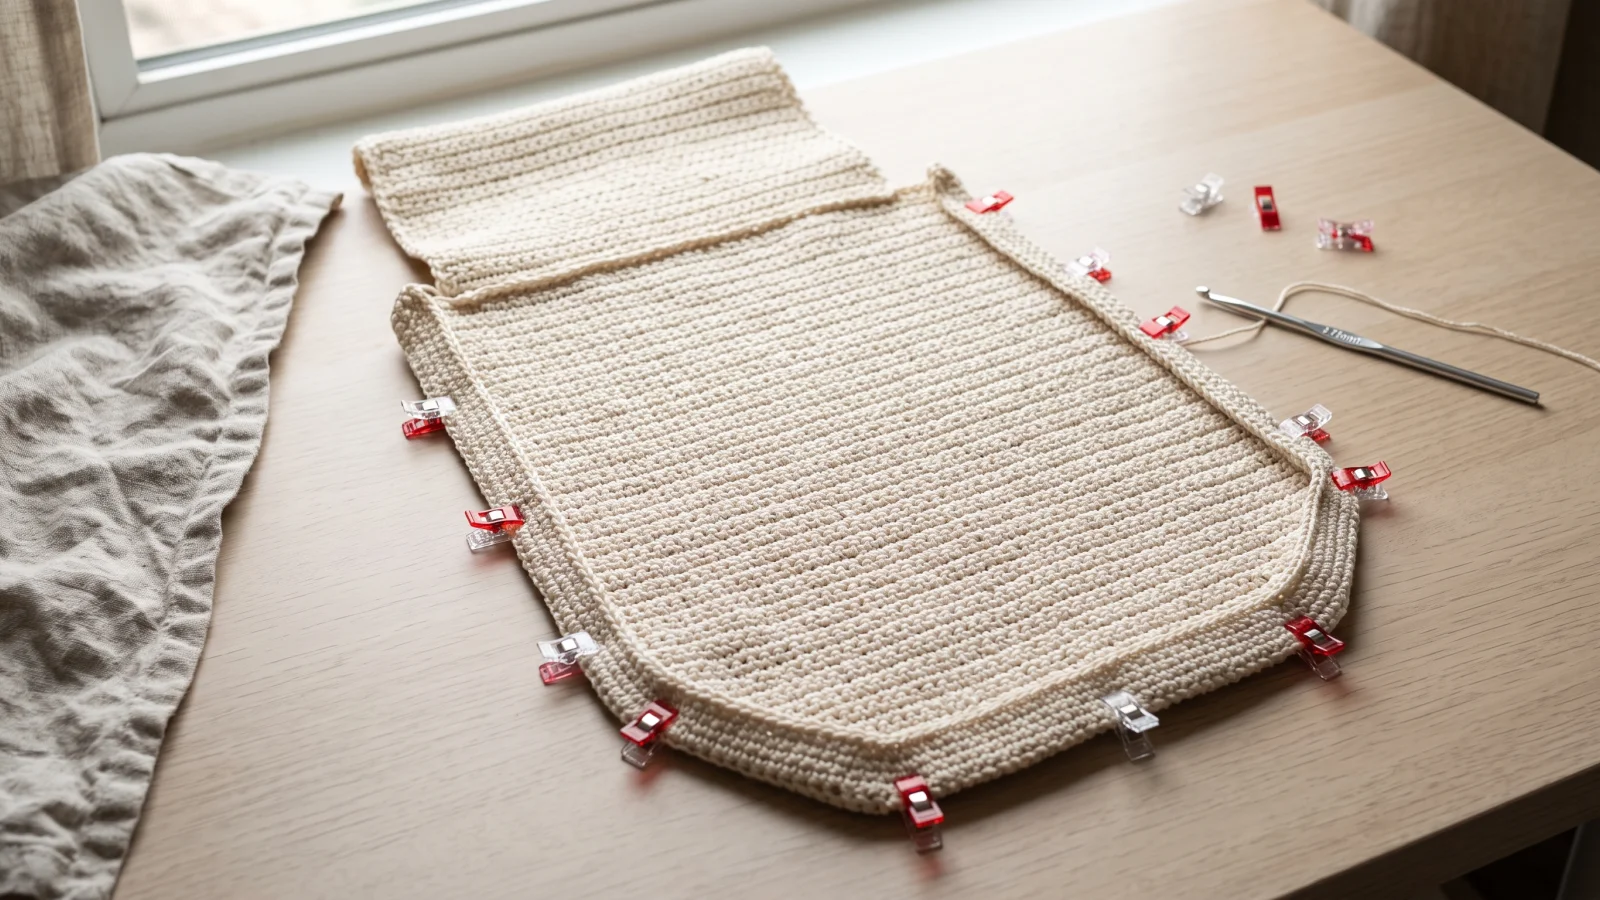
Pattern instruction: Place back on a flat surface with wrong side (inside) facing up. Beginning at one top corner and ending at other top corner of back, arrange one long edge of sides panel along sides and lower edges of back. Use Knit Klips evenly spaced to hold the pieces together. Working from the right side (outside) and working through both thicknesses, join yarn at one corner and work reverse sc evenly spaced all the way along the edges to join sides panel to back.
Beginner explanation: The panel starts at one top corner of the back, follows the sloped side, crosses the bottom, and climbs the other side to the other top corner. Clip it generously, especially where the sloped edge changes direction, so the panel is neither stretched nor bunched. Then turn to the outside, join the nylon at one corner and work reverse sc through both layers.
Checkpoint: The panel runs from one top corner to the other with no extra length left over and no gaps. The reverse sc should be spaced so that the edge looks even from the outside. If you reach the second corner with panel left over or short, unclip and redistribute the clips before you continue.
Step 12 – Connect the sides panel to the front
Pattern instruction: Place front on a flat surface with wrong side (inside) facing up. Arrange remaining long edge of sides panel around sides and lower edges of front. Use Knit Klips evenly spaced to hold the pieces together. Working from the right side (outside) and working through both thicknesses, join yarn at one corner and work reverse sc evenly spaced all the way along the edges to join sides panel to front.
Beginner explanation: Do the same thing for the front that you did for the back, using the free long edge of the panel. Match the corners first, then clip along the sloped sides and the bottom before you start stitching. When you finish, the bag has a front, a back, and a connecting panel that gives it depth.
Checkpoint: The panel is joined to the front along the same path it follows on the back, ending at the top corners, with both top edges open. The bag should stand up with a flat bottom and about 2½ in of depth. If the front and back sit unevenly, check that both joins start at matching corners.
Part 5 – Strap
The strap is a narrow strip worked to a long fixed length and sewn to the top corners of the bag.
Step 13 – Make and attach the strap
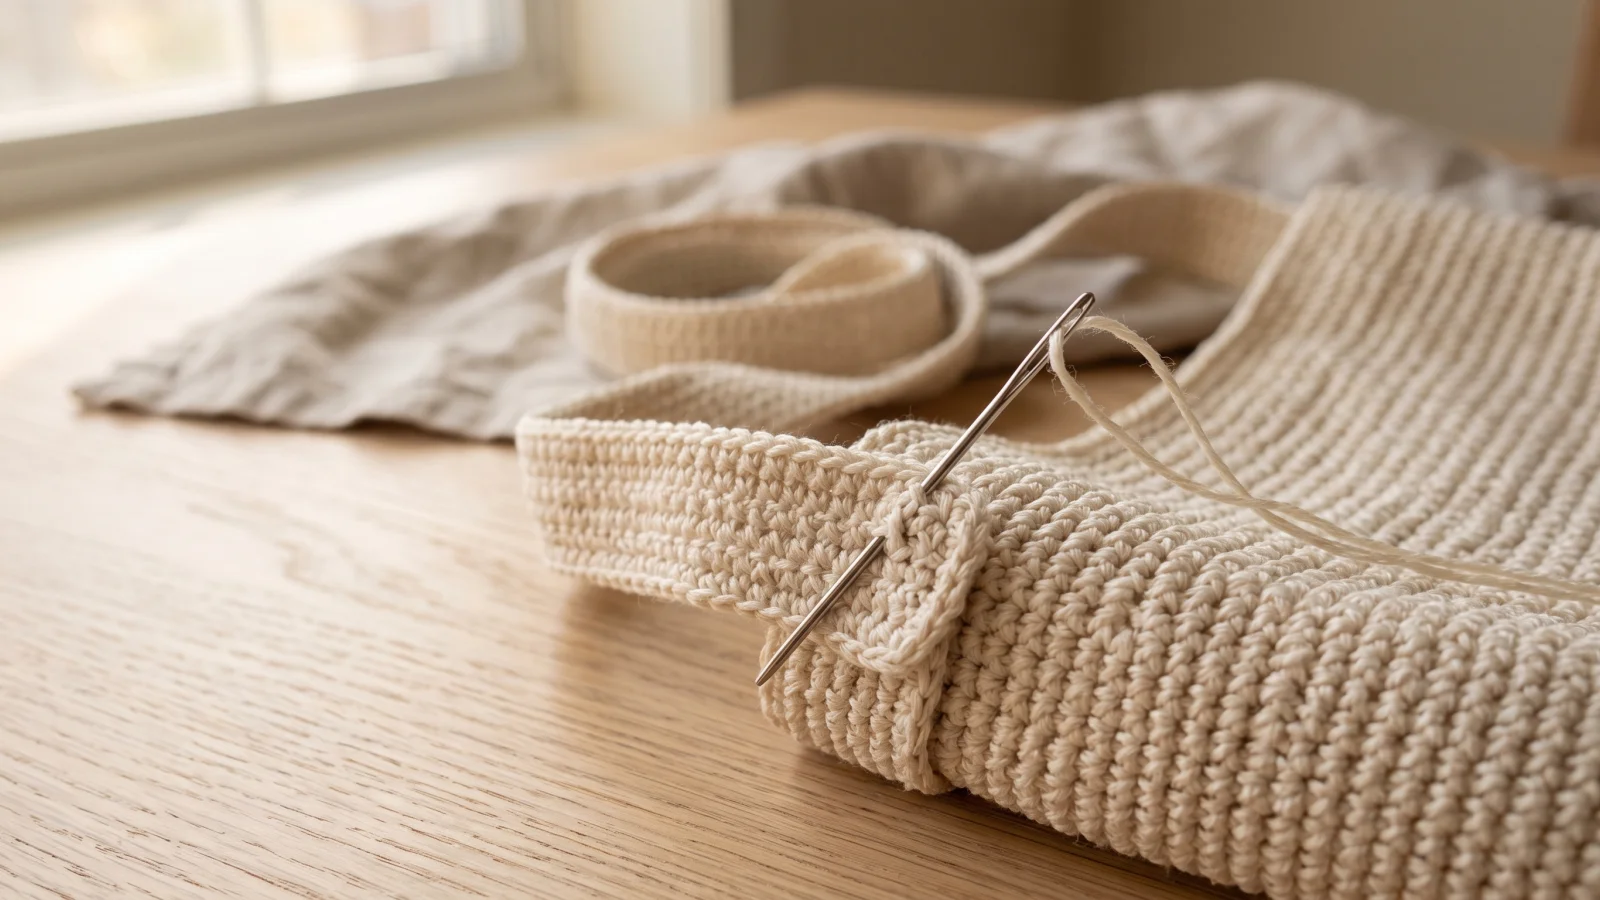
Pattern instruction: Ch 6. Row 1: Sc in 2nd ch from hook and in each remaining ch across. (5 sc) Rows 2–188: Ch 1, turn, sc in each st across. (5 sc in each row) Fasten off. Sew ends of strap to right side (outside) of ends of sides panel, overlapping ends about 1–1½ in (2.5–4 cm).
Beginner explanation: The strap is a very narrow strip of plain single crochet. The ends of the sides panel are at the top corners of the bag, so each end of the strap is placed on the outside of one of those corners, overlapping the panel by an inch or so, and sewn on with the yarn needle. Pass the needle through both layers several times so the strap cannot pull away from the bag.
Checkpoint: The strap has 5 sc in every row and 188 rows. Both ends overlap the sides panel by 1–1½ in, by the same amount on each side. Hold the strap up by its middle and the bag should hang level; if it tilts, one overlap is longer than the other.
Finishing
Finishing adds the decorative slip stitch line to the flap, the tassel, an optional lining, and the neat ends. I would not block this bag with heat. Nylon can be damaged by a hot iron or steam, and the firm single crochet fabric does not need it. If a piece is slightly curled, flatten it with your hands and clip it while you join.
Surface slip stitch line
Pattern instruction: Holding 3 strands of nylon together and beginning and ending at top edge of flap, work a surface slip stitch curve along the spaces between stitches of Row 17 of the flap (the 51-stitch row).
Beginner explanation: Hold three strands together as if they were one thick yarn and follow the technique described in Before You Begin. Your line starts and ends at the top edge of the flap and follows the row you counted earlier, so the curve echoes the curve of the flap. Keep the loops relaxed enough that the flap lies flat.
Checkpoint: One continuous thick line runs along Row 17 from the top edge on one side to the top edge on the other. Finish the last stitch as described in the technique and weave in the end securely. If the flap puckers, loosen the loops.
Tassel
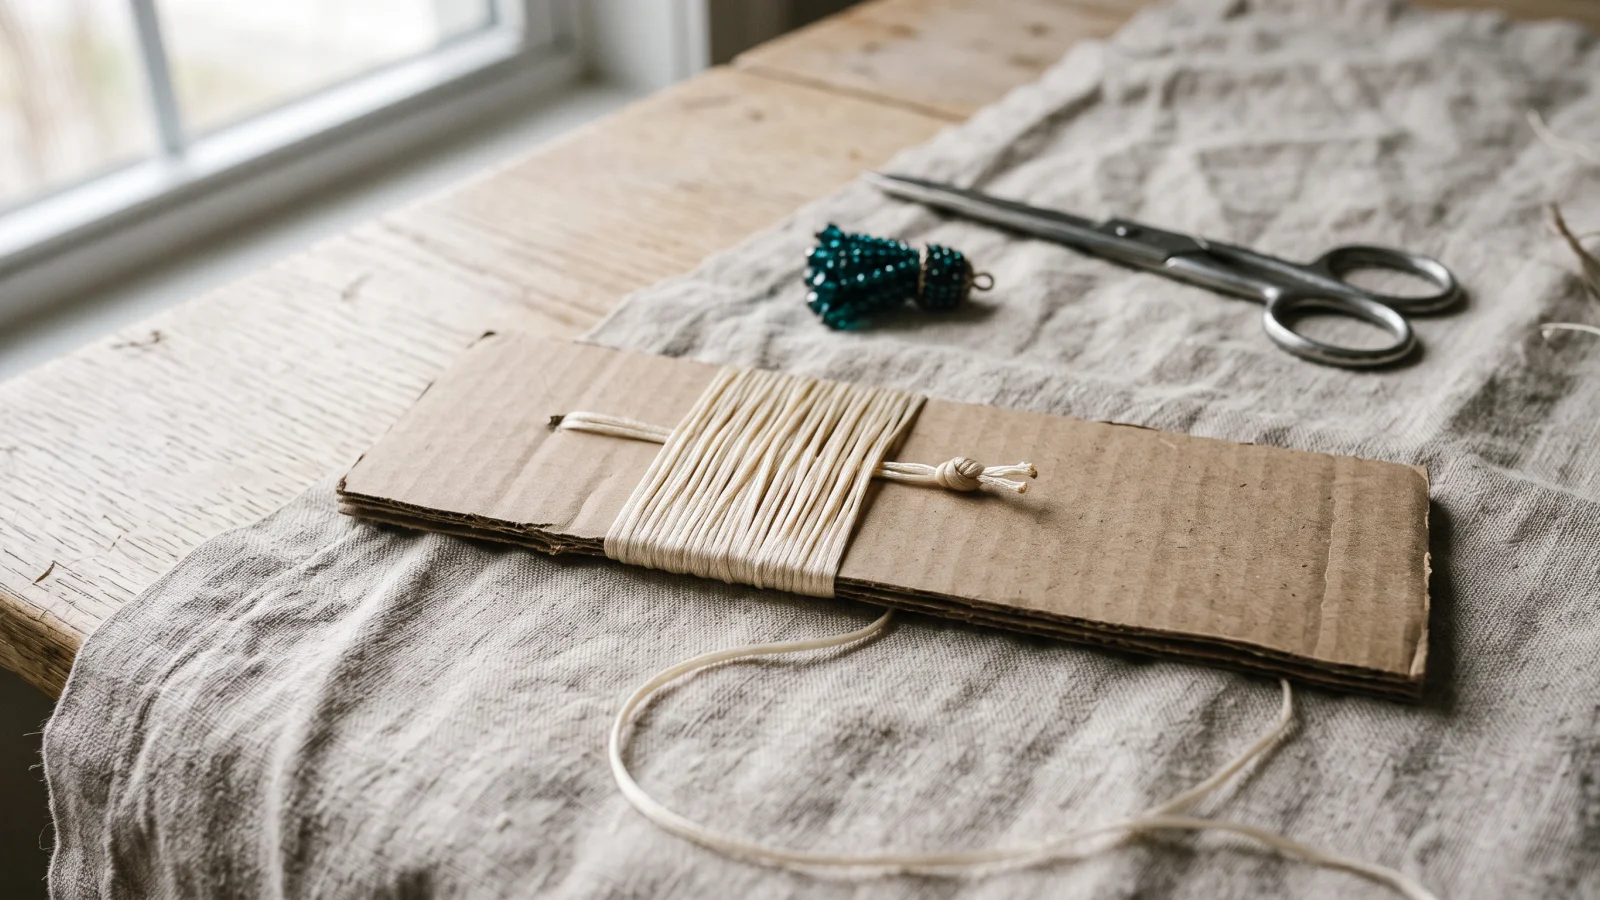
Pattern instruction: Using a 10–11 in (25.5–28 cm) piece of heavy cardboard or a thin book, wrap nylon thread around the cardboard (or book) 25 times. Cut a 12 in (30.5 cm) piece of nylon thread for tying tassel top. Thread the 12 in piece under one end of the wraps and tie a strong knot. Place a few drops of super glue in the tassel cap and quickly insert the tassel top section into the cap. Once dried, trim the tassel to create a clean edge. Follow instructions on tassel cap package to attach tassel to bag flap.
Beginner explanation: Wind the nylon around the cardboard in a flat band, then tie the wraps together at one end with the separate length of nylon. The tied end goes into the cap with a little glue, and when the glue is dry you cut the loops at the other end and trim the tassel level. The tassel cap and super glue are optional parts of the design.
Checkpoint: There are 25 wraps on the form, and the tie is knotted tightly enough that no wraps slip. The tassel is trimmed to an even edge before it is attached to the flap according to the instructions on your tassel cap package.
Lining (optional)
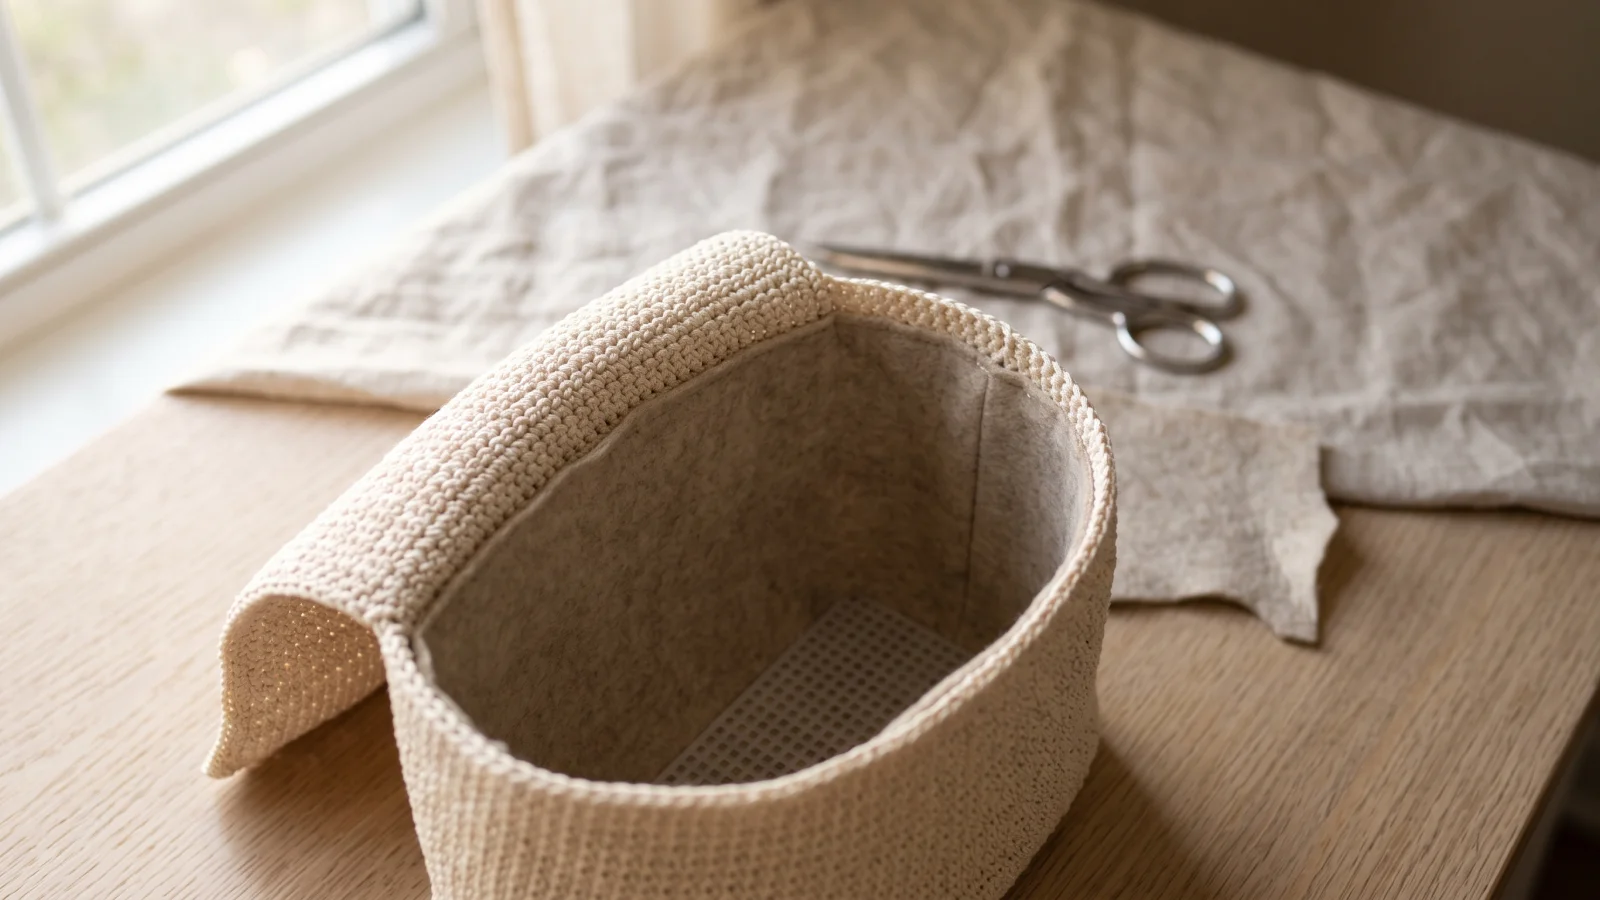
Pattern instruction: Line the bag if desired. Craft felt is an easy-to-use, non-fraying lining material. Plastic canvas, especially placed inside the bag’s bottom section, serves as support for the bag.
Beginner explanation: A lining is suggested but not mandatory. Measure the inside of the bag, cut your felt or fabric to fit, and secure it at the top edges with hand stitches. Cut plastic canvas to fit the bottom section and place it inside, where it holds the base flat.
Checkpoint: Any lining sits smoothly against the inside of the bag without pulling the top edges inward, and any plastic canvas lies flat in the bottom section. If you skip the lining, nothing else in the pattern changes.
Weave in ends
Pattern instruction: Weave in any remaining ends. Use a drop of clear nail polish or super glue on all cut ends of nylon to ensure that woven-in ends are secured.
Beginner explanation: Thread each tail on the yarn needle and run it through the stitches on the inside of the bag, then cut it off close to the fabric. Dab a drop of clear nail polish or super glue on each cut end. Nylon is slippery, so unsecured ends can work loose.
Checkpoint: No tails show on the outside of the bag, and every cut end has been dabbed with polish or glue.
Troubleshooting & Common Mistakes
The sides panel is too long or too short. Tension varies from person to person, and the panel has to follow two sloped sides and a bottom. That is why the pattern leaves it on the hook: measure it against the edges of the back, then work extra rows or unravel some. Every 5 rows is about 1 in at the stated row gauge.
The flap count is wrong in the increase rows. The stitch total in any row should be three times the row number. Count the stitches between the increases: each row has one more plain stitch in each section than the row before. Fix the first row where the count is wrong, not the latest one.
The flap’s top edge does not come to 40 stitches. Count 21 row ends on each side of the ring. The middle decrease joins one row end with the center of the ring, and the last decrease uses the last two row ends. If you are over or under, you probably skipped or doubled a row end.
The lower corners of the front and back are uneven. Each shaping row needs a decrease at both ends. If one side is steeper than the other, you missed a decrease at one end in one of the rows; count back from Row 42, which should have 24 sc.
There are gaps where the sides panel meets the sloped edges. Gaps appear when the panel is stretched or bunched along one section. Clip it more often, especially where the sloped sides meet the bottom, and space the reverse sc evenly rather than working one stitch per row end.
The bag stretches or sags. Check your gauge first: a looser gauge than 17 sts and 20 rows per 4 in makes a softer bag. A smaller hook helps, and so do the optional felt lining and a plastic canvas piece in the bottom section.
The bag came out too small or too large. Your gauge differs from the pattern. Multiply any measurement by 17 divided by your stitches per 4 in to see how far off you are, then change hook size and make a new swatch.
The flap puckers along the slip stitch line. The loops are too tight. Keep them relaxed, about ½ in long on the first loop, and let the fabric lie flat as you go.
The strap pulls away from the bag. The overlap is too short or the sewing is too light. Keep the overlap at 1–1½ in, sew through both layers several times, and secure the cut end with clear nail polish or glue.
Variations, Sizes & Care
Colour. Any colour of the same Size 18 nylon works with these counts. Keep to the same gauge, and consider a contrasting shade for the slip stitch line and tassel if you want them to stand out.
Strap length. Work the strap in more or fewer rows. At 20 rows per 4 in, every 5 rows adds or removes 1 in, and the strap stays 5 stitches wide.
Tassel cap. A purchased tassel can supply a cap. Many faux-leather tassels from discount stores are made without glue, so you can pull out the faux-leather part and reuse the cap.
Lining and stiffening. Felt, fabric and interfacing are optional lining choices, and plastic canvas is the stiffener. It is most useful in the bottom section of the bag.
Sizes. The counts in this pattern make one size. For a different gauge, use the formula in Gauge & Sizing. For other bag constructions, try this granny square bag pattern, which is built from joined motifs, or for another free accessory see these free directions for crochet hats.
Care. Check the label on your nylon tube for care instructions. If you add felt, fabric, interfacing or plastic canvas, wet cleaning can warp or damage those layers, so I would spot clean the outside with a damp cloth rather than soaking the bag.
Frequently Asked Questions
Is this pattern suitable for a beginner?
Every piece is plain single crochet, with decreases at the lower corners of the front and back and increases in the flap. I rate it Intermediate because of the adjustable ring, the reverse sc joins worked through two layers, the surface slip stitch line and the fine nylon at a tight gauge. If you are comfortable with sc and sc2tog and practice reverse sc on a swatch first, it is within reach.
Does the bag have a fastener?
The design has no fastener. The flap hangs over the front, and the tassel is decorative. A lining is suggested but not required.
Why measure the sides panel instead of working a fixed length?
The panel must reach around two sloped sides and the bottom of the bag, and small tension differences add up over that distance. The 112 rows given are a starting length. Measure the panel against the back, then add or remove rows to fit.
Why is the surface slip stitch line worked with three strands?
Holding three strands together makes a thick, raised line that reads clearly against the fine single crochet fabric. A single strand would give a thin line that gets lost in the stitches.

Last updated . Found something out of date? Let us know.