 Accessories
 Baby & Kids
 Blankets & Afghans
 Clothing
Crochet Hat Pattern for Beginners Starting With a Slip-Stitch Rib Band
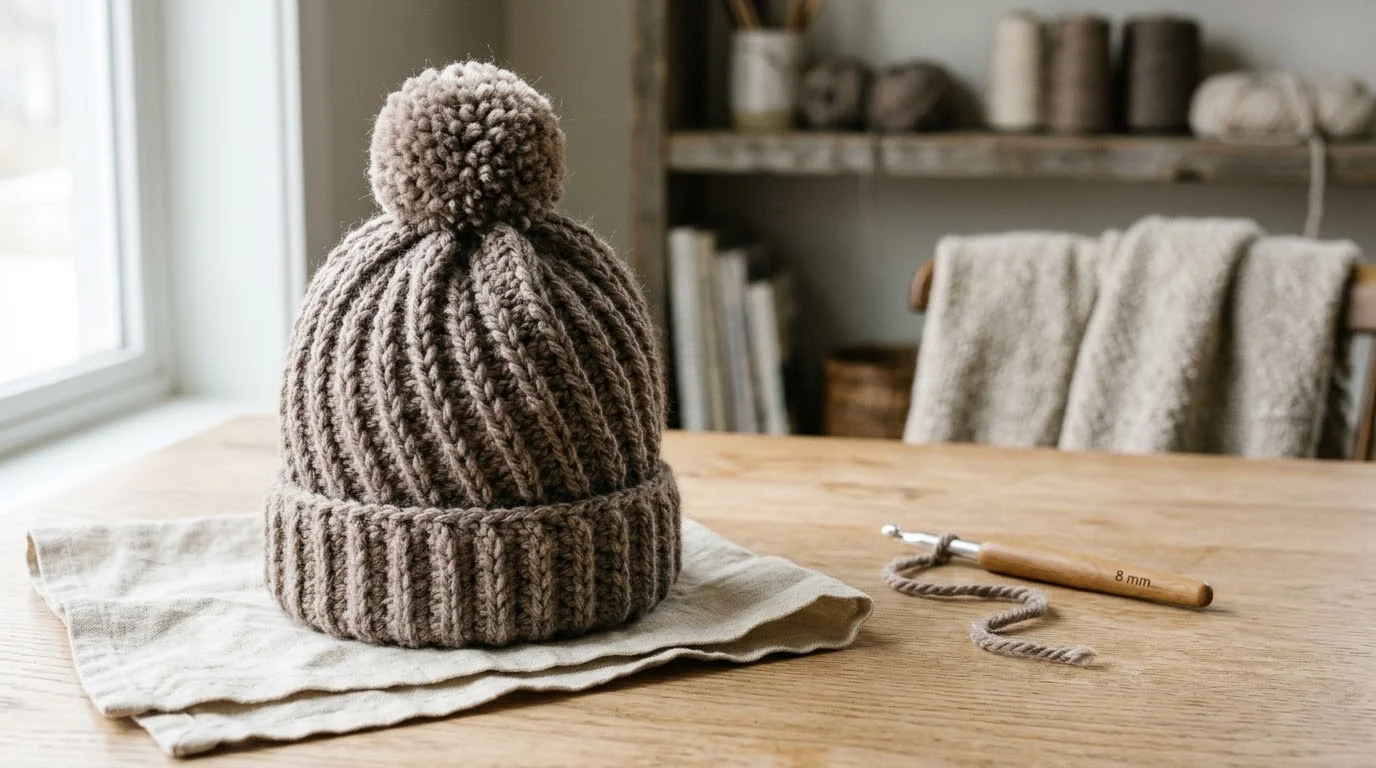
A slip-stitch rib band, a post-stitch ribbed body and a pompom make up this free hat, one of the crochet hat patterns for beginners where every round block ends with a stitch count to check.
 Nicole Sinclair
Published · 15 min read
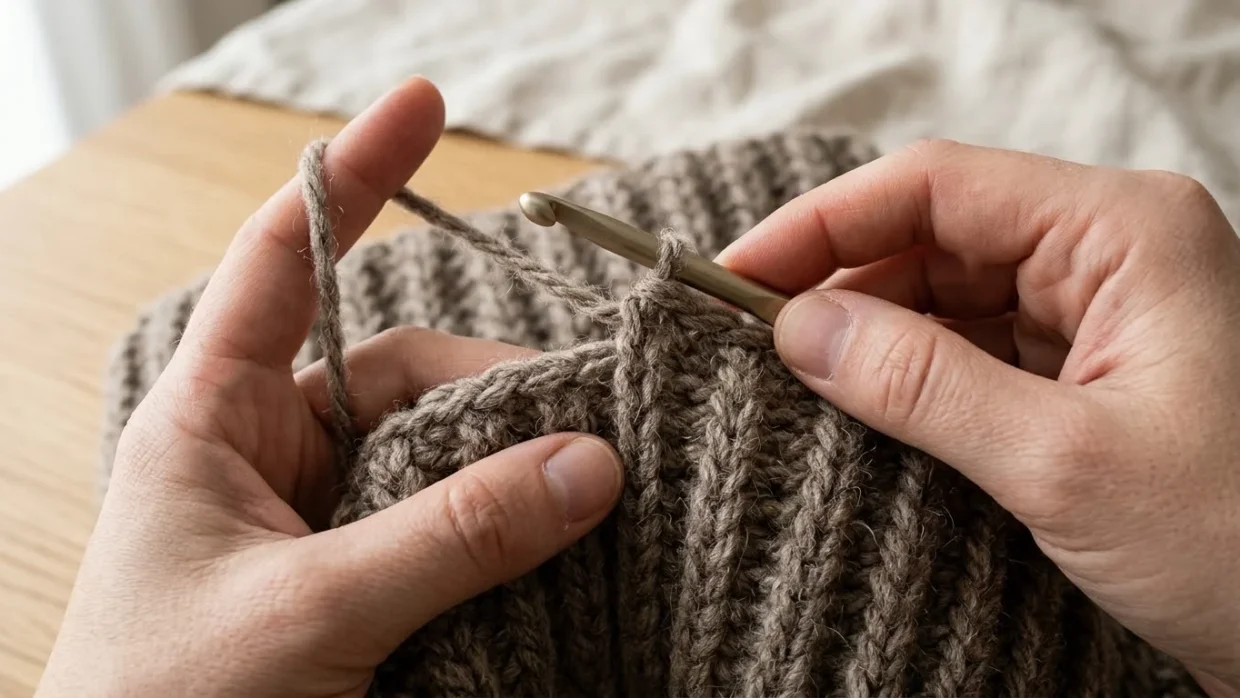
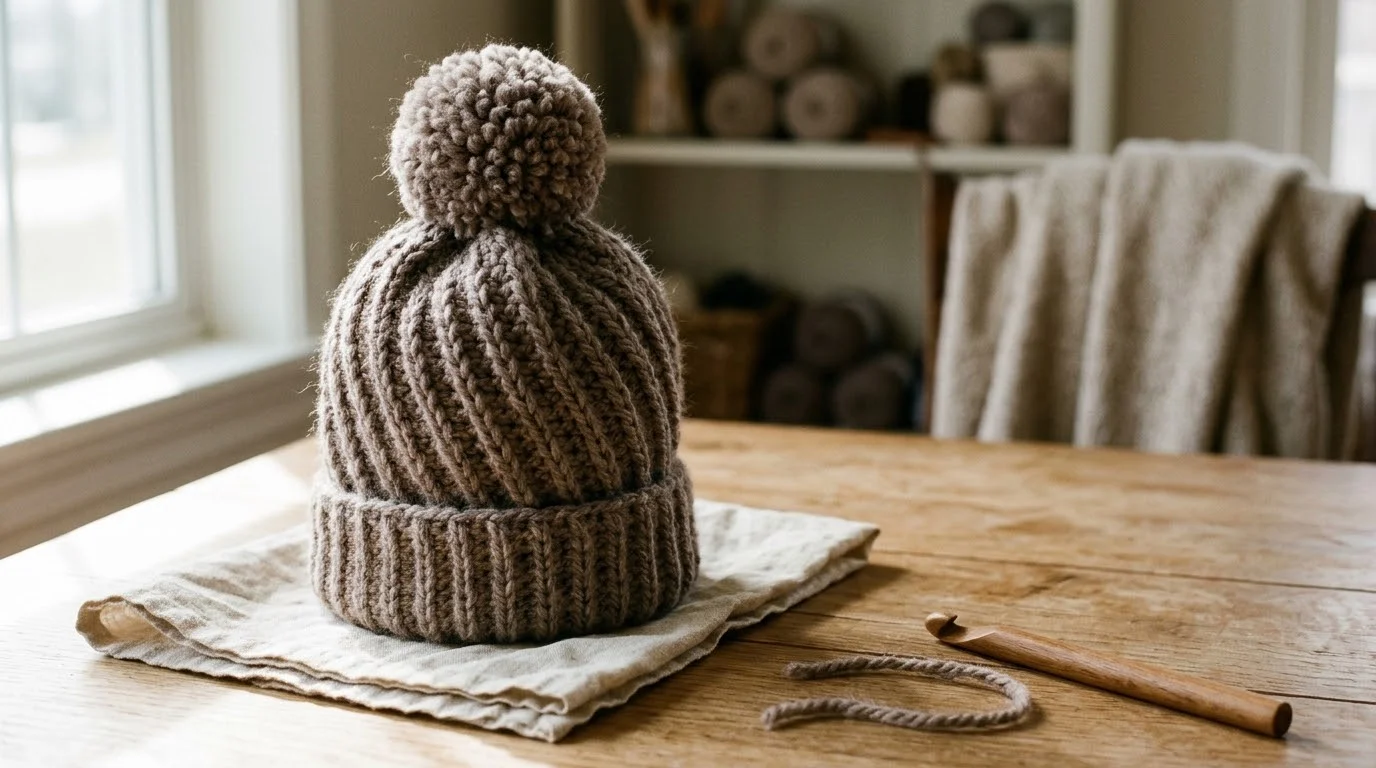
A clay-coloured ribbed crochet hat with a slip-stitch band, a post-stitch body with slanting ribs and a pompom on top
Pattern at a Glance
- Skill level
- Easy
- Hook size
- U.S. L/11 (8 mm)
- Finished size
- One size, average woman's head
- Yarn needed
- 2 balls, 108 yds (99 m) each
- Construction
- Band worked flat and seamed, body in rounds
- Stitches
- Sl st, dc, dcfp, dcbp
- Gauge
- 7 sc and 8 rows = 4 in [10 cm]
- Pattern type
- Free written pattern
- Project type
- Hat
Among crochet hat patterns for beginners, this ribbed, pompom-topped hat asks for just one new skill: front and back post double crochet. The pattern is rated Easy, written in one size to fit an average woman’s head, and the complete free instructions are on this page.
You will make a slip-stitch rib band, seam it into a ring, work a textured post-stitch body in the round and close the crown with decreases. Every round block ends with a stitch count so you can check your work.
Materials & Supplies
| Item | Details |
|---|---|
| Yarn (required) | 2 balls, each 3.5 oz/100 g and 108 yds/99 m, in the colour Clay |
| Hook (required) | U.S. L/11 (8 mm), or the size needed to obtain gauge |
| Pompom (part of the design) | Wound from the same yarn as the hat, see Part 4 |
If you want to use a different yarn, choose one that reaches the gauge below on a U.S. L/11 (8 mm) hook. Compare its yardage per ball with the 108 yds (99 m) listed here before you buy, because the amount you need depends on the yarn. If you are still gathering your first tools, how to choose a beginner crochet kit explains what to look for.
Gauge & Sizing
Gauge: 7 sc and 8 rows = 4 in [10 cm]. To check it, make a swatch in single crochet with the U.S. L/11 (8 mm) hook, lay it flat and measure across 4 in [10 cm]. Count the stitches across and the rows down.
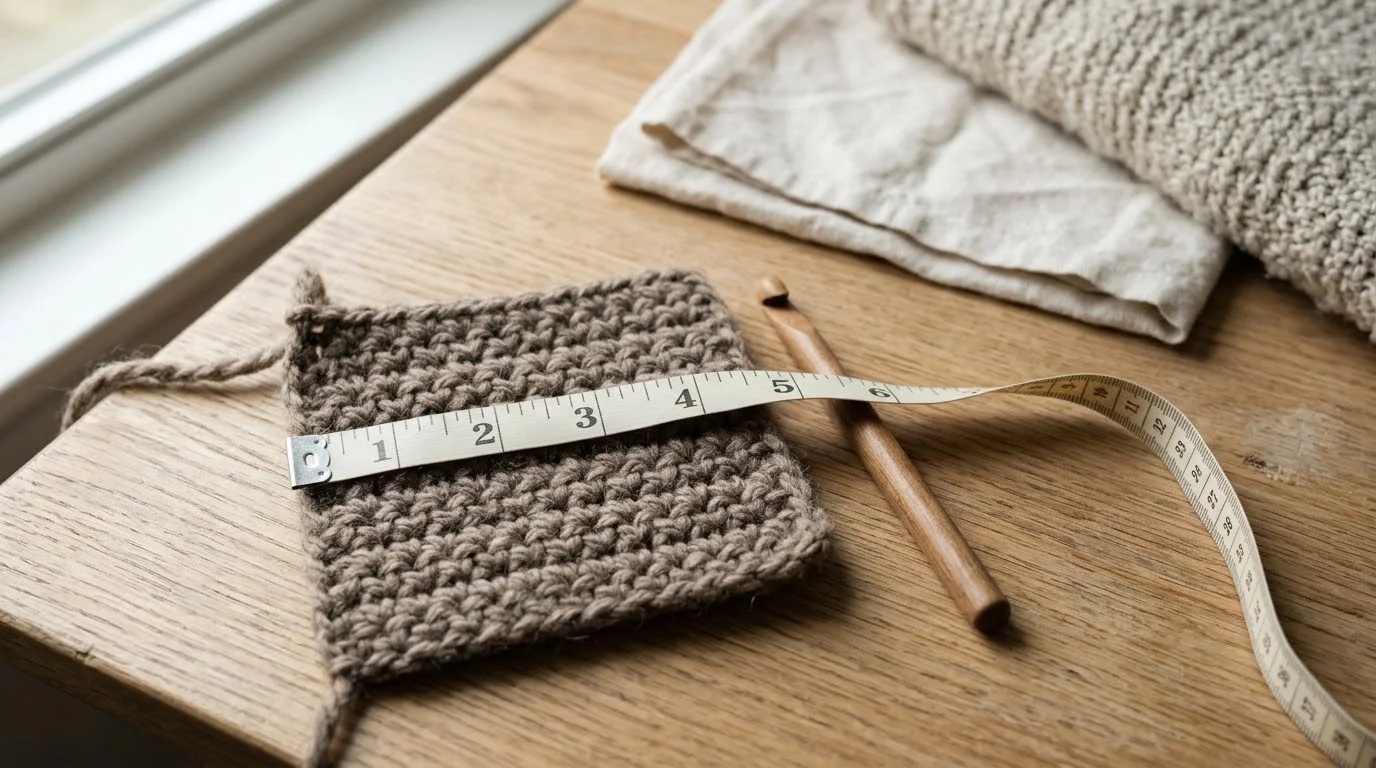
Gauge matters for fit here, because the band length and the stitch counts are fixed. If you have more stitches than 7 in 4 in [10 cm], your fabric is tighter than the pattern expects, so move to a larger hook. If you have fewer, your fabric is looser, so move to a smaller hook. Recheck the swatch after each change.
Finished size: one size, to fit an average woman’s head. The band is worked until it measures 21 in [53.5 cm]. The body is then worked until the work measures approx 8 in [20.5 cm] from the beginning, before the crown shaping.
This pattern is written in one size only. A different fit would mean changing the band length and the stitch counts together and rewriting the post-stitch repeats and crown decreases to match, so it is best made as written. For baby headwear, try this crochet baby bonnet pattern.
Before You Begin
This pattern uses US crochet terms. US double crochet is UK treble crochet, and US single crochet is UK double crochet.
- ch: chain
- sl st: slip stitch
- sc: single crochet (used for the gauge only)
- dc: double crochet
- dcfp: front post double crochet
- dcbp: back post double crochet
- st(s): stitch(es)
- rnd(s): round(s)
- RS / WS: right side / wrong side
- rep: repeat
- rem: remaining
- beg: beginning
- yoh: yarn over hook
- approx: approximately
Working in back loops only: look at the top of a stitch and insert the hook under the loop that is farther from you, leaving the nearer loop unworked.
Dcfp (front post double crochet): yoh and draw up a loop around the post of the next stitch at the front of the work, inserting the hook from right to left. (Yoh and draw through 2 loops on hook) twice. The hook goes around the upright stalk of the stitch below, not into its top.
Dcbp (back post double crochet): yoh and draw up a loop around the post of the next stitch at the back of the work, inserting the hook from left to right. (Yoh and draw through 2 loops on hook) twice. Again the hook goes around the stalk of the stitch below, this time from the back.
Why this is rated Easy: the whole hat uses a small stitch set (chain, slip stitch, double crochet, dcfp and dcbp), one repeated block of 5 rounds and no increases, and every round block ends with a count you can check. Skills you need first: chain, slip stitch, double crochet, working in back loops only, working in the round and joining with a slip stitch. Post stitches are the one new skill, and Round 2 is the first rib round: its 5-stitch repeat of 3 dcfp and 2 dcbp is worked 8 times, so you practise both stitches before the pattern changes.
Construction: the band is worked flat in rows and turned at the end of every row, then seamed into a ring. The body is worked in joined rounds along the long edge of the band, and each round is joined with a slip stitch. The ch 3 at the beginning of every round does not count as a stitch, and all counts in this pattern are individual stitches.
Free Crochet Pattern Instructions
Part 1 – The slip-stitch rib band
This part makes the band: a 6-stitch strip of slip stitches worked flat and measured rather than counted in rows, then joined into a ring. For another crochet hat worked side to side, see the matching pattern on the site.
Step 1 – Chain and first row
Pattern instruction: Ch 7. Row 1 (RS): Working in back loops only, 1 sl st in 2nd ch from hook, 1 sl st in each ch across. Turn. (6 sts)
Beginner explanation: Make the chain, skip the chain closest to the hook, then slip stitch into the back loop only of each chain after it. Working in the back loops leaves the front loops of the foundation chain unworked, and you will use those remaining loops for the seam in Step 3. Turn the work at the end of the row.
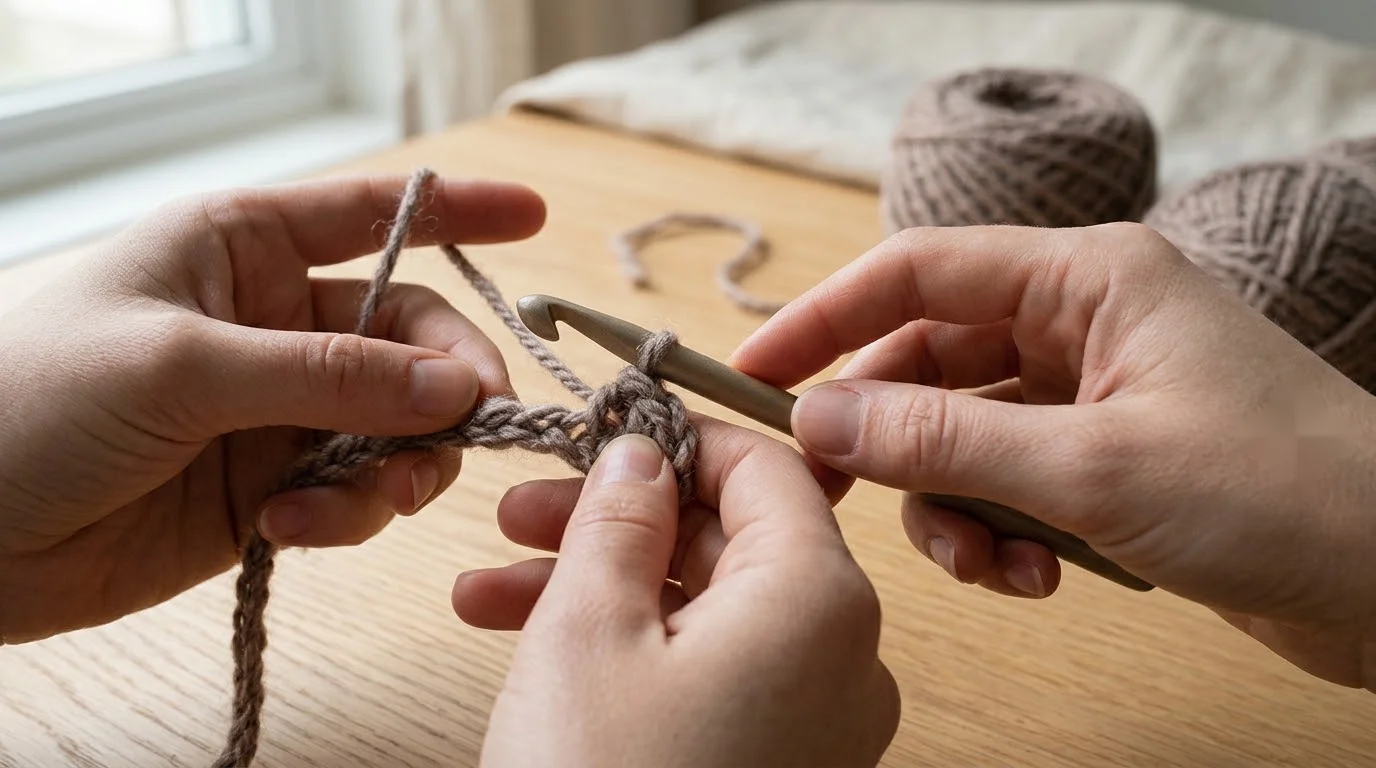
Checkpoint: You have 6 slip stitches across. If you have a different number, check that you skipped the first chain and worked into every chain after it.
Step 2 – Repeat Row 2 until the band measures 21 in
Pattern instruction:
- Row 2: Working in back loops only, 1 sl st in each of next 6 sl sts. Turn. (6 sts)
- Rep Row 2 until the band measures 21 in [53.5 cm] from beg, ending on a WS row. Do not fasten off. (6 sts)
Beginner explanation: Every row is the same move: slip stitch into the back loop only of each stitch in the row below, then turn. The unworked loops form ridges that give the band its ribbed look. Lay the band flat against a tape measure, and stop only after a wrong-side row.
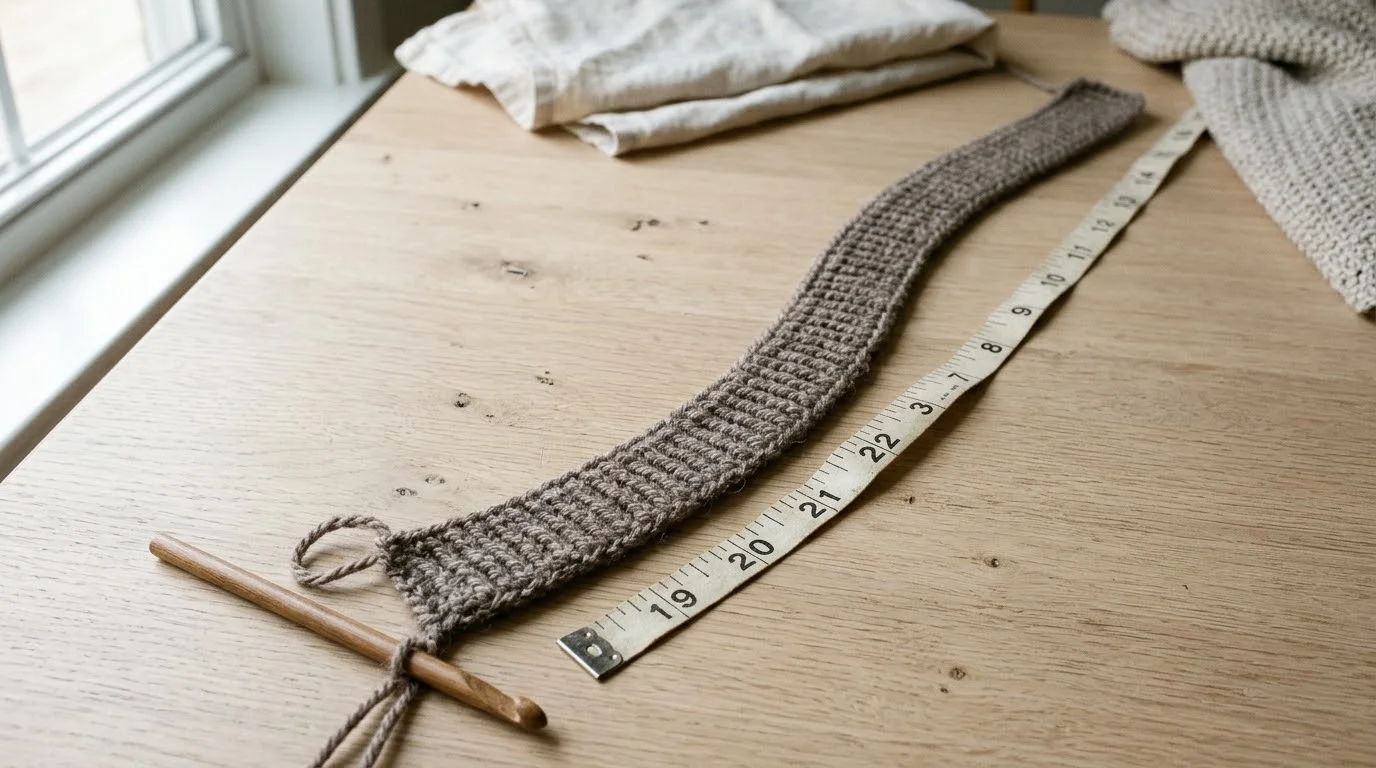
Checkpoint: Every row has 6 sts and the band measures 21 in [53.5 cm]. Row 1 is a right-side row, so the last row you worked is an even-numbered row. Keep the yarn attached with the loop on your hook.
Step 3 – Join the back seam
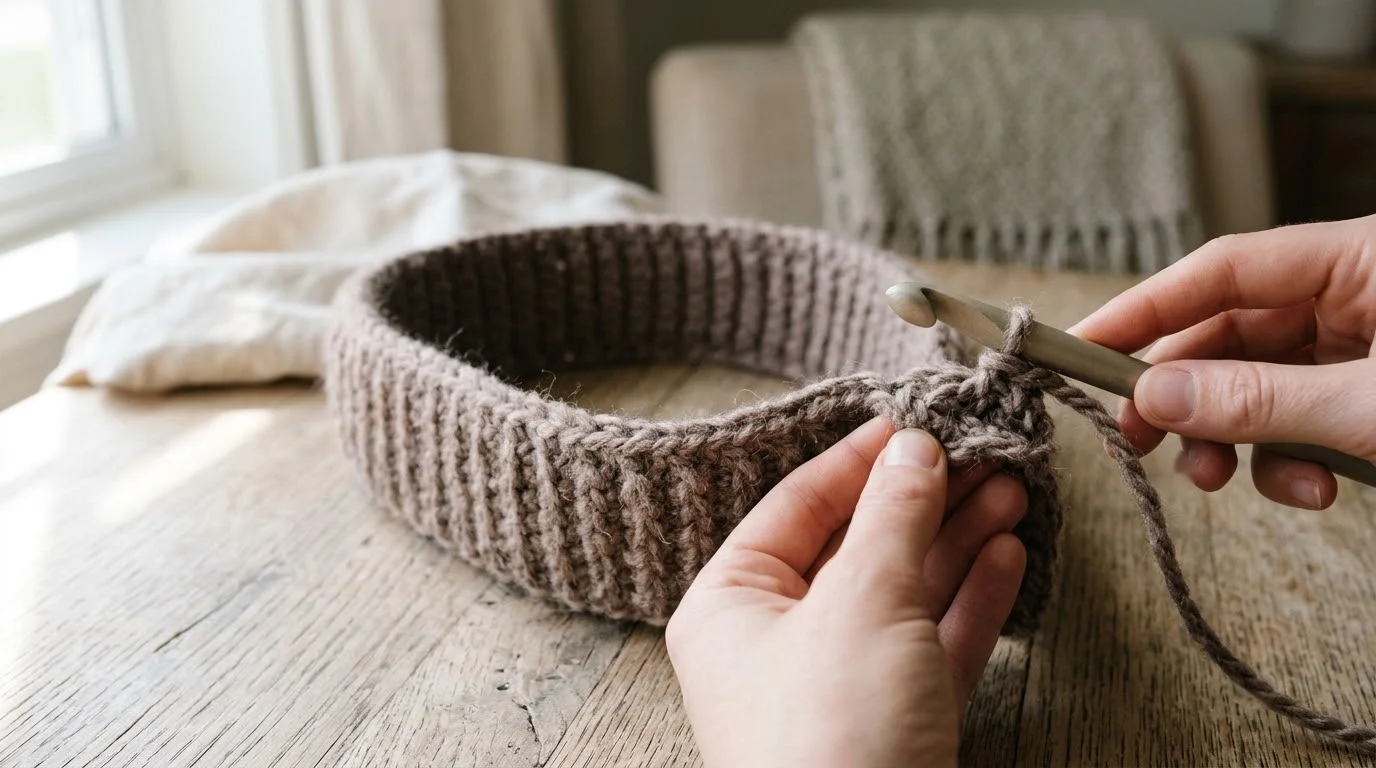
Pattern instruction: Join back seam: Working in back loops only, sl st last row and rem loops of foundation ch together. Do not fasten off. Turn work and proceed as follows.
Beginner explanation: Bring the last row around to the foundation chain so the two short ends meet and the band becomes a ring. Make each slip stitch through the back loop of a stitch in the last row and through the matching remaining loop of the foundation chain at the same time, working across the width of the band. Then turn the work as instructed so you are ready to work along the long edge.
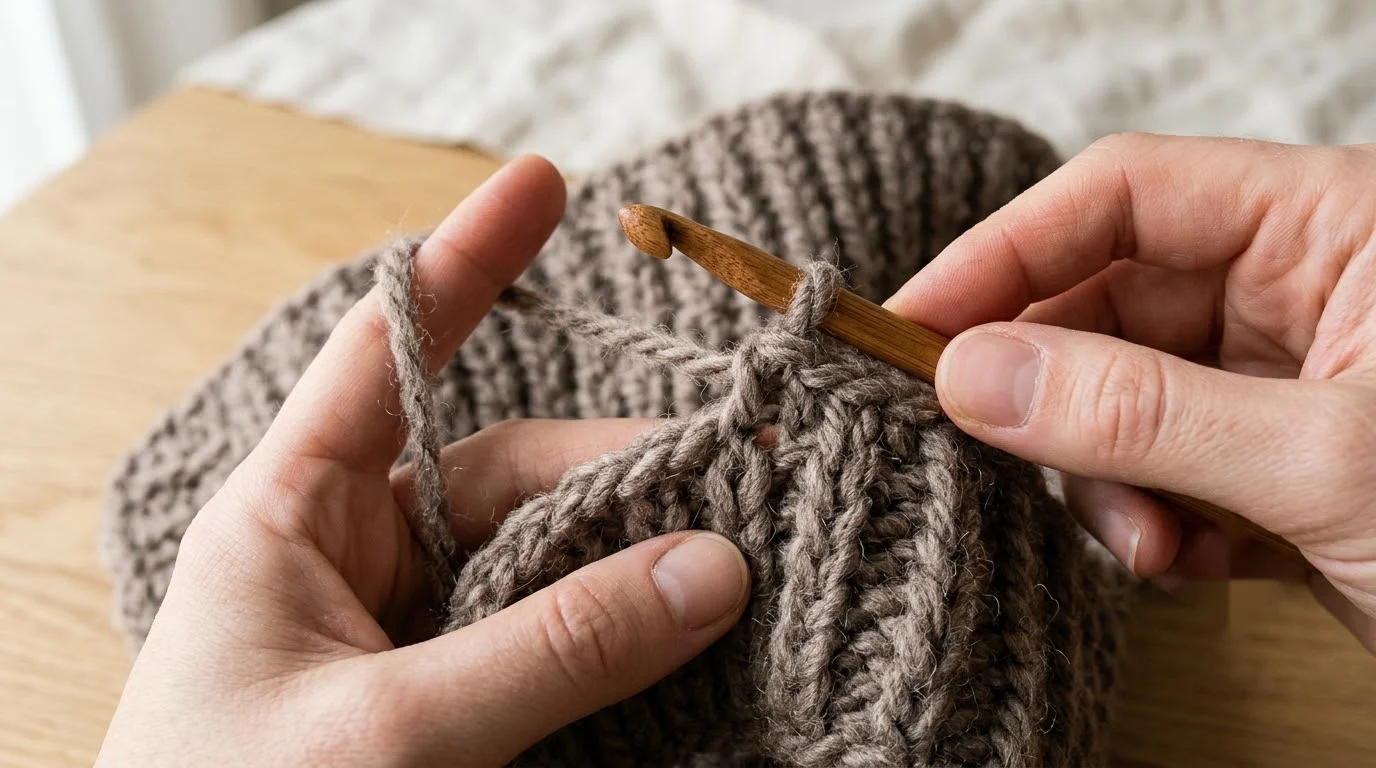
Checkpoint: The band is a closed ring with one seam slip stitch for each of the 6 stitches across its width, and the yarn is still attached. If the seam looks twisted, undo it and rejoin with the band lying flat.
Part 2 – The post-stitch body
This part works one round of double crochet to set 40 stitches, then a block of 5 post-stitch rounds that you repeat until the hat reaches its height.
Step 4 – Round 1: double crochet around the band
Pattern instruction: Note: Ch 3 at beg of each rnd does not count as a st. Rnd 1: Ch 3. Work 40 dc evenly around the edge of the band. Join with sl st to first dc. (40 dc)
Beginner explanation: The ch 3 lifts the hook to the height of a double crochet but is not counted, so it never takes part in the 40. Work the dc stitches evenly around the long edge of the band, counting as you go; about halfway round you should have 20. Join by slip stitching into the top of the first dc you made, not into the chain.
Checkpoint: You have 40 dc, joined into a round. If your count is off, undo the round and respace the stitches now, because every later round depends on this one.
Step 5 – Rounds 2-6: the post-stitch rib
Pattern instruction:
- Rnd 2: Ch 3. (1 dcfp around each of next 3 sts, 1 dcbp around each of next 2 dc) 8 times. Join with sl st to first dcfp. (40 sts)
- Rnd 3: Ch 3. (1 dcbp around next st, 1 dcfp around each of next 3 sts, 1 dcbp around next st) 8 times. Join with sl st to first dcbp. (40 sts)
- Rnd 4: Ch 3. (1 dcbp around each of next 2 sts, 1 dcfp around each of next 3 sts) 8 times. Join with sl st to first dcbp. (40 sts)
- Rnd 5: Ch 3. (1 dcfp around next st, 1 dcbp around each of next 2 sts, 1 dcfp around each of next 2 sts) 8 times. Join with sl st to first dcfp. (40 sts)
- Rnd 6: Ch 3. (1 dcfp around each of next 2 sts, 1 dcbp around each of next 2 sts, 1 dcfp around next st) 8 times. Join with sl st to first dcfp. (40 sts)
Beginner explanation: In these rounds every stitch is a post stitch: instead of working into the top of the stitch below, the hook goes around its post, the upright stalk. For a dcfp the hook goes in from the front, right to left, and for a dcbp it goes in from the back, left to right, as in the stitch definitions above. The first post stitch of each round goes around the first stitch of the previous round, the one holding the join, and each round closes with a slip stitch into the first post stitch of that round, not the chain. The raised front stitches sit in groups of three, and that group moves one stitch along in every round, so the ribs slant.
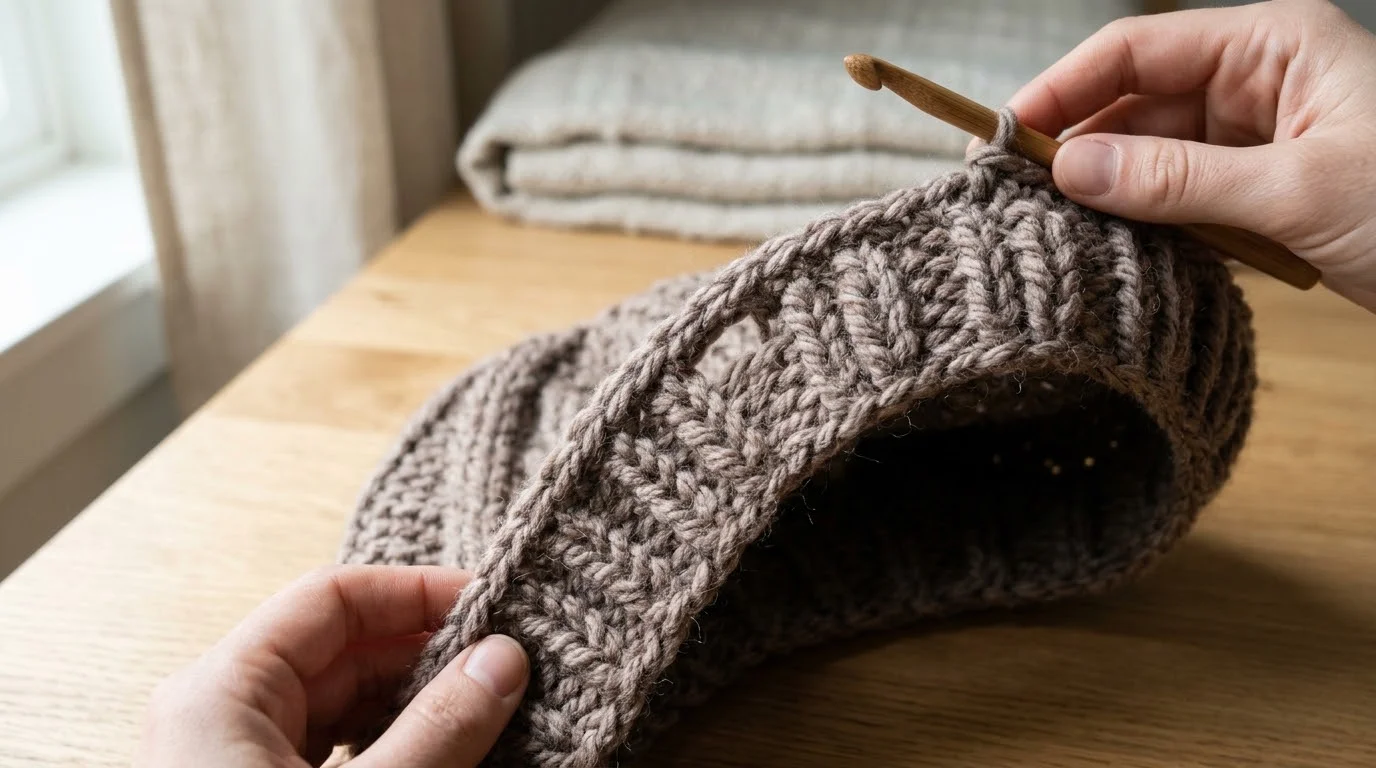
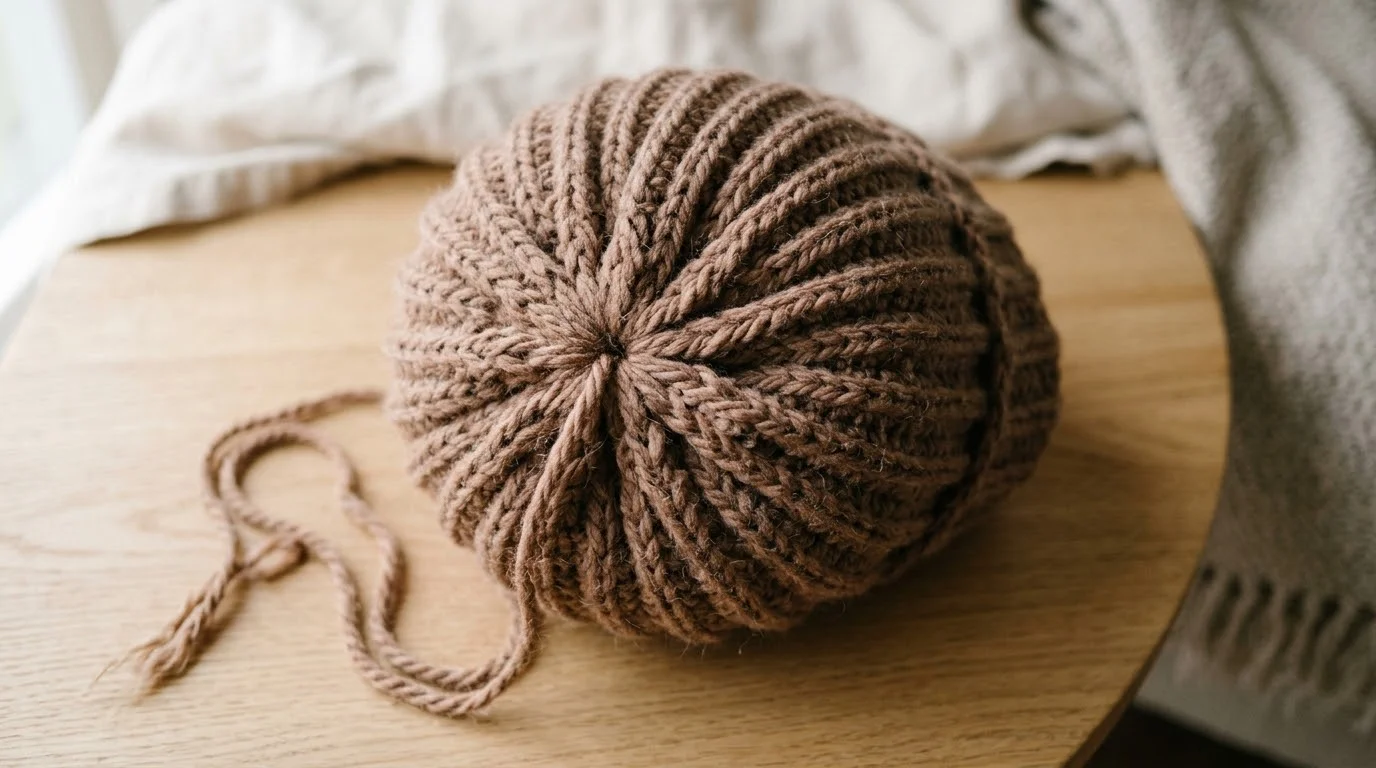
Checkpoint: Each of Rnds 2-6 ends with 40 sts: 24 dcfp and 16 dcbp, in 8 repeats of 5 stitches. If a round comes out short or long, compare the position of the group with the round below and undo back to the last correct repeat.
Step 6 – Repeat Rounds 2-6 to approx 8 in
Pattern instruction: Rep Rnds 2-6 until work from beg measures approx 8 in [20.5 cm], ending on Rnd 6. (40 sts)
Beginner explanation: After Rnd 6, go back to Rnd 2 and work Rnds 2-6 again as one block of 5 rounds. Measure the hat after each Rnd 6. If you reach about the target height partway through a block, finish the block, because the crown shaping is written to start after a Rnd 6.
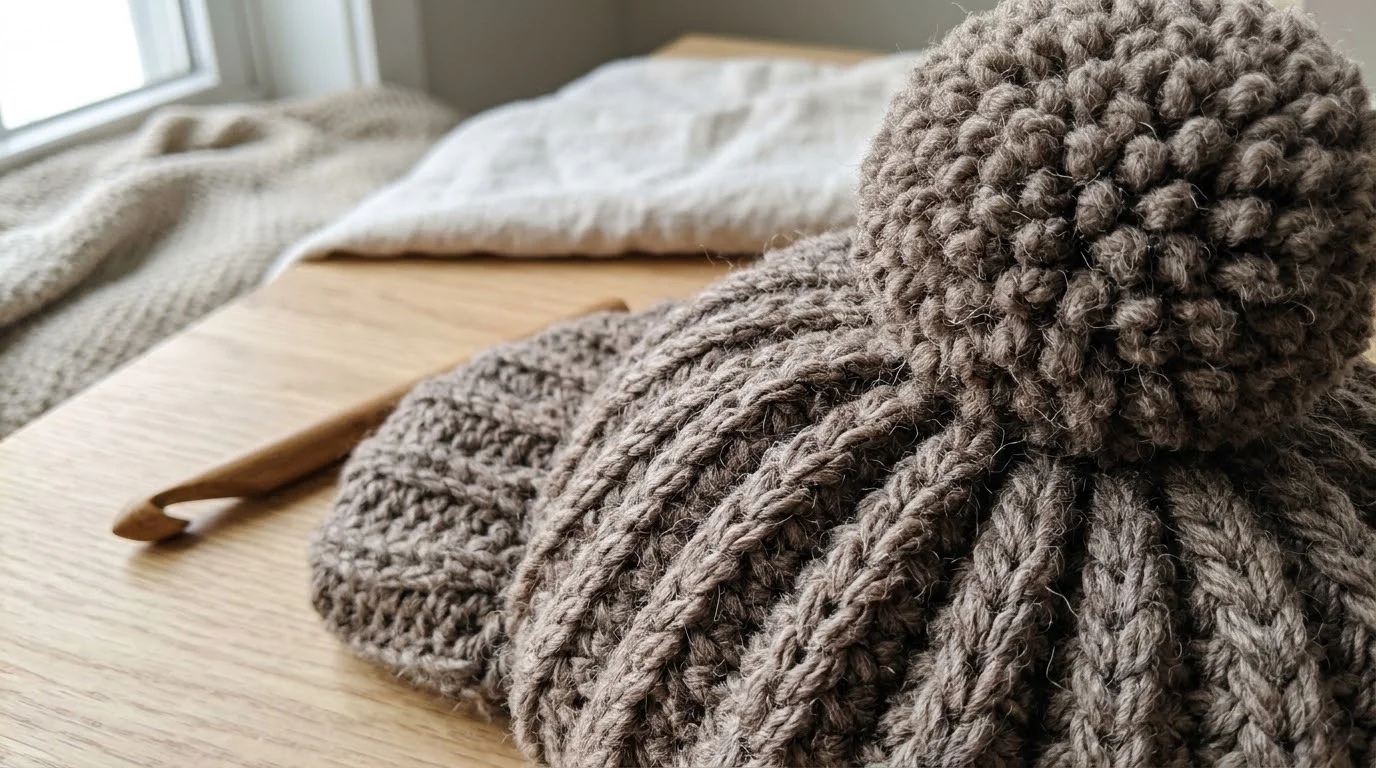
Checkpoint: You have 40 sts, your last round was Rnd 6 and the work measures approx 8 in [20.5 cm] from beg. If it is still clearly short, work another full block before shaping the crown.
Part 3 – Shaping the crown
Three decrease rounds bring the hat from 40 stitches down to 16, and then the end is drawn through to close the top.
Step 7 – Shaping Rounds 1-3
Pattern instruction: Shape top:
- Rnd 1: Ch 3. (1 dcfp around each of next 3 sts, skip next st, 1 dcbp around next st) 8 times. Join with sl st to first dcfp. (32 sts)
- Rnd 2: Ch 3. (1 dcfp around each of next 3 sts, skip next st) 8 times. Join with sl st to first dcfp. (24 sts)
- Rnd 3: Ch 3. (1 dcfp around each of next 2 sts, skip next st) 8 times. Join with sl st to first dcfp. (16 sts)
Beginner explanation: Each repeat now includes a skipped stitch: you pass over the next stitch and work nothing into it. All 8 repeats lose one stitch in every shaping round, so the count steps down by the same amount each time and the crown narrows evenly.
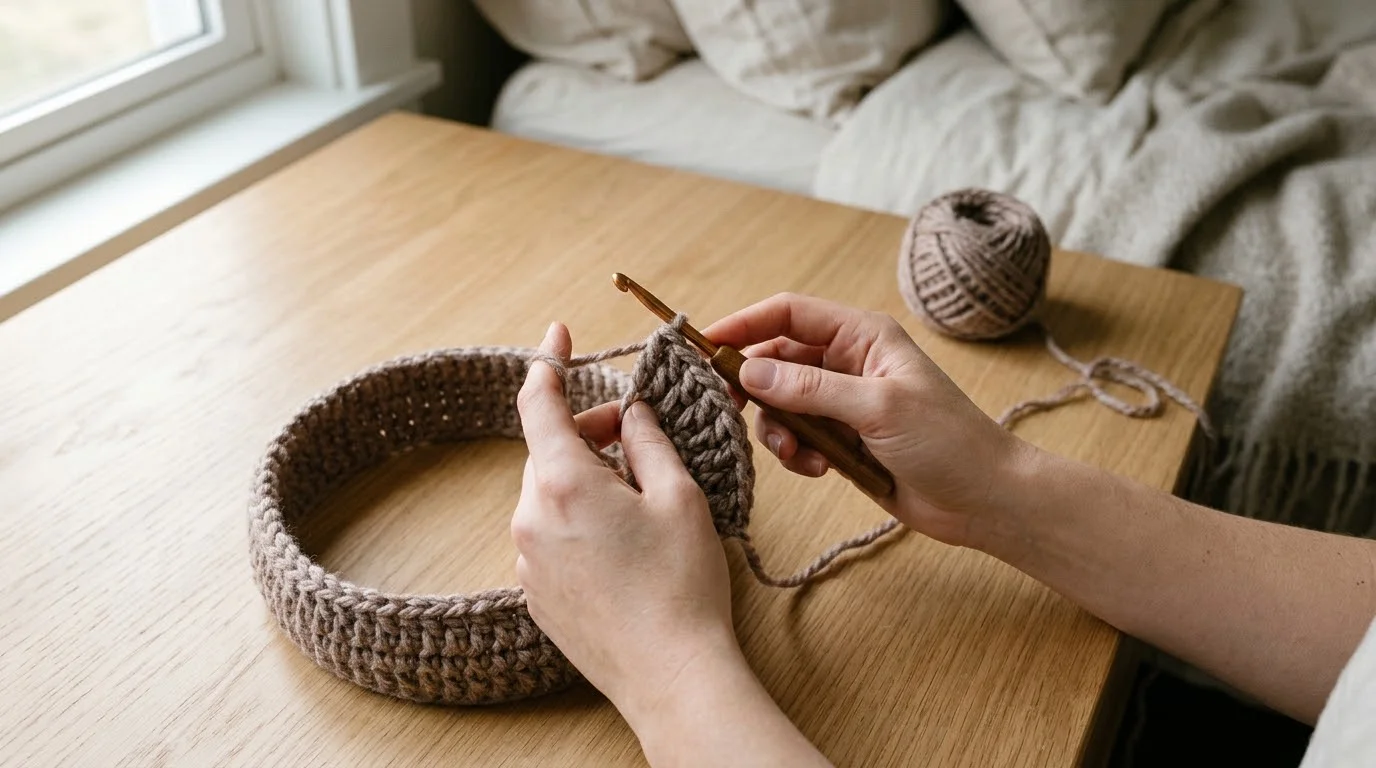
Checkpoint: You have 32 sts after Rnd 1, 24 sts after Rnd 2 and 16 sts after Rnd 3, with 8 repeats visible around the crown. If a count is off, look for a skipped stitch you missed or worked into in the round before.
Step 8 – Fasten off and close the crown
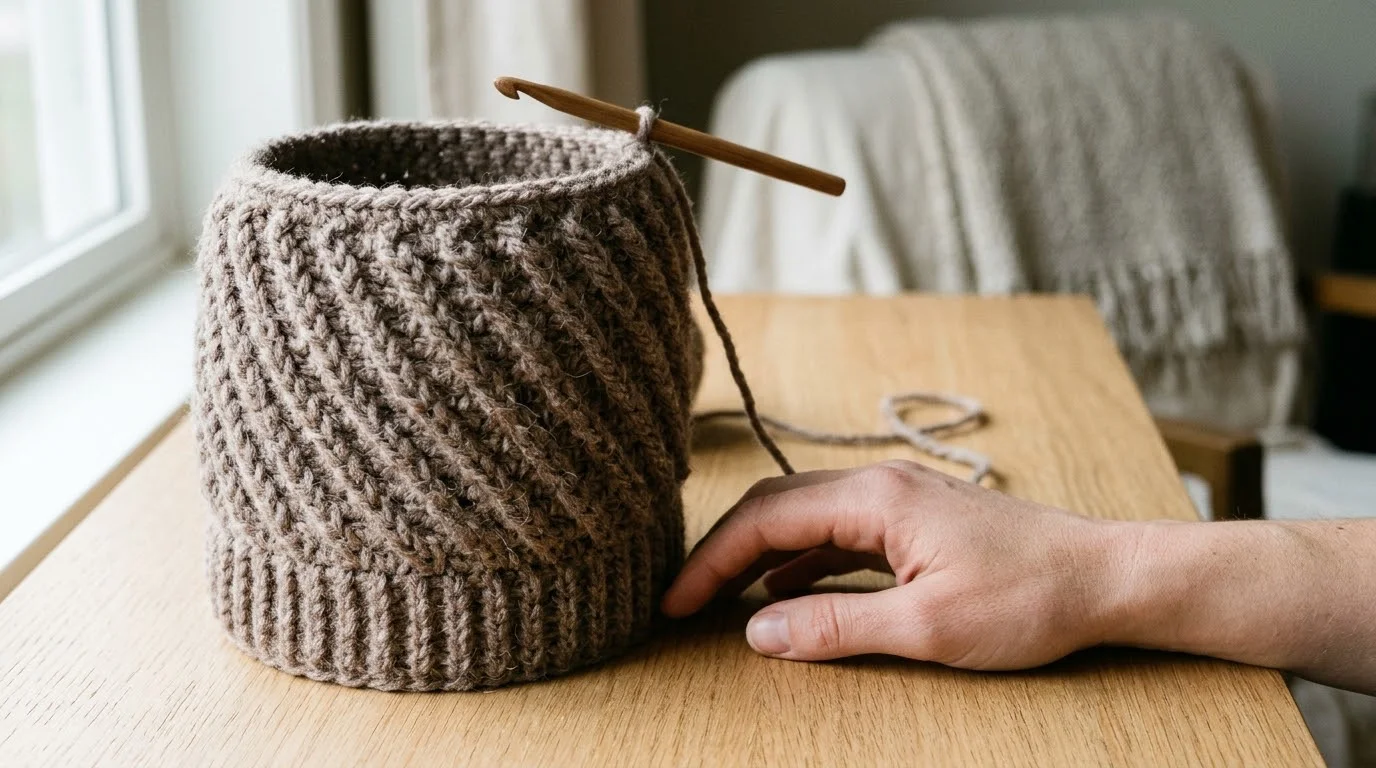
Pattern instruction: Fasten off leaving a long end. Draw end tightly through rem sts and fasten securely. (16 sts)
Beginner explanation: Cut the yarn, leaving a tail long enough to work with, and pull the end through the last loop to fasten off. Pass the tail through each of the remaining stitches in turn, pull it tight so the centre of the crown closes, and fasten it securely on the inside.
Checkpoint: The 16 stitches are drawn into a closed centre with no gap, and the end is secure. If a small hole shows, tighten the end or pass it through the stitches once more.
Part 4 – The pompom
The pompom is made from the same yarn and sewn to the top of the hat.
Step 9 – Wind and tie the pompom
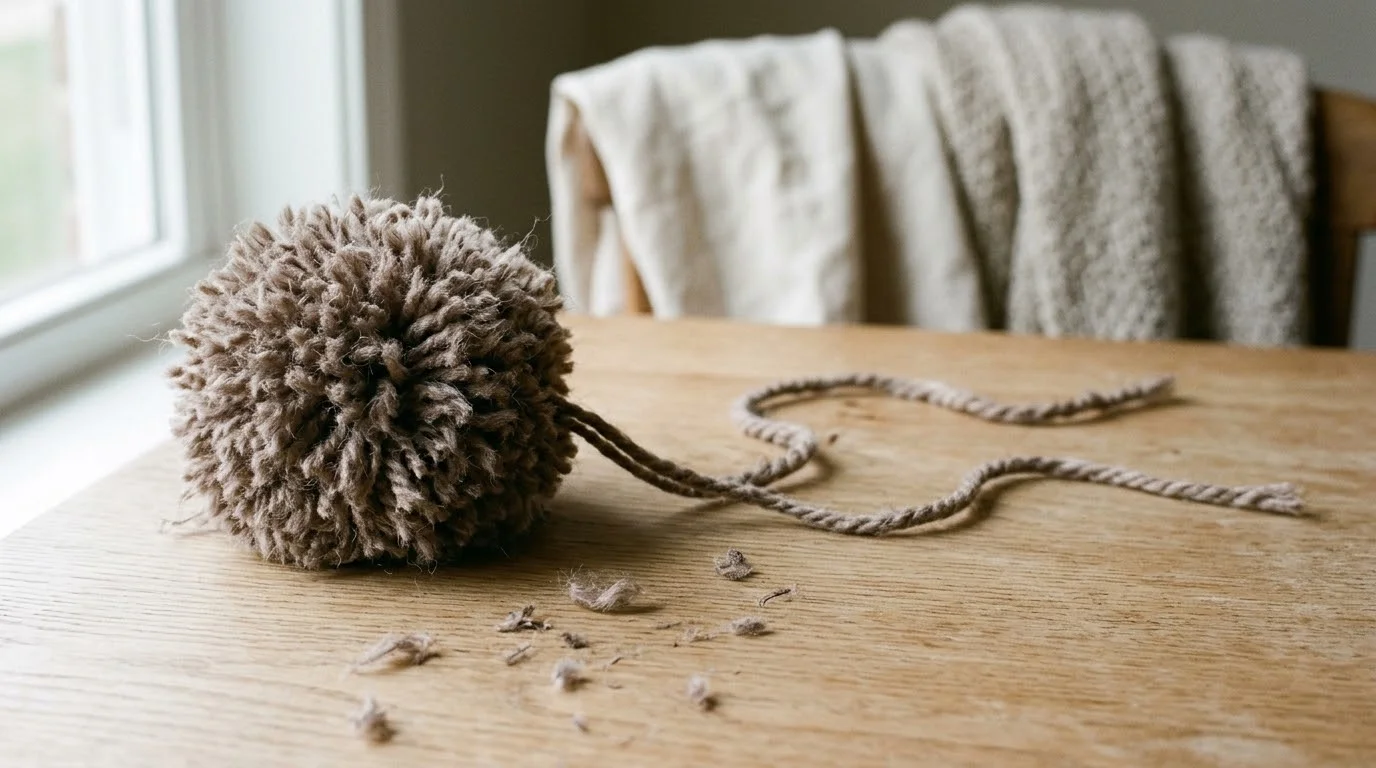
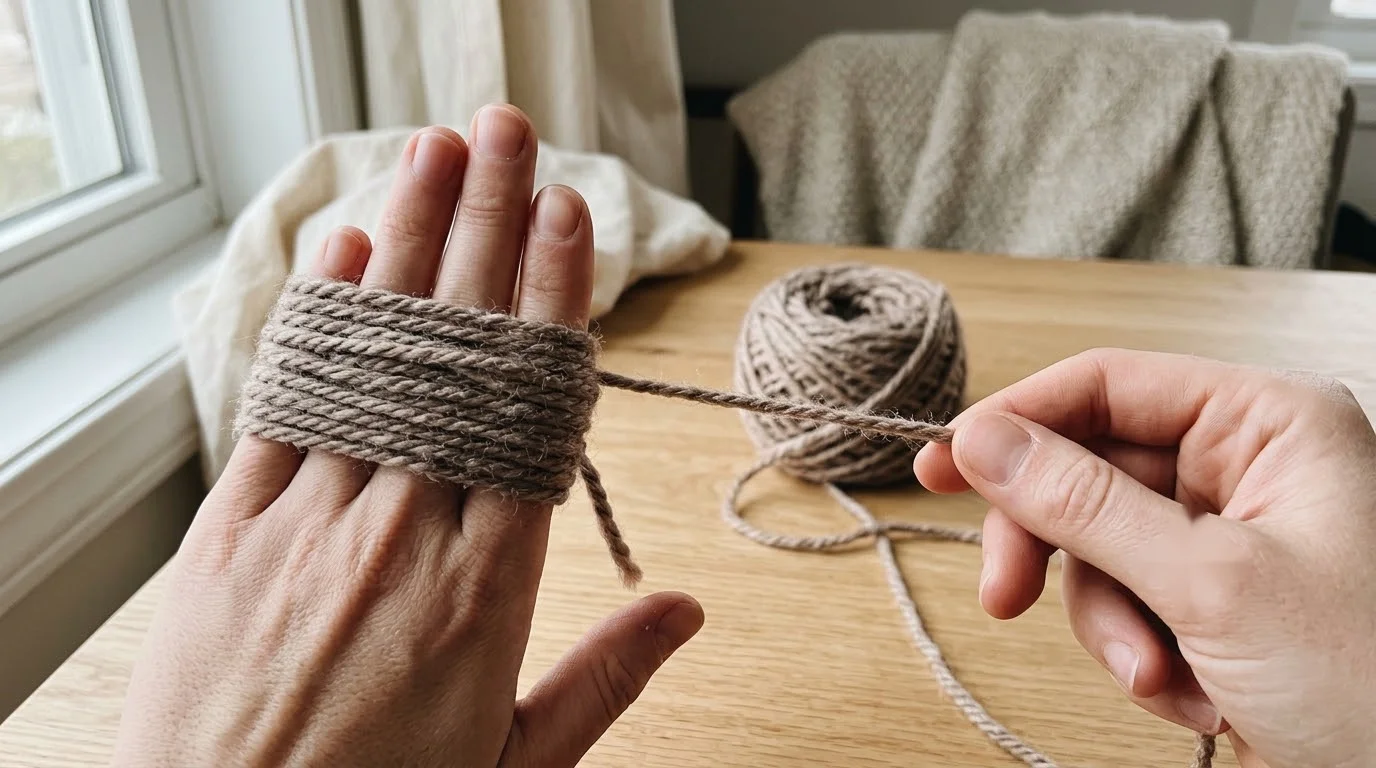
Pattern instruction: Pompom: Wind yarn around 4 fingers approx 100 times. Tie tightly in the middle and leave a long end for attaching to hat.
Beginner explanation: Hold four fingers together and wind the yarn around them firmly, keeping the wraps side by side and the tension even. Slide the bundle off carefully so the loops stay together, then tie it tightly around the middle, leaving a long end hanging for sewing.
Checkpoint: You have about 100 wraps in one bundle, pinched tightly in the middle with a long end hanging free. If the tie loosens when you let go, retie it more tightly.
Step 10 – Cut, trim and attach the pompom
Pattern instruction: Cut loops at both ends and trim to a smooth round shape. Sew securely to top of Hat.
Beginner explanation: Cut through all the loops at both ends of the bundle, then fluff it out. Trim any longer strands until the pompom is a smooth ball. Use the long end to sew the pompom over the closed centre of the crown, passing through the crown stitches several times so it is held firmly.
Checkpoint: The pompom is an even round ball and does not shift when you tug it gently. If it wobbles, take a few more stitches through the crown.
Finishing
The crown is closed and the pompom is sewn on, so only tidying remains.
- Weave in the tail left at the start of the band along the inside of the band, using your hook or a yarn needle.
- Check the back seam: it should lie flat with no twist.
- Check the crown: the centre should be closed and the pompom firmly attached.
Troubleshooting & Common Mistakes
- The hat comes out too tight or too loose. Your gauge differs from 7 sc and 8 rows over 4 in [10 cm]. Change the hook size as described in Gauge & Sizing and recheck the swatch before you start.
- You lose track of the rib. Count the round: it should have 40 stitches, made of 24 dcfp and 16 dcbp in 8 repeats of 5. Compare the group of 3 raised front stitches with the round below, because it should sit one stitch along from where it was.
- Front post and back post stitches get mixed up. Return to the stitch definitions: for a dcfp the hook goes in from the front, right to left, and for a dcbp it goes in from the back, left to right.
- The band looks twisted after joining. The seam was worked with the band twisted. Undo the seam and rejoin with the band lying flat, working in back loops only.
- Round 1 does not come to 40 dc. The stitches were not spaced evenly around the long edge of the band, or the join went into the ch 3. Undo the round, respace the stitches and join into the first dc.
- A round has an extra stitch at the start. The ch 3 was counted as a stitch, or the first post stitch skipped the join stitch. Remember that the ch 3 is not counted and the first post stitch goes around the first stitch of the previous round.
- The crown does not close. Check the counts of 32, 24 and 16 first. If they are right, pull the end tighter or pass it through the remaining stitches again.
Variations, Sizes & Care
Size: this pattern is written in one size, to fit an average woman’s head. A different fit would mean changing the band length and the stitch counts together and rewriting the post-stitch repeats and crown decreases to match, so it is best made as written.
Colour and yarn: the hat is shown in Clay, but any colour works. A different yarn only works if it gives the stated gauge on the stated hook, and its yardage per ball decides how many balls you need, so compare it with the 108 yds (99 m) per ball used here.
Care: follow the care instructions printed on your yarn label, because washing and drying depend on the fibre. Check that the pompom is firmly sewn on before the first wash.
Looking for another accessory to crochet next? Try a free crochet bag pattern.
Frequently Asked Questions
Why does the pattern start with a long band instead of a circle?
The band is worked in rows, in back loops only, which gives the ribbed edge, and its length is checked with a tape measure at 21 in [53.5 cm] instead of by counting stitches around. Seaming it into a ring gives the body a ready-made edge to work into. Round 1 then sets the count at 40 dc, and every later round keeps to that count until the crown shaping.
Do post stitches change the stitch count?
No. A post stitch takes the place of a regular stitch one for one, so Rnds 2-6 all stay at 40 stitches. The only difference is where the hook goes: around the post of the stitch below instead of into its top.
Do I turn the work at the end of each round?
No. Only the band rows are turned, plus the single turn written after the seam. Every round after that is joined with a slip stitch and worked in the same direction.

Last updated . Found something out of date? Let us know.