 Accessories
 Baby & Kids
 Blankets & Afghans
 Clothing
Crochet Kits for Beginners: What Is Inside, How to Judge One, and What to Make Next
Crochet kits for beginners range from carefully designed learning tools to bags of mismatched supplies with a hopeful label on the front. This guide shows you what a good kit contains, how to judge one before you buy, and which type fits what you actually want to make.
 Nicole Sinclair
Published · 11 min read
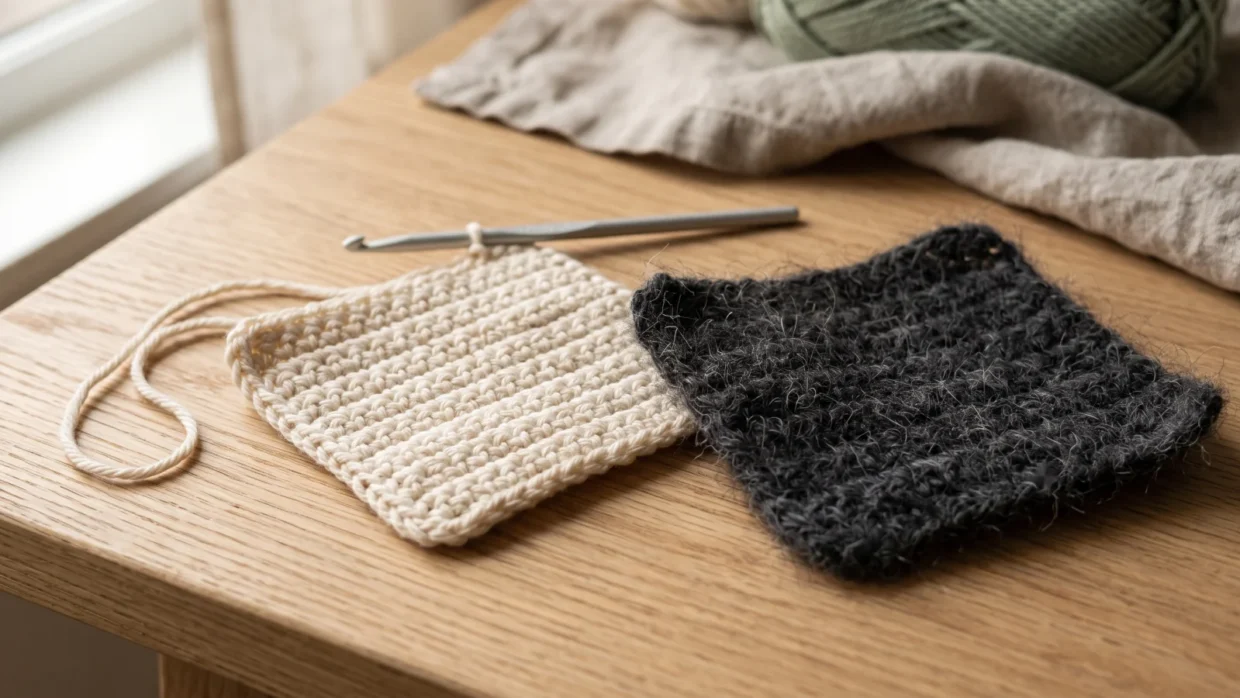
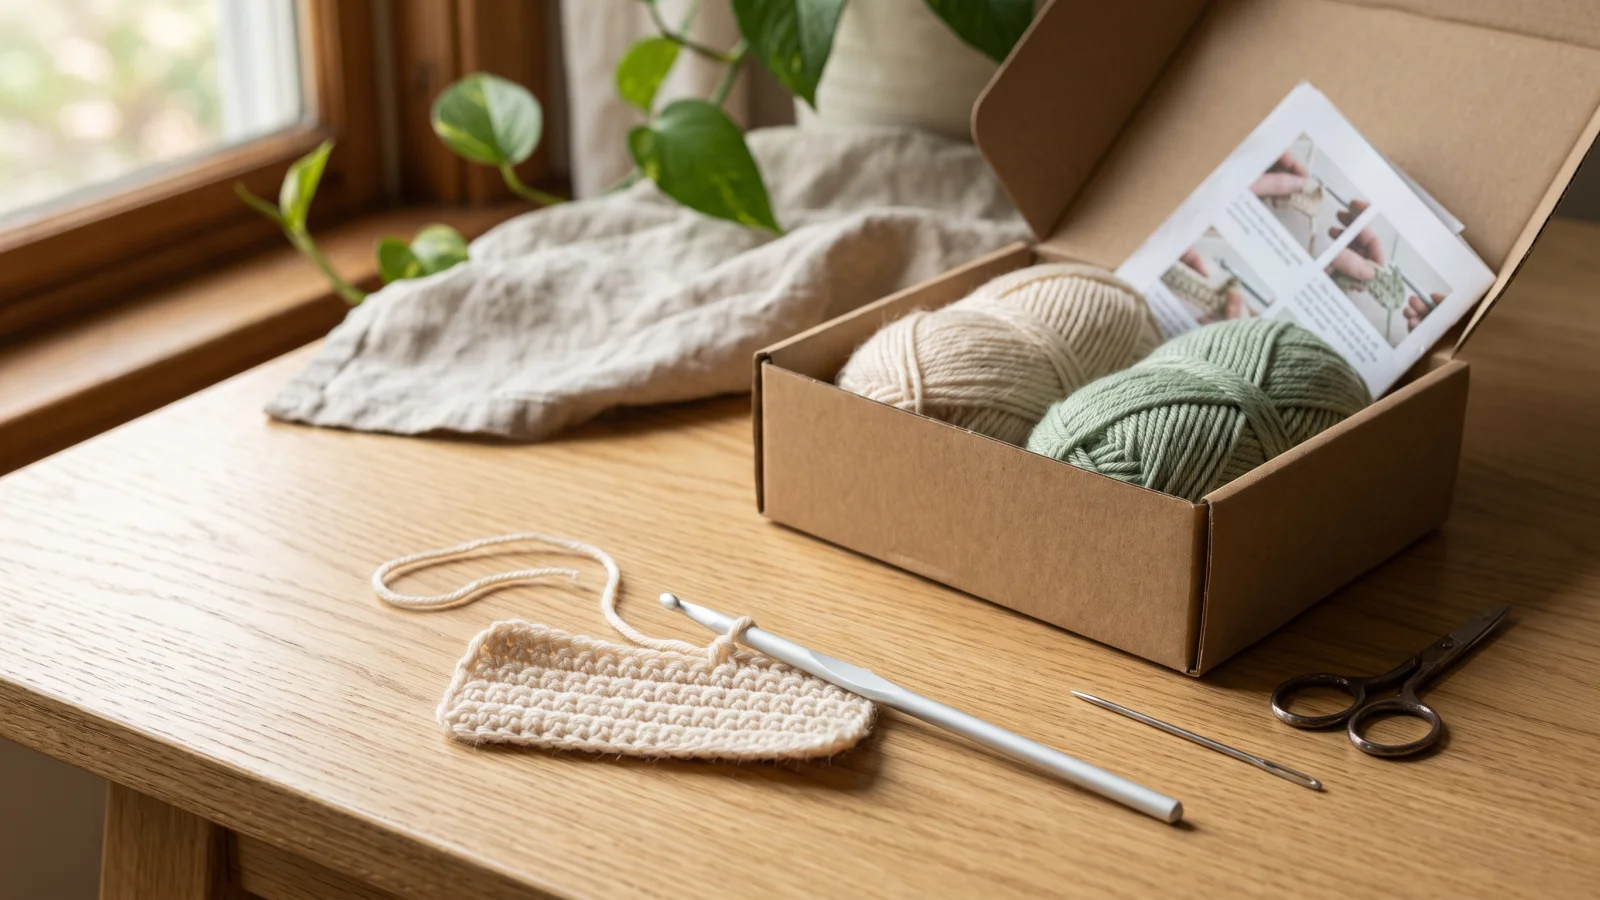
An opened beginner crochet kit on a window-side table, with a few rows of single crochet already worked
Choosing crochet kits for beginners: the short answer
When you are comparing crochet kits for beginners, choose one whose finished project you genuinely want, whose yarn is smooth, light in color and medium weight, whose instructions show each step, and whose contents list states how much yarn is included. Everything below is a way of checking those four things. The word ‘beginner’ on a box is not standardized, so one kit may ask only for a slip knot and a chain while another expects increases, decreases and seaming. I treat the label as a claim to test, not as evidence.
This guide covers what a beginner crochet kit usually contains, which kit type suits which goal, a checklist and red flags, when to buy supplies separately, how to start once the box arrives, and what to make next.
Project kits, learn-to-crochet kits and starter sets
Shops use ‘kit’ and ‘set’ loosely, so a product called a crochet starter kit could be any of three things. This guide keeps them separate:
- Project kit: supplies plus instructions for one finished item, such as a small animal, a coaster or a scarf.
- Learn-to-crochet kit: yarn, a hook and instructions that teach the stitches through practice pieces, often leading into a simple project.
- Tool-only starter set: hooks and notions with no yarn project attached.
Project kits and learn-to-crochet kits are the focus here. A tool-only starter set is a useful contrast, and I come back to it in the buy-versus-build section.
What a beginner crochet kit usually includes, and what is often missing
Check the contents list before you buy, not after the box arrives. Listings often show a lovely finished item and stay vague about the supplies.
| Item | Why it matters | What to check |
|---|---|---|
| Hook or hooks | You work every stitch with it | Is the size stated, and does it match the yarn label and the instructions? |
| Yarn | Its texture and color decide how readable your stitches are | Fiber, weight, color and a stated quantity |
| Yarn needle | Weaves in ends and sews pieces together | Included, with an eye large enough for the yarn |
| Stitch markers | Mark the start of rounds and keep your place | Included, or plan to add your own |
| Scissors | Cut yarn cleanly | Frequently left out |
| Filling and safety eyes | Needed for amigurumi-style kits | Included, with enough filling for the finished size |
| Instructions | The part that decides whether you finish | Step-by-step photos or diagrams, video support, a stated terminology system |
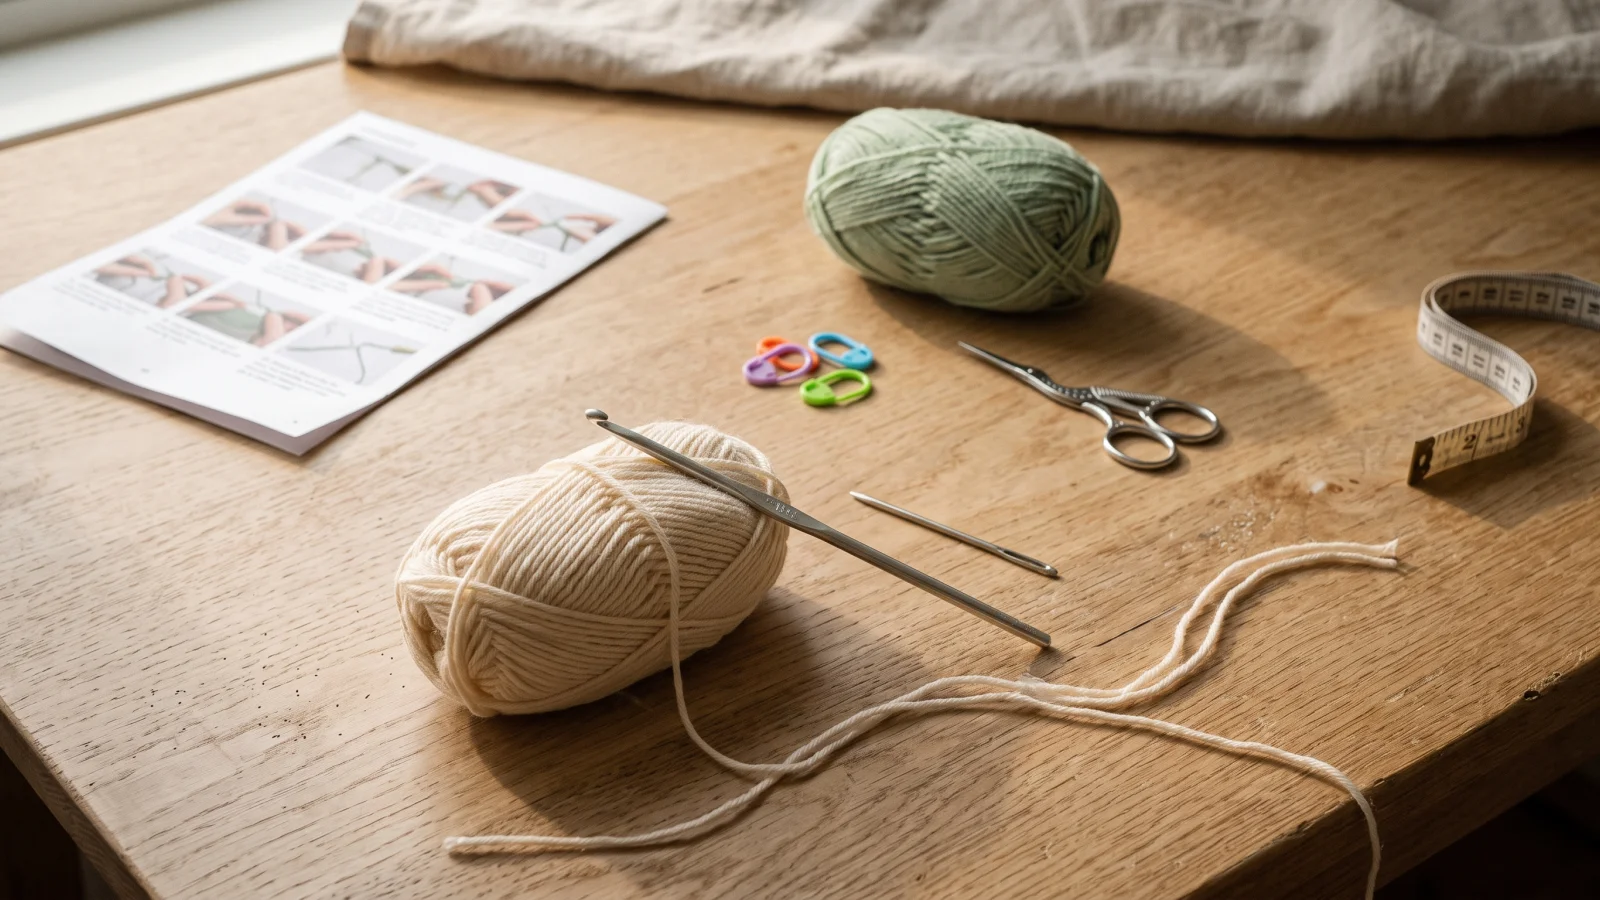
The items most often missing are scissors, stitch markers and spare yarn. A tape measure is also handy when the kit states finished dimensions. If anything is absent, add it before you start rather than improvising mid-project; a loop of scrap yarn works as a marker in a pinch.
Matching kit types to what you want to make
The best kit for you is the one that matches your goal, because each project type has a different beginner hurdle.
Amigurumi and animal kits
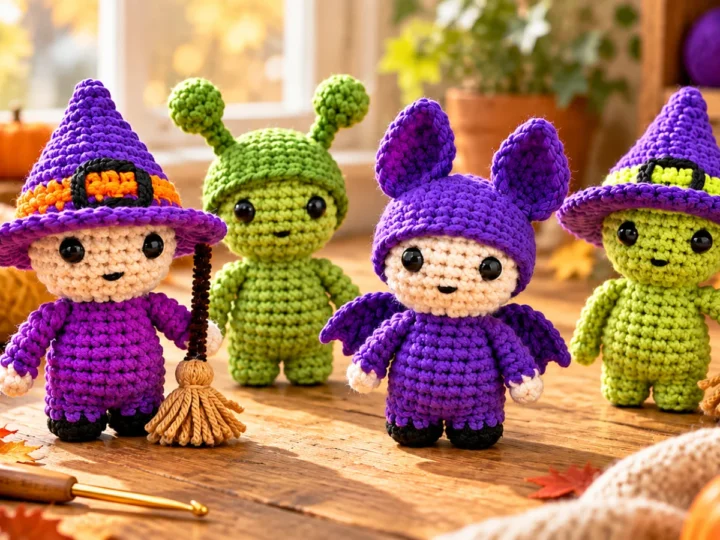
Small stuffed animals are the most popular theme, and it is easy to see why: they are compact, quick enough to finish and satisfying to hold. They are worked in rounds, usually in single crochet (sc), with increases and decreases to shape the body. The usual hurdle is keeping count around a round that has no visible edge, so a stitch marker is essential. Safety eyes and other small parts are a hazard for young children, so keep finished pieces away from them. If this is your goal, the step-by-step amigurumi guide explains construction in depth.
Blanket kits
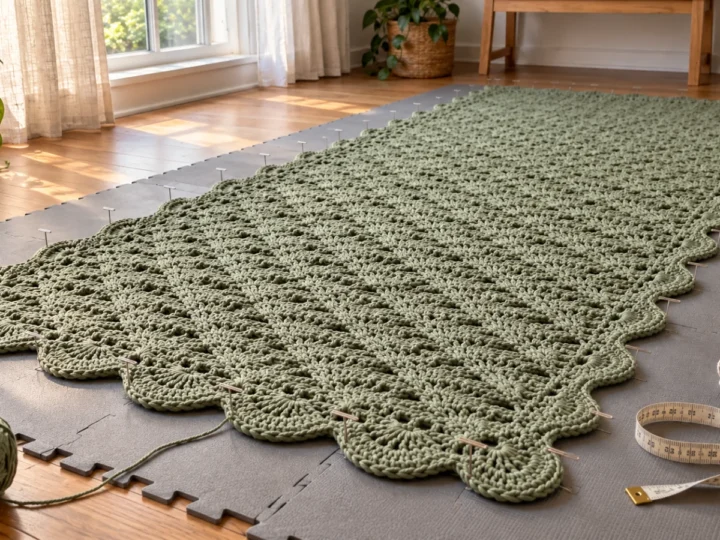
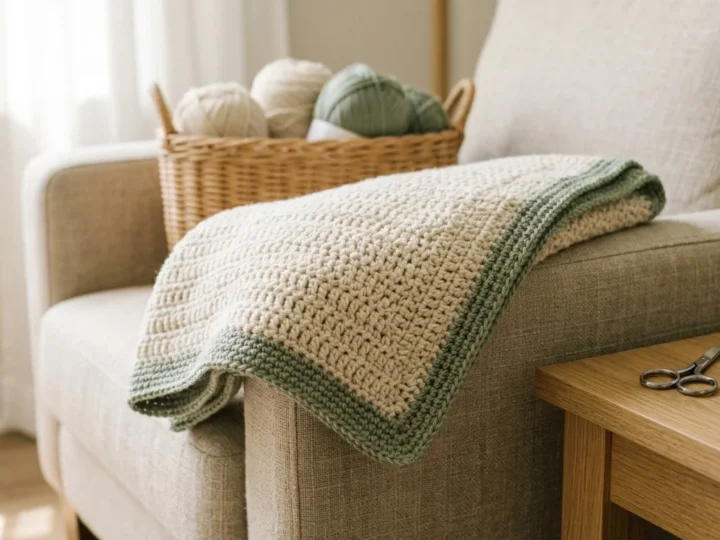
Blanket kits suit people who like repetition and want something useful. The skills are modest, but the project is large, so the hurdles are time, tension drifting over many rows, and edges that slowly widen or narrow. Check that the stated finished size and the amount of yarn make sense together. If you want to see how a blanket is built before committing, this beginner blanket tutorial walks through it.
Small accessory kits
Bags, scarves, hats and coasters make good adult-friendly choices. Coasters and scarves forgive a lot. Hats and bags ask for more, including shaping and seams, so look for a stated size or fit on anything you plan to wear.
Flower and granny-square kits
Motifs are small, so redoing one costs little. They teach working in rounds, chain spaces and changing colors. The hurdle is the end of each round: joining with a slip stitch (sl st) and knowing where the next round begins. Many kits also expect you to join the motifs afterward, which is another skill to check for.
Learn-to-crochet practice kits
These suit you if you want the stitches before the project. A good one teaches the slip knot, chain and single crochet in a sensible order and ends with a small finished item. The hurdle is motivation, because practice swatches are less rewarding than a finished animal, so favor a kit that ends with a project.
Crochet kits for adults: what to check
Adult beginners are sometimes offered childish projects, or end up buying on looks alone. A kit marketed to adults is not automatically easier, better made or more clearly written than other beginner kits, so apply the same checklist. What does differ is the choices around it. Adults often want a finished item they will actually use, such as a bag, a scarf or something for the home, and longer sessions make hook comfort matter: a hook that feels fine for ten minutes can ache after an hour. Elegant dark or flecked yarn also looks sophisticated but hides stitches, which is the opposite of what you want while learning.
A checklist for judging any beginner crochet kit
- Instructions. Look for clear step-by-step photos or diagrams, video support and a stated terminology system. The instructions are the real product; if they are weak, the yarn is just yarn.
- Yarn texture and color. Smooth, light, solid colors show where the hook goes and survive ripping back. Fuzzy, dark or heavily variegated yarn hides stitches and can split under the hook.
- Yarn weight and fiber. Medium (worsted) weight is the usual beginner-friendly choice. Acrylic tends to be soft and forgiving, cotton gives crisper stitches with less stretch, and blends fall between. None is universally best; they are trade-offs. Let the yarn label and the kit’s instructions decide the hook size.
- Spare yarn. A kit with barely enough yarn leaves no room for mistakes. Check that a quantity is stated and that it matches the finished size. For blanket kits, how much yarn a crochet blanket needs shows how quickly yardage adds up.
- Hook comfort. Aluminum hooks glide, plastic is light, wood and bamboo have more grip, and ergonomic handles reduce hand strain. If the yarn slides off, a grippier hook may help; if it drags, a smoother one may.
- Realistic difficulty. Honest beginner projects need a small stitch vocabulary (chain, single crochet, slip stitch, plus increases and decreases for amigurumi), simple shapes worked in rows or rounds, and every step shown. Compare what the project requires with what the kit teaches.
- Finished-item appeal. You are far more likely to finish something you want to own. Check the stated finished dimensions so the result is the size you expect.
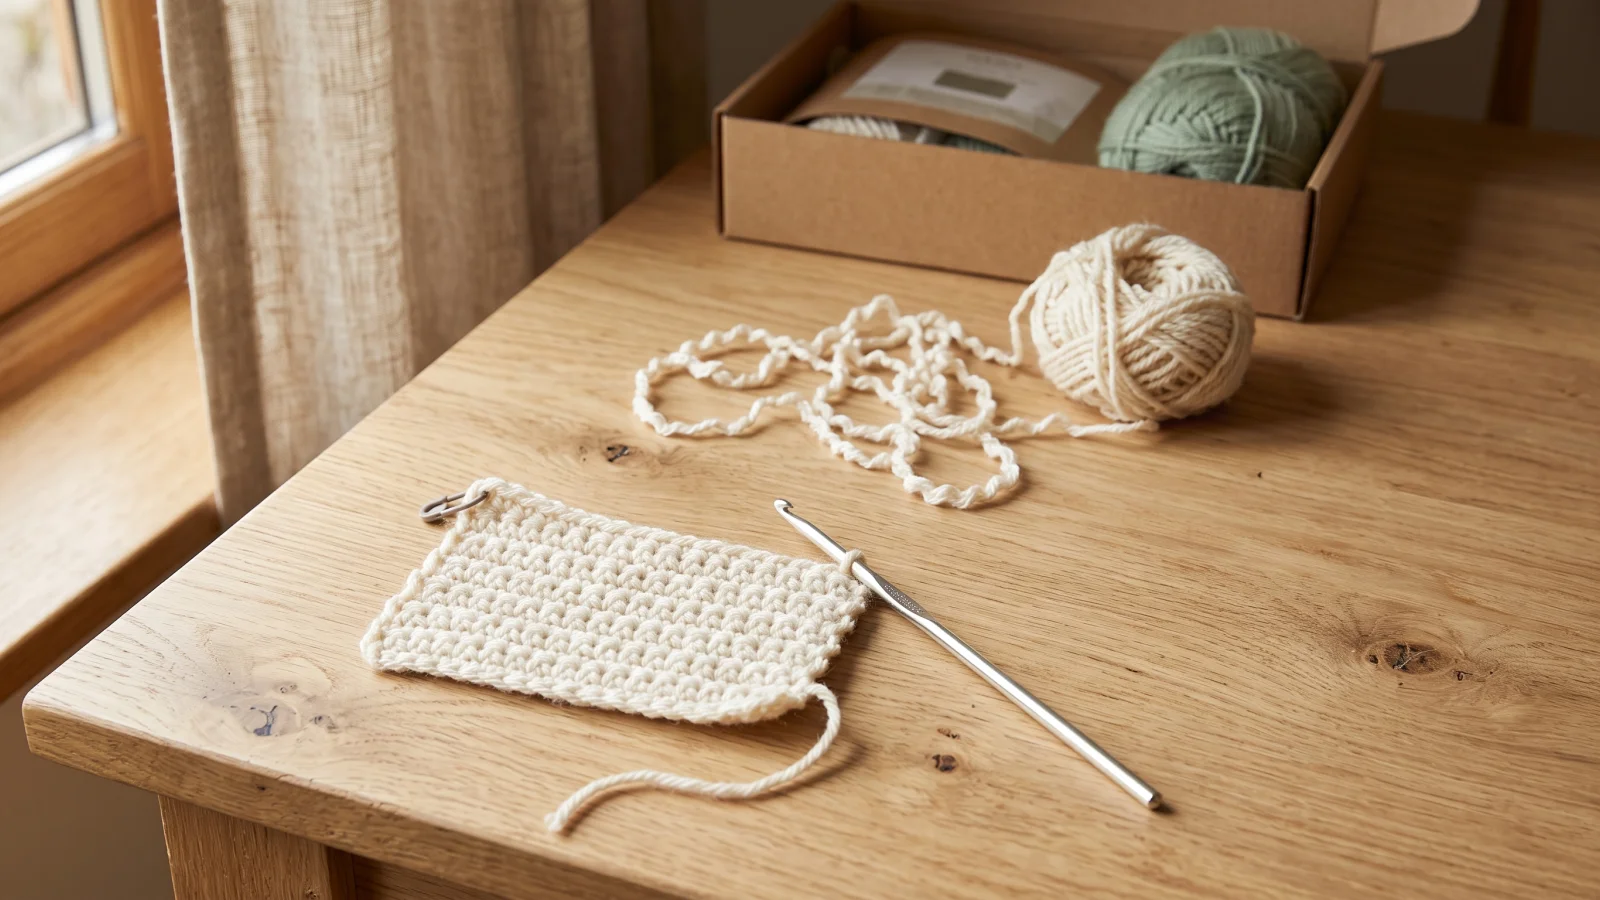
When people search for the best, cheapest or easiest kit, they are really asking about value. I judge it by yarn quantity and quality, instruction quality, hook quality and project difficulty, not by the headline. If budget is tight, give up the decorative packaging before you give up good yarn and clear instructions.
Red flags to walk away from
- Vague or translated-sounding instructions with no photos or diagrams.
- No yarn quantity stated anywhere.
- Splitty, dark or fuzzy yarn in a kit sold for learning.
- Hooks with rough seams or edges that catch the yarn.
- A project that needs skills the kit never teaches.
- A ‘beginner’ label with no detail about the skills involved.
One red flag is not necessarily fatal. Several together are a good reason to choose another kit.
Two things that trip up beginners: terms and handedness
Kit instructions may use US or UK terms, and the same name can mean a different stitch. A US single crochet is a UK double crochet, and a US double crochet is a UK treble. Confirm which system the kit uses before you start by looking for a stated system or a stitch glossary. Amigurumi is usually worked in the tightest basic stitch, so if the instructions call that stitch a double crochet, the kit may be using UK terms. This guide uses US terms throughout.
Left-handed support also varies. Many photos and videos are shown right-handed, and mirrored versions are not guaranteed. If you crochet left-handed, check for mirrored support before buying, or plan to find left-handed tutorials for the basics.
Buy a kit or build your own starter supplies?
A kit is the simpler path when you want one decision instead of many: a matched project, yarn and instructions in a single box, especially if you do not yet know which yarn or hook you like. Building your own makes more sense when you already know what you want to make, when you want better hooks, or when a free or paid pattern appeals to you more than a kit’s project.
Building means choosing a tool-only starter set or individual hooks, a few skeins of smooth, light, medium-weight yarn, a yarn needle, stitch markers and scissors, then following a pattern. You control the fiber and color and end up with leftovers for practice. The cost is more decisions up front. For a pattern-only route, an easy baby blanket pattern you can follow without a kit needs only supplies you pick yourself.
Your first session when the kit arrives
- Check the contents against the list and note anything missing.
- Read the instructions all the way through before you start, including the section on terms and abbreviations.
- Practice the slip knot, chain and single crochet on scrap yarn until your stitches look even. Save the kit yarn for the project.
- Watch your tension. If the hook is hard to move, loosen your grip; if stitches look gappy, tighten it slightly.
- Put a stitch marker in the first stitch of each round, and count your stitches at the end of every row or round.
- Expect to rip back. Pulling out a few rows is part of learning, though over-ripping fuzzes the yarn and uses it up.
When things go wrong
- Tension too tight or too loose, or the hook feels awkward: this is normal at first. Keep practicing, and try a different hook material if discomfort continues.
- Losing your place: use a stitch marker and count at the end of each row or round.
- Yarn splitting or stitches hard to see: this relates to texture and color. Practice with smoother, lighter yarn.
- Your piece looks different from the box photo: the usual causes are tension, a terminology mix-up or a skipped step. Rip back to the last point where it matched the instructions.
- Running out of yarn: check the quantity before you start and avoid over-ripping.
- Unclear instructions: confirm whether they use US or UK terms, and use the kit’s video support if it has any.
- Missing items: check the contents list on arrival and buy what is absent separately.
Finishing your first kit
Most kits end with weaving in ends using the yarn needle, sewing pieces together, stuffing and closing amigurumi, and sometimes blocking flat pieces. Keep the yarn label. Washing and care depend on the fiber, and the label is the reliable source for them.
What to make after the kit
Follow the kit as written the first time, and save color swaps for your next project. Then choose a second project by what you want to make. If you enjoyed the repetition of a blanket, try a simple blanket worked row by row from a pattern with no kit attached. If you want something to carry, a granny square bag as a first accessory project builds on the motif skills above. Keep leftover yarn for practice, upgrade your hook for comfort once you know what you like, and move to free or paid patterns as your confidence grows.
Frequently asked questions
Are crochet kits worth it for a complete beginner?
They can be, when the kit matches your goal and passes the checklist above. You get matched yarn, hook and instructions in one box. If the instructions or yarn are weak, separate supplies and a good pattern are the better route.
Do I need to buy extra supplies on top of a kit?
Often a little. Scissors, stitch markers, a tape measure and a yarn needle are the usual gaps, so read the contents list closely.
Are cheap crochet kits fine for learning?
They can be. The compromises that matter most, in order, are instruction quality and yarn quality, then yarn quantity, then hook comfort. Accept a plain box, not poor yarn or confusing instructions.
How can I tell whether a kit’s beginner label is realistic?
Look at the skills the project needs and whether the instructions teach them. A small stitch vocabulary, simple shapes and every step shown are good signs. A label with no supporting detail is not.
Should a beginner choose a combined knitting-and-crochet kit?
I would not. Two crafts with different tools and skills compete for your attention, so I would choose a kit dedicated to crochet until the basics feel automatic.
Is a hook-and-notions starter set better than a project kit?
A tool-only starter set suits you if you already have a pattern and yarn in mind. If you want everything matched and one clear project, a project kit or learn-to-crochet kit is simpler.

Last updated . Found something out of date? Let us know.