 Accessories
 Baby & Kids
 Blankets & Afghans
 Clothing
Crochet Blanket for Newborn: Star Baby Blanket Pattern with Hood
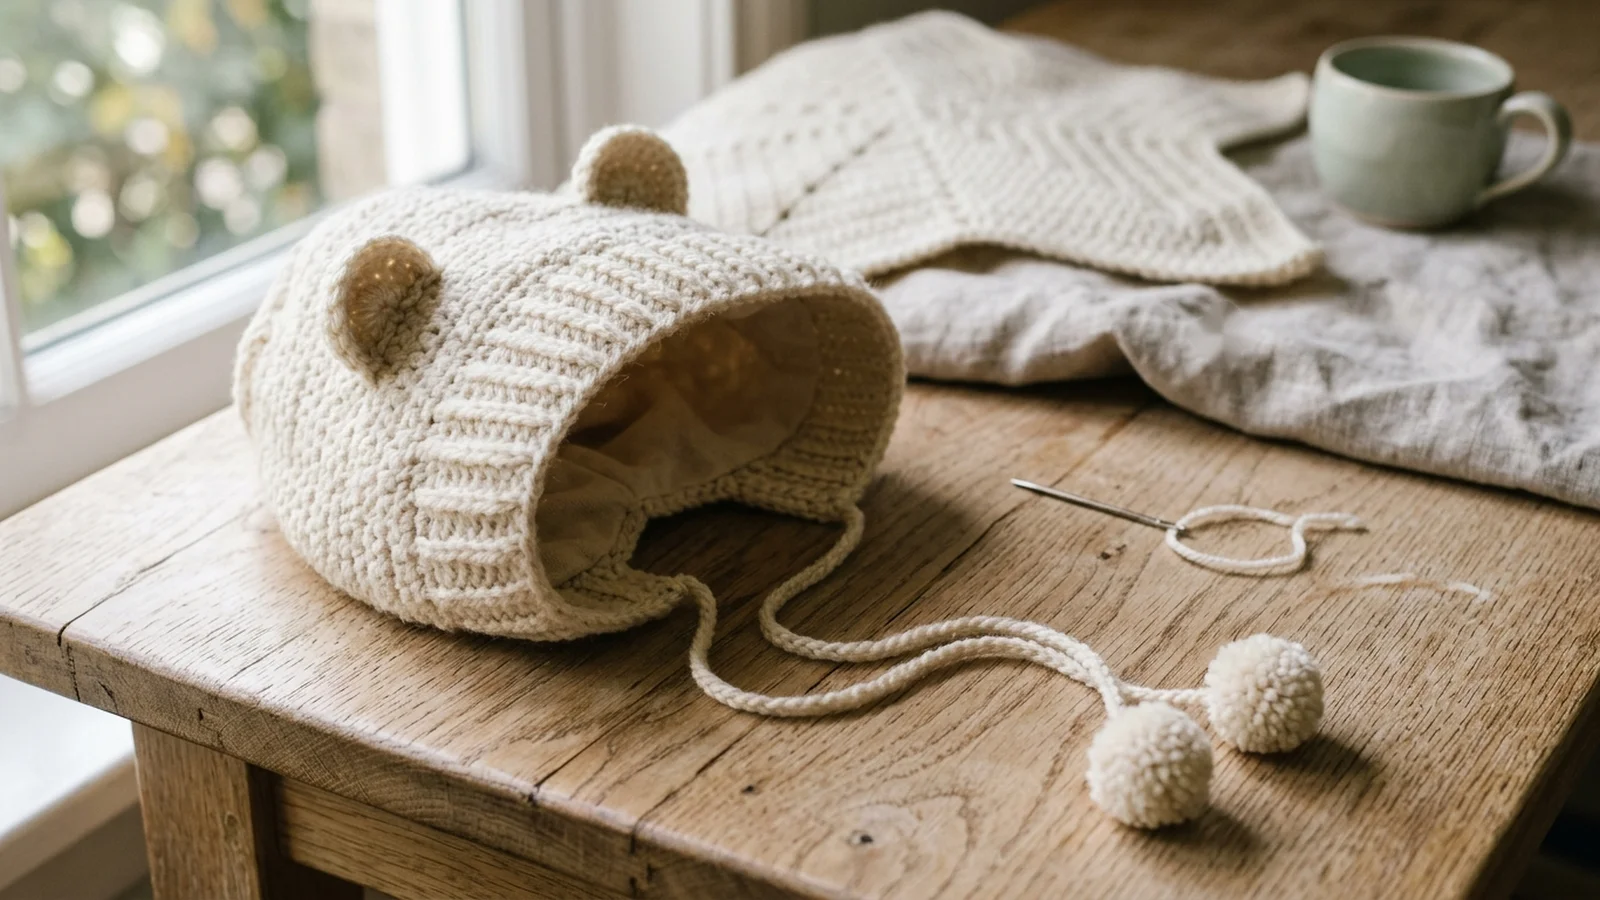
This crochet blanket for newborn is a five-point star worked from the center out in double crochet, finished with a hood, two small ears and a tie lace. It is written in the 3 to 6 month size (22 inches / 56 cm long) and scales down to a newborn by working fewer rounds.
 Nicole Sinclair
Published · Updated · 12 min read
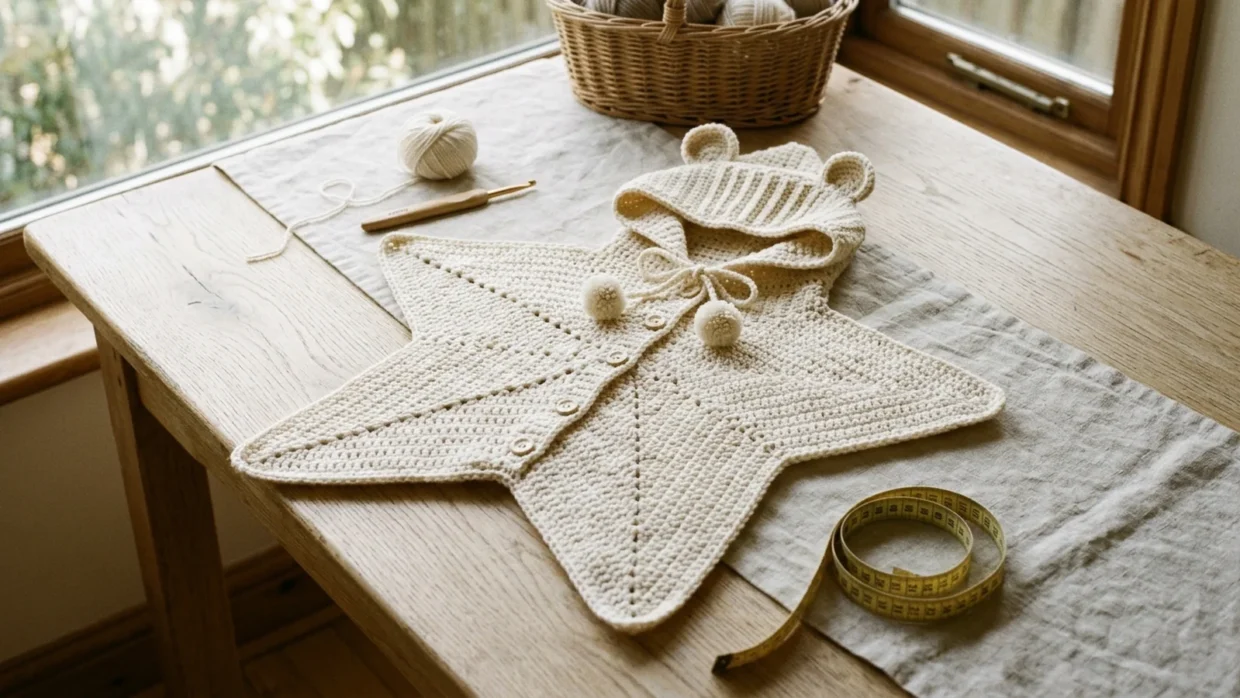
The finished star baby blanket in soft cream, with hood, ears, tie lace and pom-poms
Pattern at a Glance
- Skill level
- Easy
- Yarn weight
- DK or medium 4 ply
- Hook size
- 4.0 mm (G-6)
- Finished size
- 22 in (56 cm) long, 3 to 6 months
- Yarn needed
- 300 g (3 to 6 months)
- Construction
- Worked from the center out, then shaped into star points
- Stitches
- Chain, slip stitch, single crochet, half double crochet, double crochet, FP dc, BP dc
- Gauge
- 4 dc x 2 rows = 1 in (2.5 cm)
- Pattern type
- Written pattern
- Project type
- Star baby blanket with hood
Crochet Blanket for Newborn: What You Will Make
This star-shaped baby blanket works as a small wrap and a hooded slip sack in one. A front and a back panel are each crocheted from a center star, then joined, and a ribbed hood, two ears, a button band and a tie lace finish it. Use it as a small baby blanket crochet pattern for a gift or for your own baby.
The pattern is written for the 3 to 6 month fit: full length 22 inches (56 cm) and chest 24 inches (60 cm). The skill level is beginner to easy, and a crochet newborn blanket version needs only fewer rounds in the center (see the sizing section). To compare designs before you commit, browse more newborn crochet blanket patterns.
Why This Shape Suits a Newborn
A square crib blanket is a lot of fabric for a very small baby. The star puts the fabric where it is needed: the center covers the body, the five points become legs, sleeves and a neckline, and the hood covers the head. Double crochet stays soft and light, and there is no heavy border to weigh it down.
Materials
- Yarn: 300 grams of soft DK weight or medium weight 4 ply yarn (3 to 6 month size). Any soft yarn you like will work.
- Hook: 4.0 mm (G-6).
- Notions: yarn needle, measuring tape, scissors, three buttons for the button band.
- Optional extras (leave them out for a baby; see the safety note): yarn for the tie lace and two small pom-poms.
Pick a yarn that feels soft against the skin and has a care label you are happy to follow. The finished size depends on yarn weight, hook size and your tension. To swap yarn, stay in the same weight category and adjust the hook, and use how much yarn a crochet blanket needs to estimate amounts for other sizes.
Gauge, Terms and Abbreviations
This pattern uses US terms (US double crochet = UK treble crochet). Gauge is 4 dc and 2 rows = 1 inch (2.5 cm) with a 4.0 mm hook, which is also 16 stitches over 4 inches. The single crochet edging works to about 4 sc and 4 rows per inch. Gauge is not critical, but it sets the finished size, so swatch first and measure as you go. A ch 2 or ch 1 at the start of a round or row does not count as a stitch.
| Abbreviation | Meaning |
|---|---|
| ch | Chain |
| sl st | Slip stitch |
| sc | Single crochet |
| hdc | Half double crochet |
| dc | Double crochet |
| st(s) | Stitch(es) |
| dc2tog | Double crochet 2 together |
| sc3tog | Single crochet 3 together |
| FP dc | Front post double crochet |
| BP dc | Back post double crochet |
Sizing: Newborn to 12 Months
| Size | Approx. span of the star | Center rounds |
|---|---|---|
| Newborn | 20 to 22 in | Stop earlier than 11 rounds |
| 0 to 3 months | 22 to 24 in | 11 rounds |
| 3 to 6 months | 24 to 26 in | 12 rounds (as written) |
| 6 to 9 months | 26 to 28 in | 14 rounds |
| 9 to 12 months | 26 to 28 in | 15 rounds |
| Toddler | 30 to 34 in | Keep adding rounds |
These are approximate overall spans with medium weight 4 ply yarn and a 4.0 mm hook. The 22 inch length and 24 inch chest are the body measurements of the finished 3 to 6 month blanket. Measure as you go rather than relying only on round counts, because yarn and tension change the result. For a general comparison with crib and lap blankets, see the baby blanket size guide.
Every round adds 2 dc to each side, so a side holds (2 x rounds) + 1 dc: 23 at Round 11, 25 at Round 12, 29 at Round 14. For a newborn, stop earlier than the 11 rounds listed for 0 to 3 months, checking against a measuring tape. Then shape the points from the count you reach: decrease 1 stitch per row at the start until 14 sts remain, then at both ends of every row down to 2 sts, then a final dc2tog. Along each shaped side, work 2 sc per row end in the edging. The hood, ears and bands are written for the 3 to 6 month fit.
Is This Pattern Easy?
You need chain, slip stitch, single, half double and double crochet, dc2tog (a double crochet worked over two stitches to decrease one) and front post and back post double crochet in the hood and buttonhole band. For FP dc, yarn over, insert the hook from the front around the post of the stitch below and complete a dc. BP dc is the same from the back. The center has no stitch multiple to calculate: each round adds 2 dc per side, so you can check progress by counting one side. If you want an even simpler start, try an easy baby blanket pattern for beginners.
Step 1: Crochet the Center Star
Work every round with the right side facing and do not turn. Keep stitches loose so the center lies flat. Make this center twice, one for the back panel and one for the front.
- Setup: Ch 5 and join with a sl st to form a ring, or start with a magic ring.
- Round 1: Ch 2. 3 dc, ch 1, repeat 5 times into the ring. Sl st to the first dc to join, then sl st across the next 2 dc and into the first ch-1 space. (15 sts, 5 corner spaces)
Rounds 2 to 12 follow one formula. A corner is (dc, ch 3, dc) in a corner space. Ch 2, then work a corner in the space you are in. Dc in each of the next X dc, corner in the next corner space, repeat from to 4 times, then dc in each of the last X dc. Sl st to the first dc to join, then sl st into the ch-3 space. X is every dc between two corner spaces of the previous round, given below.
- Round 2: 3 dc between corners. (25 sts)
- Round 3: 5 dc between corners. (35 sts)
- Round 4: 7 dc between corners. (45 sts)
- Round 5: 9 dc between corners. (55 sts)
- Round 6: 11 dc between corners. (65 sts)
- Round 7: 13 dc between corners. (75 sts)
- Round 8: 15 dc between corners. (85 sts)
- Round 9: 17 dc between corners. (95 sts)
- Round 10: 19 dc between corners. (105 sts)
- Round 11: 21 dc between corners. (115 sts)
- Round 12: 23 dc between corners. (125 sts)
After Round 12 each side holds 25 dc counting the corner stitches, and the pentagon measures about 12 inches (30 to 32 cm) across. After every round, check that all five sides grew by 2 dc and the work lies flat.
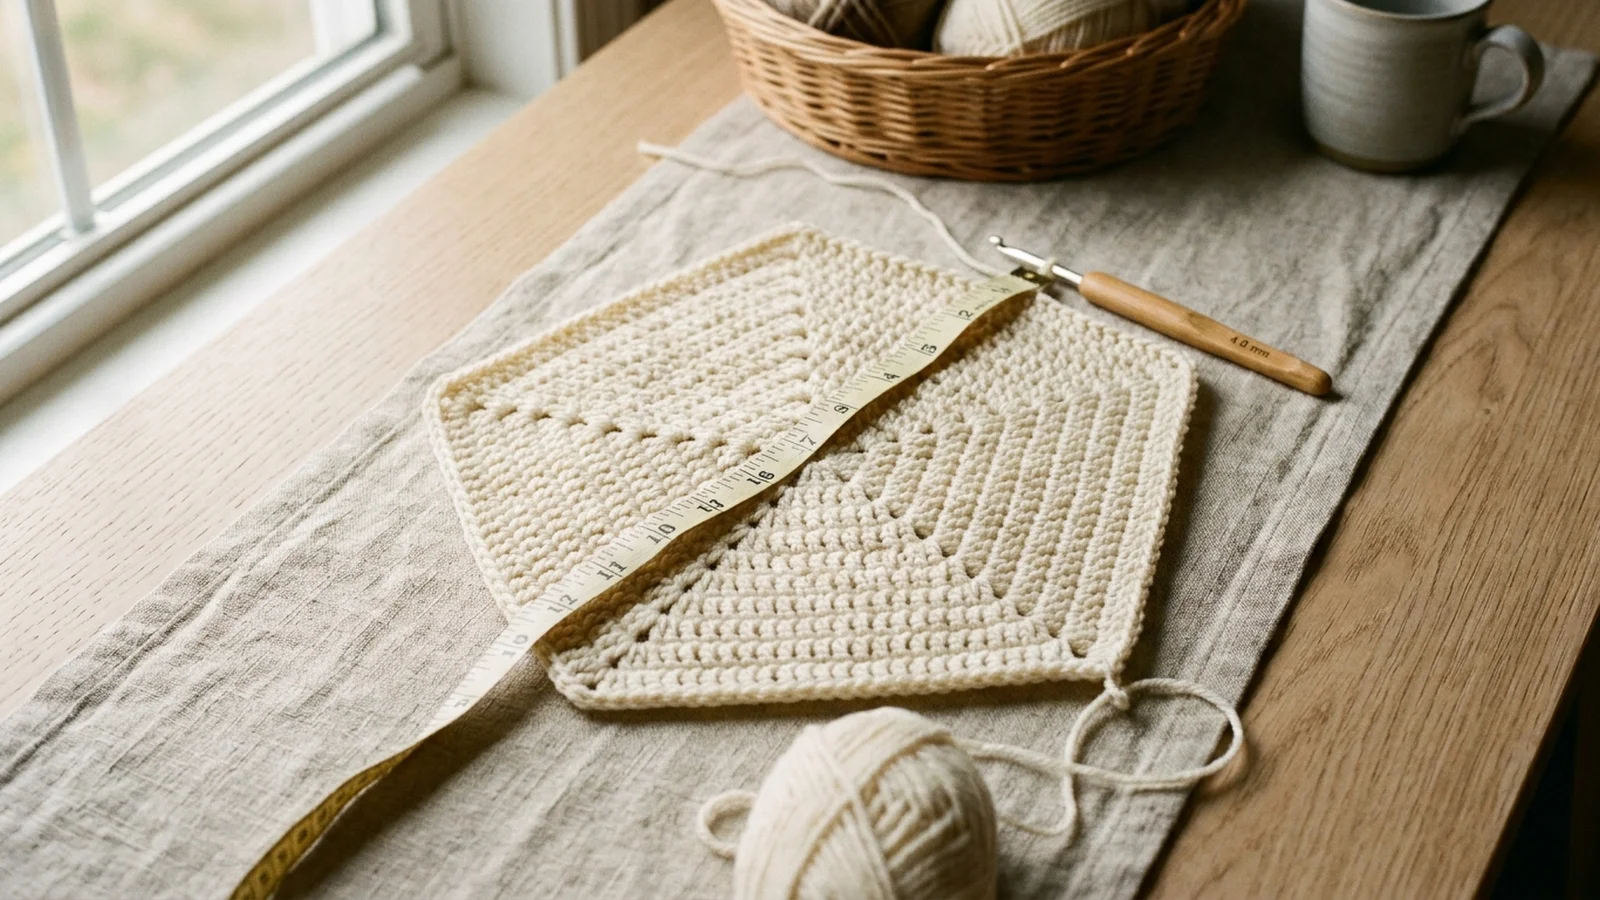
Step 2: Shape the Five Star Points
On the back panel, work the decrease rows separately on each of the 5 sides, leaving the ch-3 corner spaces unworked. Each side starts with 25 dc. Turn at the end of every row.
- Row 1: Join yarn in the first dc of a side. Ch 2, dc2tog over the first 2 sts, dc in each st across. Turn. (24 sts)
- Rows 2 to 11: Ch 2, dc2tog over the first 2 sts, dc in each st across. Turn. (23 sts at Row 2, one fewer each row, 14 sts at Row 11)
- Row 12: Ch 2, dc2tog over the first 2 sts, dc across to the last 2 sts, dc2tog. Turn. (12 sts)
- Rows 13 to 16: Repeat Row 12. (10, 8, 6, then 4 sts)
- Row 17: Repeat Row 12. (2 sts)
- Row 18: Ch 2, dc2tog. Fasten off. (1 st)
Repeat on sides 2, 3, 4 and 5, joining yarn in the first dc of each side. Each side is now a triangle of 18 rows ending in a single stitch.
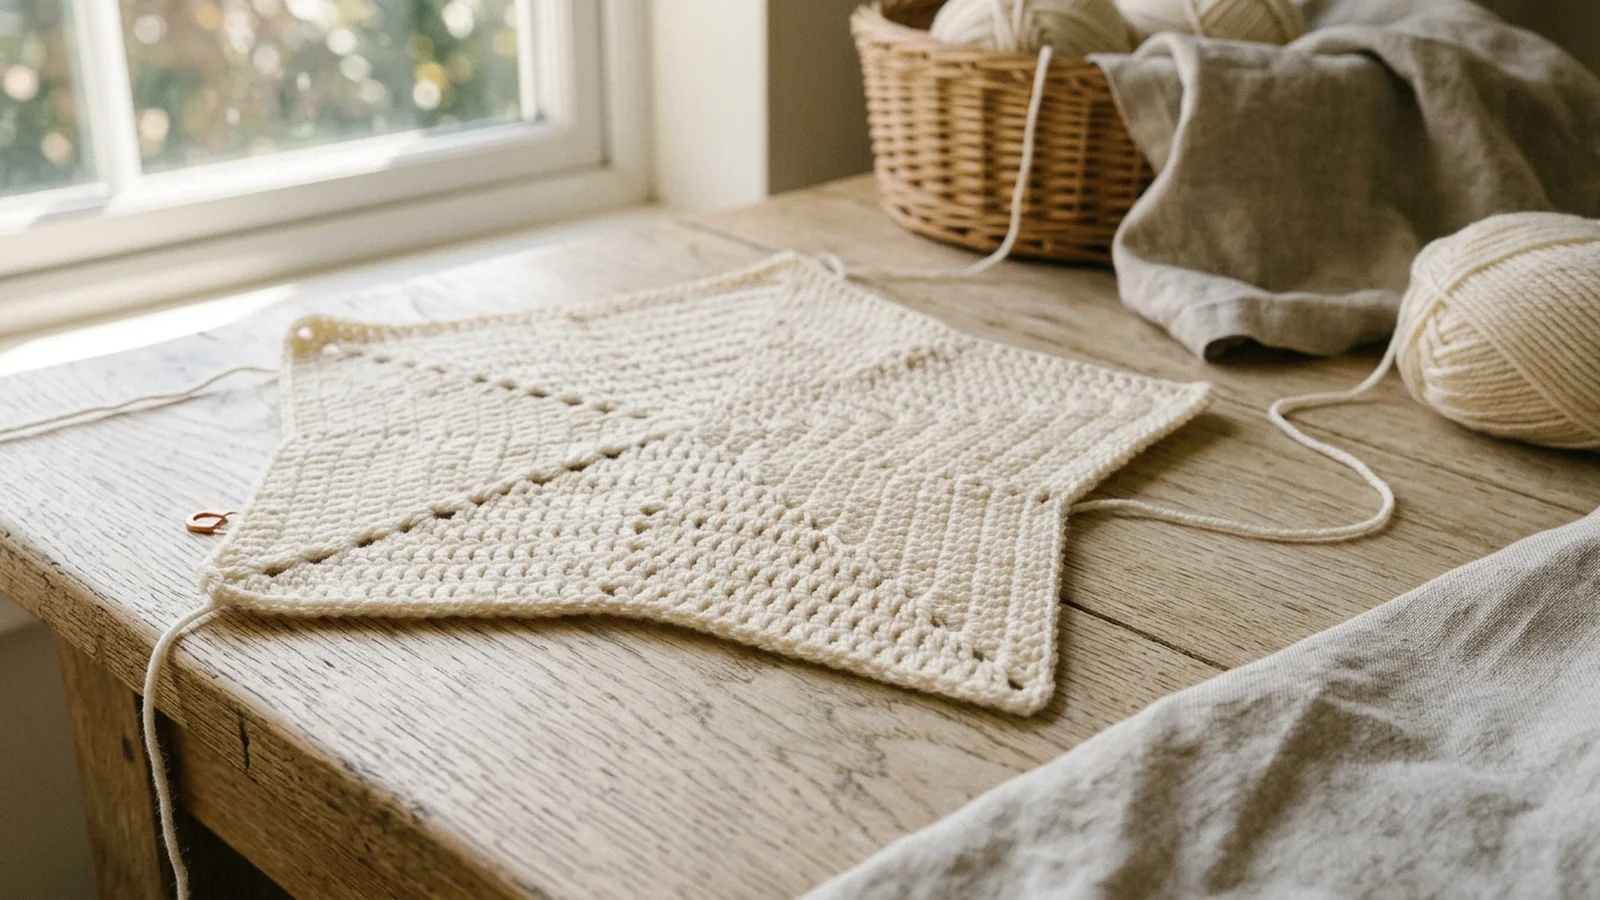
Edging the Back Panel and Making the Front Panel
Back panel edging: join yarn at the tip of any point. 1 sc in the tip stitch, 36 sc down the side to the valley, sc3tog in the ch-3 corner space, 36 sc up the next side to the next tip, repeat from to around all 5 points. Fasten off. (74 sts per point, 370 sts in total)
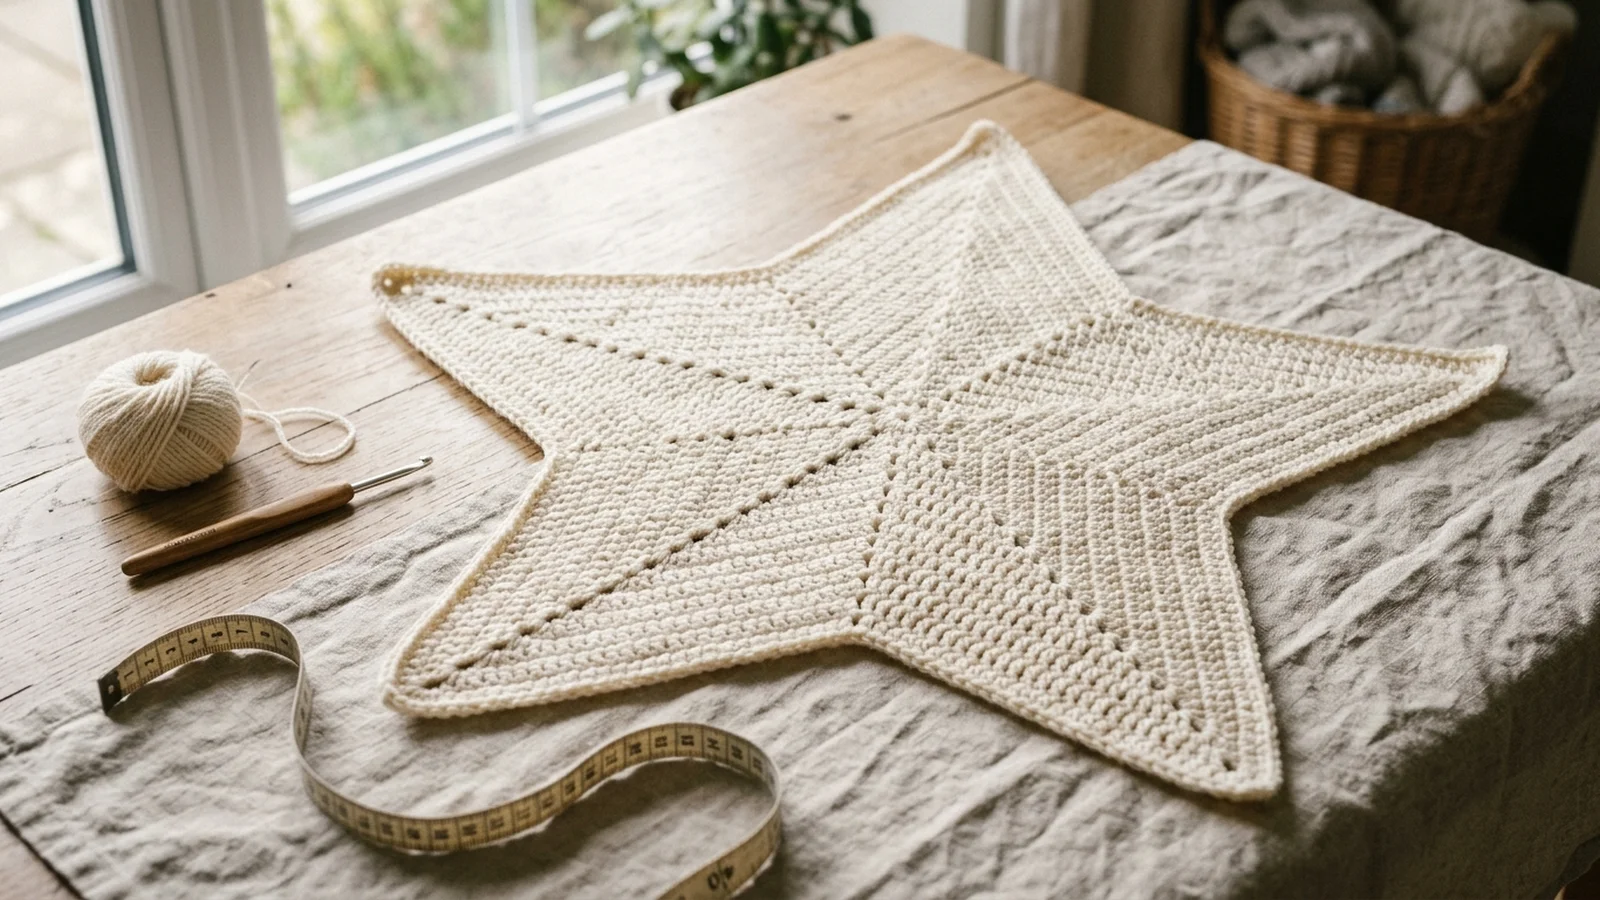
Front panel: work Step 1 again, then shape only sides 1 and 2 (the legs) as in Step 2 and edge those two points like the back panel. Leave sides 3, 4 and 5 unshaped for the sleeves and neckline, and finish them with the button band.
Button band: after the legs, sc3tog in the ch-3 corner space, then dc in each of the 25 dc of side 3 (first sleeve). Work 1 sc in the next ch-3 corner space, 1 sc in each st along side 4 (neckline), 1 sc in the next ch-3 corner space, then dc in each of the 25 dc of side 5 (second sleeve). Fasten off. (78 sts)
Buttonhole band: ch 27 (25 + 2 turning ch).
- Row 1: Dc in the 3rd ch from the hook and in each ch across. Turn. (25 sts)
- Row 2: Ch 1, hdc in the same st, FP dc in the next st, ch 1 and skip the next st, (FP dc, BP dc) 4 times, ch 1 and skip the next st, (FP dc, BP dc) 5 times, ch 1 and skip the next st, FP dc in the next st, hdc in the last st. Turn. (25 sts, counting each ch 1 as a st)
- Rows 3 to 20: Repeat Row 2, working each ch 1 over the ch-1 space below. (25 sts)
Work sc evenly along the edges as for the back panel and fasten off. Sew the band along the front opening opposite the button band, then sew the three buttons on the button band to line up with the gaps.
Hood, Ears and Tie Lace
Hood: ch 52 (50 + 2 turning ch). The chain measures about 13 inches (33 cm).
- Row 1: Dc in the 3rd ch from the hook and in each ch across. Turn. (50 sts)
- Row 2: Ch 1, hdc in the same st, FP dc, BP dc, repeat across to the last st, hdc in the last st. Turn. (50 sts)
- Row 3: Ch 2, dc2tog twice, dc in each st across to the last 4 sts, dc2tog twice. Turn. (46 sts)
- Rows 4 to 8: Repeat Row 3. (42, 38, 34, 30, then 26 sts)
- Row 9: Ch 2, dc2tog once, dc across to the last 2 sts, dc2tog once. Turn. (24 sts)
- Rows 10 and 11: Repeat Row 3. (20, then 16 sts)
- Rows 12 to 18: Ch 2, dc2tog, dc across to the last 2 sts, dc2tog. Turn. (14, 12, 10, 8, 6, 4, then 2 sts)
Work sc along the edging as for the back panel and fasten off.
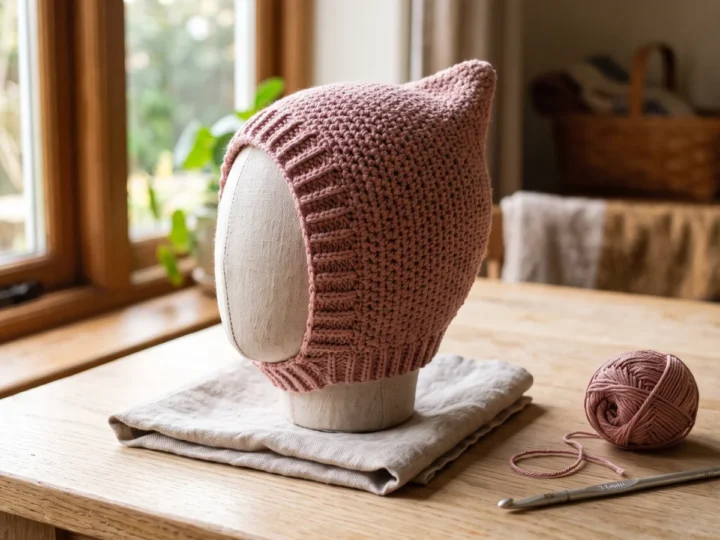
Ears (make 2): start with a magic ring. Row 1: 8 dc in the ring. Turn. (8 sts) Row 2: ch 2, 2 dc in each st across. Turn. (16 sts) Row 3: ch 1, hdc in each st across. (16 sts) Cut the yarn, leaving a long tail, and sew each ear to the hood with it.
Tie lace (optional; leave it out for a newborn or any baby, see the safety note): ch 100, then sl st in each ch across. Fasten off and weave in the ends. (100 sts) Weave it through the front post and back post stitches around the hood, and attach one pom-pom to each end.
Joining the Pieces
Place the front and back panels together with the right sides facing outward and the edges aligned. With a hook, sl st through both layers, joining each corresponding stitch around the edges. Center the hood and sl st it securely to the blanket. Fasten off and weave in all loose ends.
Finishing and Care
Weave in every end securely, since loose ends matter on a baby item. Block the finished piece if you want crisper points, following how to block a crocheted blanket. Wash according to the yarn label rather than a general rule. Before gifting, check for loose stitches or ends and test that the buttons, ears and pom-poms are firmly attached.
A Short Safety Note
A crochet blanket is for supervised use and does not replace safe sleep guidance. Buttons, ears and pom-poms are small parts, so sew them on very securely. The tie lace is a long cord near the neck, and a cord near a baby’s neck is a strangulation hazard, so leave out the tie lace and the pom-poms on anything made for a newborn or an infant. The blanket works well without them. For more detail, read how to use a crochet blanket safely with a baby.
Colorways and Yarn Swaps
Neutral palettes such as cream, oatmeal, soft grey or sage suit a newborn and work for any gender. For two colors, fasten off at the end of a round and join the new color in a corner space, or use a contrast color for the ears and pom-poms. Any yarn swap should stay in the same weight category, with the hook adjusted to match the gauge.
Troubleshooting
- Edges drift in or out: count the dc on each side after every round. It should be (2 x rounds) + 1, so 25 at Round 12. A missed or doubled stitch beside a corner is the usual cause.
- Wavy or curling edges: too many stitches in the corners make the work ruffle, and too few make it cup. Work exactly (dc, ch 3, dc) in each corner space and try a hook size up or down.
- Stiff or tight fabric: if you are tighter than 4 dc per inch, go up a hook size and relax your grip on the yarn.
- Miscounts at the join or a turning chain: the ch 2 and ch 1 do not count as stitches, and the sl st join goes into the first dc, not the chain. Recount against the listed counts after each decrease row.
- Running short of yarn: the 300 g figure is for the 3 to 6 month size. Weigh what is left after the back panel and buy extra from the same dye lot before you start the front.
- Visible joins: change yarn or color at a corner space and weave the tail in two directions along the stitches.
- Uneven size between the center and the later pieces: measure the pentagon (about 12 in at Round 12) and the hood chain (about 13 in) before moving on. Chain loosely so the foundation matches the rows above it.
FAQ
What size is a crochet blanket for a newborn?
For this star, about 20 to 22 inches across. The written 3 to 6 month size is 22 inches (56 cm) long with a 24 inch (60 cm) chest.
How much yarn does a newborn crochet blanket need?
The 3 to 6 month size uses 300 grams of DK or medium weight 4 ply yarn. A newborn size needs less because you work fewer rounds.
What yarn is best for a newborn crochet blanket?
Choose a soft DK or medium weight 4 ply yarn, whether wool, cotton, acrylic or a blend, with a care label you can follow.
Is this pattern suitable for a beginner?
Yes, if you can work dc, sc, hdc and dc2tog. The post stitches in the hood and buttonhole band are the only extra skill.
How long does it take to crochet a newborn blanket?
It depends on your speed, yarn weight, tension and size. This design has two panels plus a hood, bands and ears, so it takes longer than a single flat blanket.
Which stitch works best for a newborn blanket?
This pattern is mostly double crochet, which works up quickly and drapes softly. To compare options, see the best crochet stitches for a blanket.
Are crochet blankets safe for newborns?
They are for supervised use and are not a replacement for safe sleep guidance. Read baby blanket safety guidance for more.
Can I make it bigger for a crib or toddler?
You can work more center rounds: 14 for 6 to 9 months and 15 for 9 to 12 months, then keep adding for larger sizes. See common baby blanket dimensions for general targets.

Last updated . Found something out of date? Let us know.