 Accessories
 Baby & Kids
 Blankets & Afghans
 Clothing
Crochet Jacket Pattern From Gauge Swatch to Final Row
This crochet jacket pattern settles gauge, size and yarn before you work the first chain, then writes out every piece in order. It comes in six sizes, XS/S to 4/5XL, with sleeves worked side to side and the body made in flat pieces that are seamed at the end.
 Nicole Sinclair
Published · Updated · 11 min read
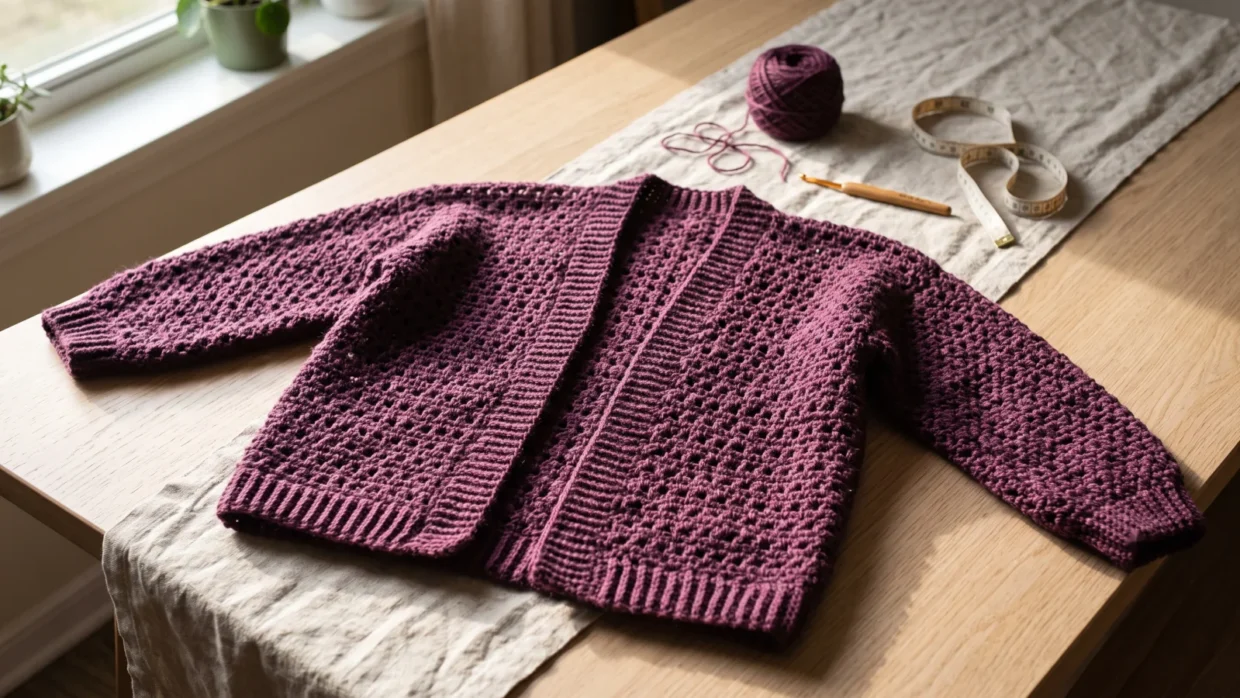
A finished plum crochet jacket laid open on an oak table beside yarn, a hook and a measuring tape
Pattern at a Glance
- Skill level
- Easy
- Yarn brand
- Crochetsimply
- Hook size
- G/6 (4 mm) body; E/4 (3.5 mm) bands
- Finished size
- XS/S to 4/5XL; finished bust 36–64 in
- Yarn needed
- 14–19 balls, 102 yd each
- Construction
- Sleeves worked side to side; body in flat pieces, seamed
- Stitches
- Chain, slip stitch, single crochet, half double crochet, V-stitch, hdc2tog
- Gauge
- 16 sc and 20 rows = 4 in (larger hook)
- Pattern type
- Written pattern
- Project type
- Jacket
A crocheted jacket can be finished and still not wearable, and that is the outcome this crochet jacket pattern is built to prevent. Because a garment turns a small gauge error into inches across the body and sleeves, gauge, size and yarn come first.
Jump to the instructions once you have chosen your size and checked your gauge.
Crochet Jacket Pattern at a Glance
- Construction: The two Sleeve/Yoke pieces are worked side to side from one foundation chain, the Back and two Fronts from the bottom up; all are seamed, then edged.
- Sizes: XS/S, M, L, XL, 2/3XL and 4/5XL, with a finished bust of 36 to 64 in (91.5 to 162.5 cm).
- Skill level: Easy. The stitches are basic, but you follow size-specific numbers, hold gauge, shape and sew.
- Yarn: 14 (15-16-17-18-19) balls of Crochetsimply in Plum (85430), 65 g (2.2 oz) and 102 yd (93 m) each.
Materials
Hooks and tools: US G/6 (4 mm) for the body and US E/4 (3.5 mm) for the bands, or the sizes needed to obtain gauge. You also need stitch markers, a tapestry needle, pins and a damp cloth.
Buy every ball for your size at once and match the dye lot. If you substitute yarn, multiply your size’s balls by 102 yd to find the yardage to match, and swatch it, because a different yarn changes gauge as well as yardage.
Gauge: Treat It as a Decision
Gauge is 16 sc and 20 rows = 4 in (10 cm) with the larger hook, and every count and measurement here assumes it. A jacket is less forgiving than a flat project because a small error per inch multiplies. If you get 15 sc over 4 in instead of 16, the fabric runs 6.7% wider: a 36 in finished bust becomes about 38.4 in and a 17 in sleeve about 18.1 in, with no change to the counts.
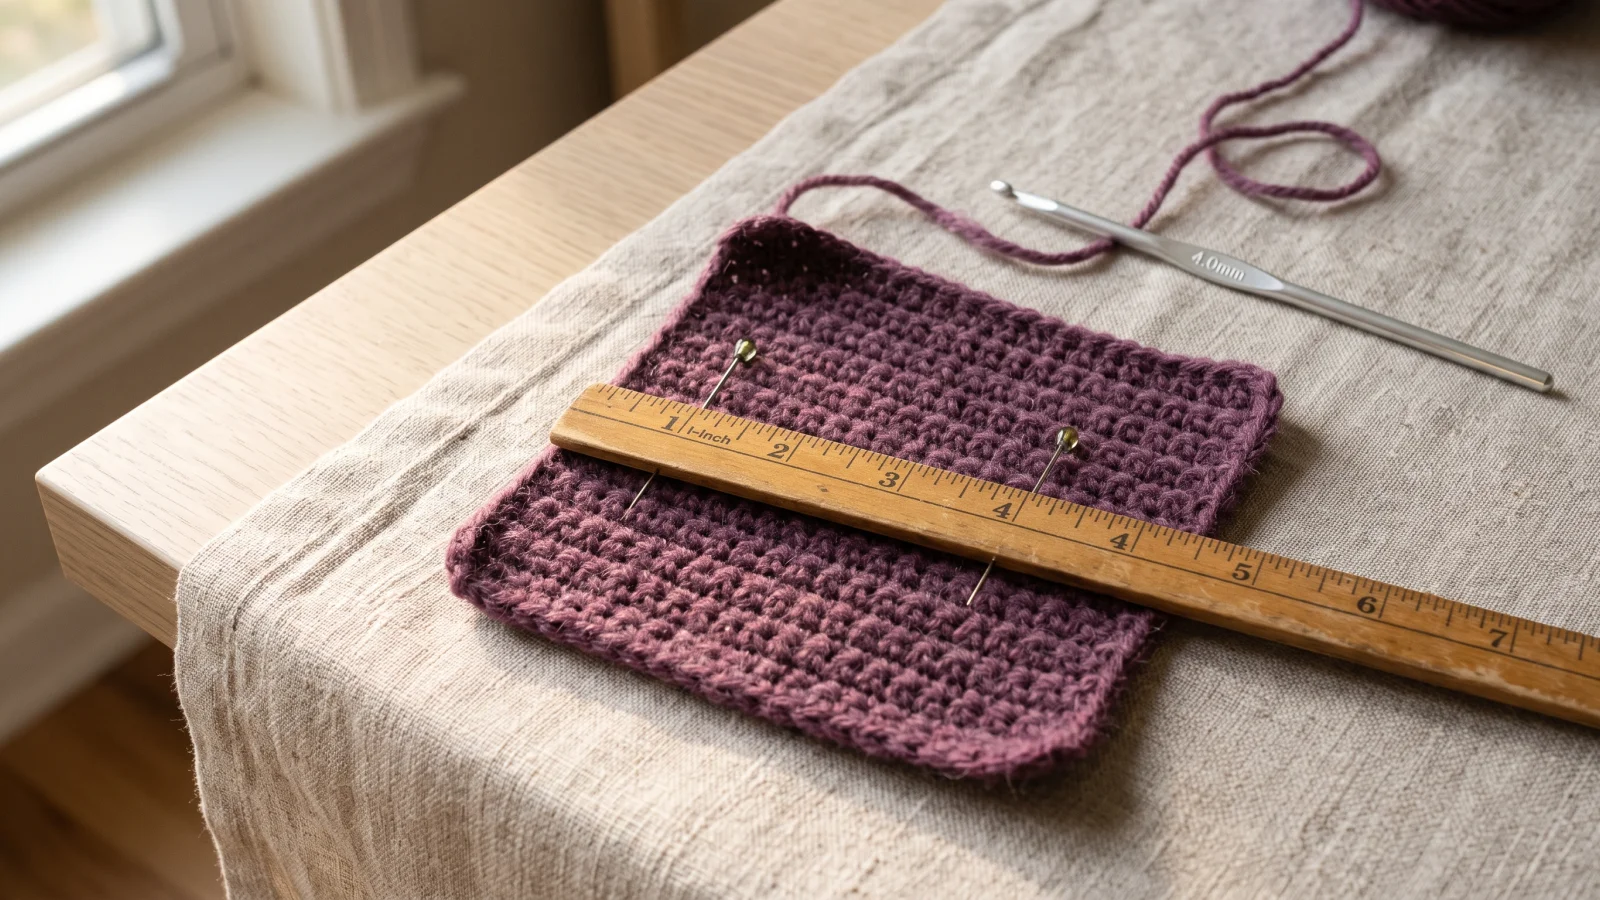
I would swatch in single crochet, the stitch the gauge is given in, in a piece clearly larger than 4 in each way so the edges stay out of the measurement. Pin it flat, give it the damp-cloth treatment the pieces will get, then count across 4 in. Most of the jacket is V-stitch, so also work a few V-stitch rows: the measurements here work out to two V-sts per inch of width (44 V-sts is 22 in on the Back), a second check.
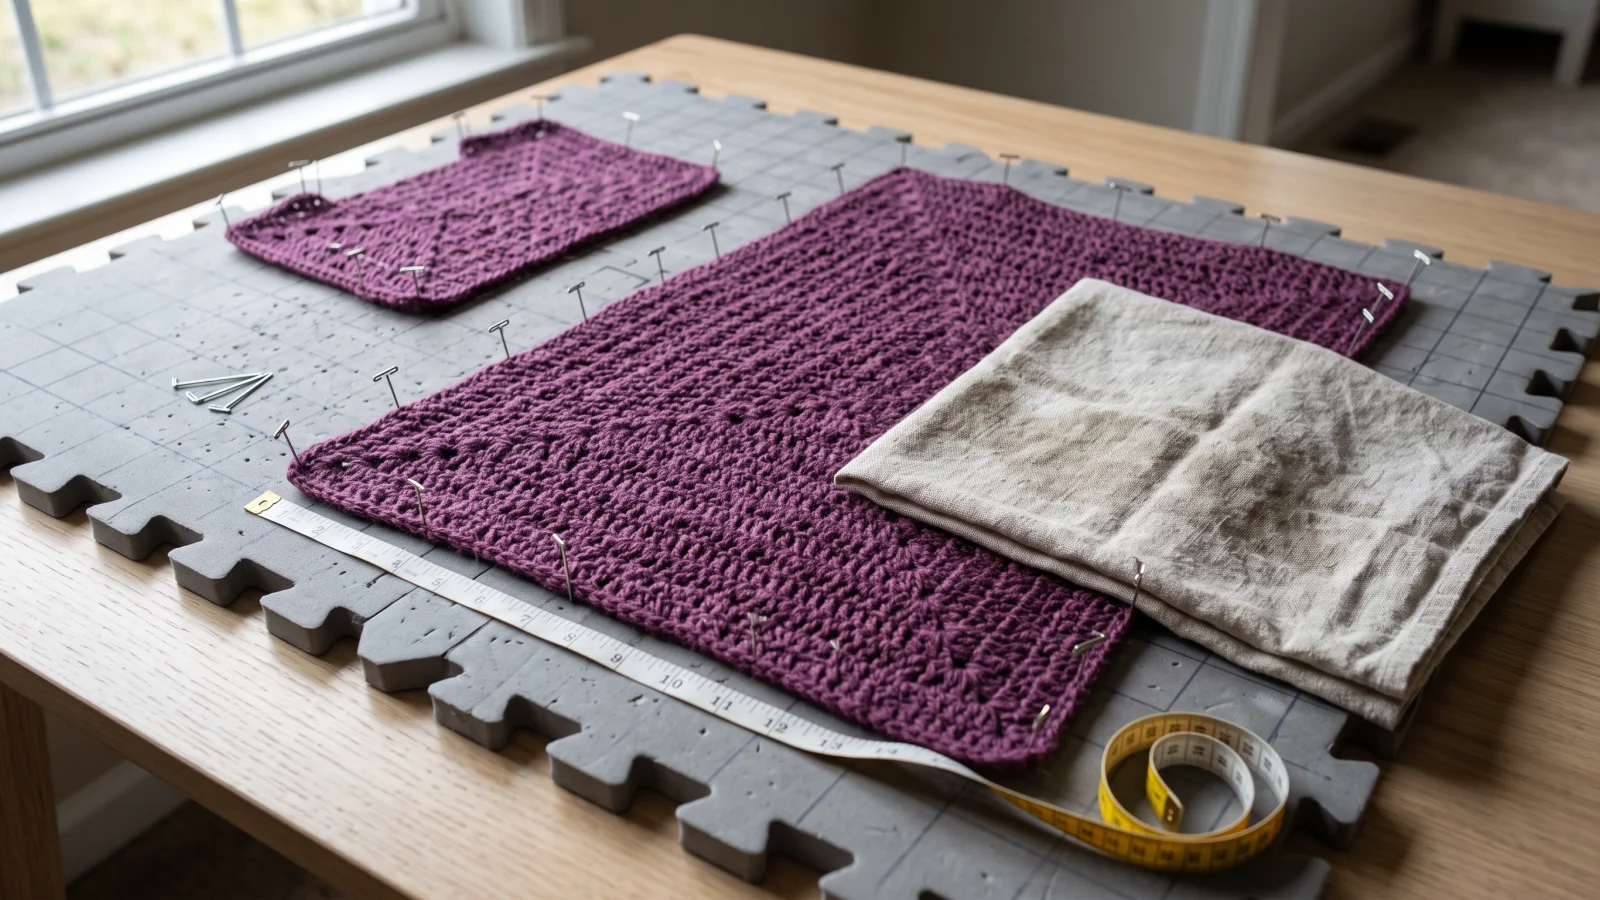
If you get more than 16 sc per 4 in, go up a hook size; fewer, go down. Hook size changes the fabric as well as the measurements: larger is looser and drapier, smaller is firmer. Re-swatch after each change, and keep the band hook smaller than the body hook.
Choosing Your Size
The to-fit measurement is the bust a size is made for. The finished measurement is the jacket itself, and the difference is ease, the built-in room.
| Size | To fit bust | Finished bust | Ease |
|---|---|---|---|
| XS/S | 30–32 in | 36 in | 4–6 in |
| M | 34–36 in | 40 in | 4–6 in |
| L | 38–40 in | 44 in | 4–6 in |
| XL | 42–46 in | 50 in | 4–8 in |
| 2/3XL | 46–54 in | 56 in | 2–10 in |
| 4/5XL | 56–62 in | 64 in | 2–8 in |
The ranges leave gaps: a 33 in bust sits between XS/S and M, and 46 in belongs to both XL and 2/3XL. Between sizes, I would weigh how much ease you like against how much length you want, since sleeves and body grow with the size. With the fronts hanging open, size up for a looser layered fit and down for a closer one.
Piece widths before seaming, in inches:
| Piece | XS/S | M | L | XL | 2/3XL | 4/5XL |
|---|---|---|---|---|---|---|
| Front bottom | 7½ | 8 | 9 | 9½ | 11½ | 13 |
| Front top | 5½ | 6 | 7 | 8 | 9½ | 11½ |
| Back bottom | 22 | 24 | 26 | 28 | 32 | 35 |
| Back top | 18 | 20 | 22 | 25 | 28 | 32 |
| Sleeve width | 14 | 14 | 15 | 16 | 17 | 17 |
How the Jacket Goes Together
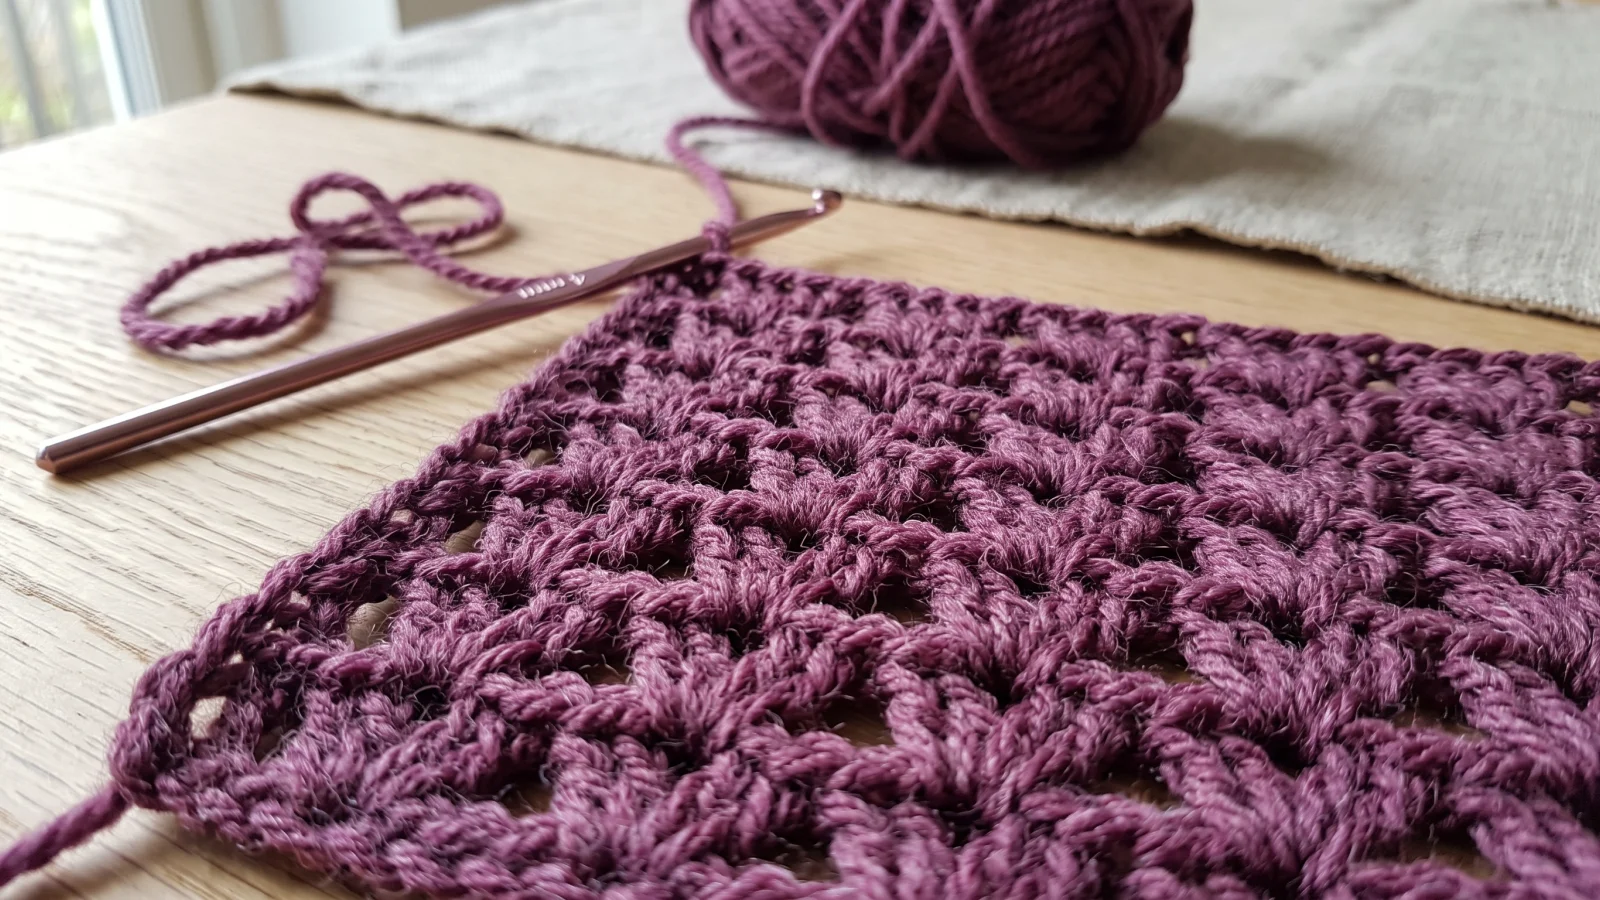
Here is the outline of how to crochet this jacket: five pieces make it. The Left Sleeve/Yoke comes first; the Right Sleeve/Yoke is worked from the remaining loops of the same foundation chain, so the two meet at center back. Then come two Fronts and a Back. After blocking, you sew the seams and work the Bottom Band and Front Band with the smaller hook.
Abbreviations and Stitches
All terms are US; in UK terms, sc is double crochet and hdc is half treble. Ch = chain; Hdc = half double crochet; Rep = repeat; RS/WS = right/wrong side; Sc = single crochet; Sl st = slip stitch; Sp = space; St = stitch; Yoh = yarn over hook.
- V-st: (1 hdc, ch 1, 1 hdc) in the same stitch or space.
- Hdc2tog: Yoh, draw up a loop in the next ch-1 sp, yoh, draw up a loop in the next hdc, yoh and draw through all loops on hook.
- V-row: Ch 2 (counts as hdc). *V-st in next ch-1 sp; rep from * to last st. 1 hdc in last st. Turn.
- Foundation row: 1 hdc in 3rd ch from hook. *Skip 2 ch, V-st in next ch; rep from * to last 3 ch. Skip 2 ch, 1 hdc in last ch. Turn.
Crochet Jacket Pattern Instructions
Instructions are written for XS/S, with M, L, XL, 2/3XL and 4/5XL in parentheses, in that order. One number applies to every size. Row-end counts are in parentheses, with other sizes in brackets. I would highlight your numbers first. Use the larger hook unless stated.
Left Sleeve/Yoke
- Foundation: With larger hook, ch 48 (48-51-54-57-57).
- Row 1 (RS): Foundation row. (14 [14-15-16-17-17] V-sts)
- Row 2: V-row. (14 [14-15-16-17-17] V-sts)
- Repeat Row 2 until the work measures 3½ (3½-3½-4-4-4) in from the beginning, ending with a WS row. Place a marker at the end of the last row.
- Shape side (RS): Ch 45 (45-48-51-54-54). 1 hdc in 3rd ch from hook. (Skip 2 ch, V-st in next ch) 14 (14-15-16-17-17) times. Skip next hdc. *V-st in next ch-1 sp; rep from * to last hdc. 1 hdc in last hdc. Turn. (28 [28-30-32-34-34] V-sts)
- Work V-row until work from the marked row measures 17 (17-17½-18-18½-19) in, ending with a WS row. (28 [28-30-32-34-34] V-sts)
- Cuff, Row 1: Ch 1. 1 sc in each hdc across, including the top of the turning ch. Turn. (58 [58-62-66-70-70] sc)
- Cuff, Row 2: Ch 1. Working in back loops only, 1 sc in each sc across. Turn. (58 [58-62-66-70-70] sc)
- Repeat Cuff Row 2 until the cuff measures 2 in, ending with a WS row. Fasten off.
Stop and count after Row 1 and after the Shape side row. A missed V-st here runs through every later row and shows up as a wrong cuff count.
Right Sleeve/Yoke
- Join: With RS facing and larger hook, join yarn with sl st to the first remaining loop of the foundation chain of the Left Sleeve/Yoke.
- Row 1: Ch 2. *Skip 2 ch, V-st in next ch; rep from * to last 3 ch. Skip 2 ch, 1 hdc in last ch. Turn. (14 [14-15-16-17-17] V-sts)
- Row 2: V-row. (14 [14-15-16-17-17] V-sts)
- Repeat Row 2 until the work measures 3½ (3½-3½-4-4-4) in from the beginning, ending with a RS row. Place a marker at the end of the last row.
- Shape side (WS): Work as for the Left Sleeve/Yoke Shape side row. (28 [28-30-32-34-34] V-sts)
- Continue as for the Left Sleeve/Yoke, from the 17 in V-row step through the cuff, and fasten off. (58 [58-62-66-70-70] sc)
Front (make 2 alike)
- Foundation: Ch 51 (54-60-63-75-84).
- Row 1: Foundation row. (15 [16-18-19-23-26] V-sts)
- Row 2: V-row. (15 [16-18-19-23-26] V-sts)
- Repeat Row 2 three more times. (15 [16-18-19-23-26] V-sts)
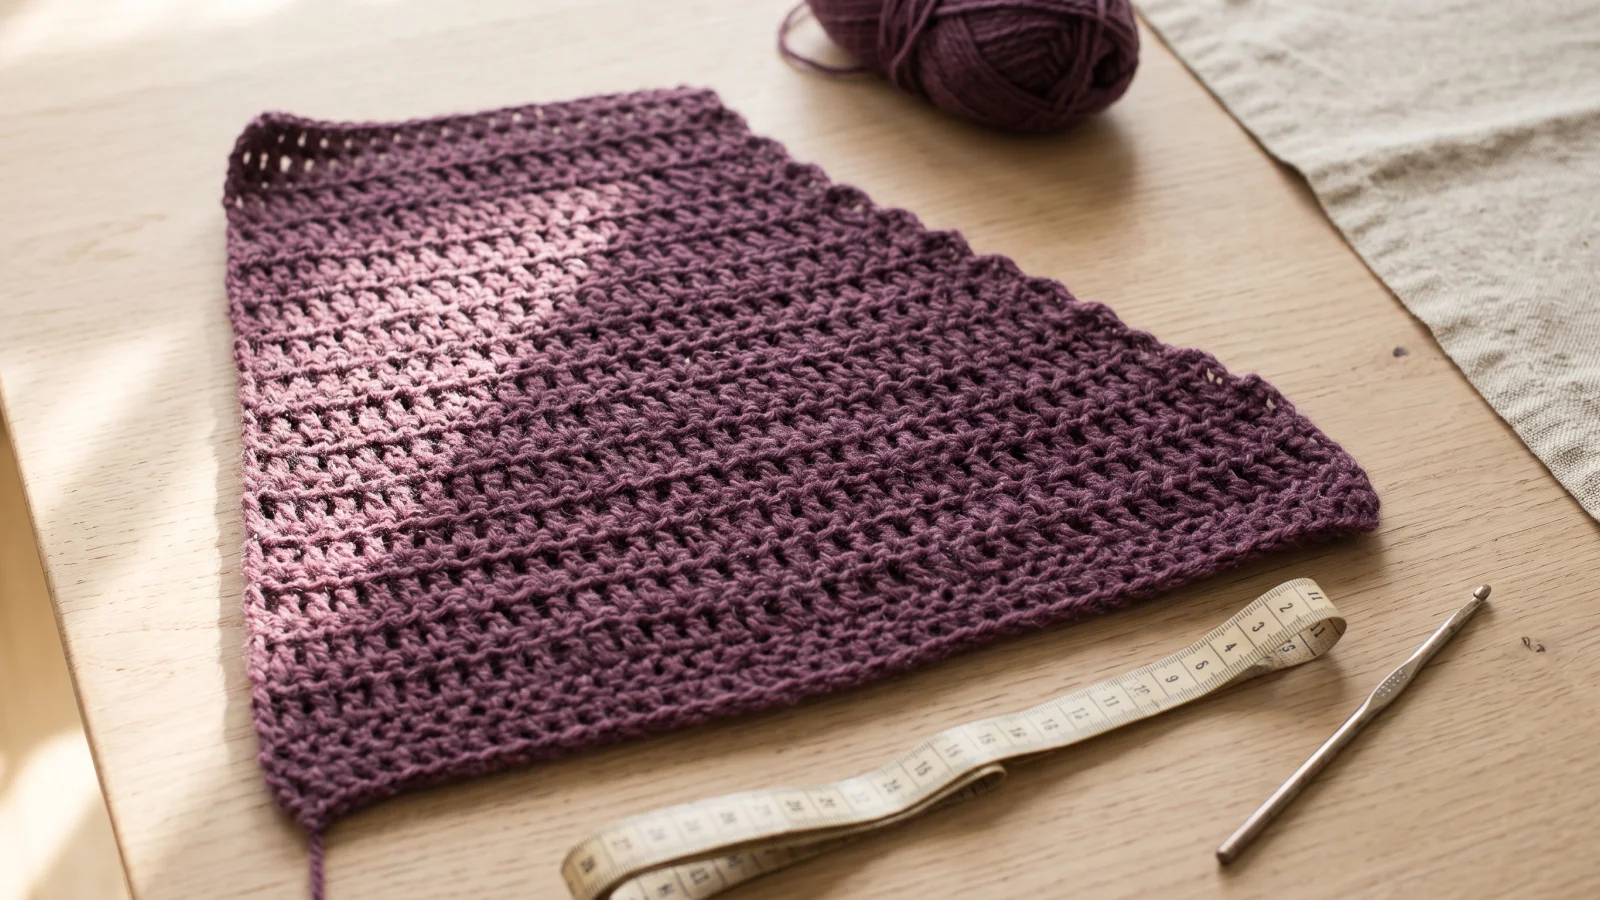
- Shaping, XS/S and M: Row 1: Ch 2. *V-st in next ch-1 sp; rep from * to last ch-1 sp and hdc. Hdc2tog over those two. Turn. (14 [15] V-sts) Rows 2 to 6: V-row. (14 [15] V-sts) Repeat these 6 rows 3 more times. (11 [12] V-sts)
- Shaping, L (XL-2/3XL-4/5XL): Work Row 1 as above. (17 [18-22-25] V-sts) Rows 2 to 8: V-row. (17 [18-22-25] V-sts) Repeat these 8 rows 3 (2-3-2) more times. (14 [16-19-23] V-sts)
- All sizes: Work V-row until the piece measures 12 (12½-13-13½-14-14½) in from the beginning. Fasten off. (11 [12-14-16-19-23] V-sts)
Stop and count after Row 1 and again when the shaping is done. A drifting edge is a one-row fix now and a long unravel later.
Back
- Foundation: Ch 138 (150-162-174-198-216).
- Row 1: Foundation row. (44 [48-52-56-64-70] V-sts)
- Row 2: V-row. (44 [48-52-56-64-70] V-sts)
- Repeat Row 2 three more times. (44 [48-52-56-64-70] V-sts)
- Shaping, XS/S and M: Row 1: Ch 2. 1 hdc in next ch-1 sp (counts as hdc2tog). *V-st in next ch-1 sp; rep from * to last V-st. Hdc2tog over last V-st and hdc. Turn. (42 [46] V-sts) Rows 2 to 6: V-row. (42 [46] V-sts) Repeat these 6 rows 3 more times. (36 [40] V-sts)
- Shaping, L (XL-2/3XL-4/5XL): Work Row 1 as above. (50 [54-62-68] V-sts) Rows 2 to 8: V-row. (50 [54-62-68] V-sts) Repeat these 8 rows 3 (2-3-2) more times. (44 [50-56-64] V-sts)
- All sizes: Work V-row until the piece measures 12 (12½-13-13½-14-14½) in from the beginning. Fasten off. (36 [40-44-50-56-64] V-sts)
Stop and count after Row 1. It is the longest row in the jacket, so I would place a marker after every 10 V-sts while counting, then remove them.
Finishing
Block first. Pin every piece to its measurements and cover it with a damp cloth, leaving the cloth to dry. Blocking matters more on a garment than on a flat project because the seams assume the stated measurements, so check each piece against its widths and lengths before removing the pins. For the technique, see how to block finished crochet.
- Place markers 5½ (6-7-8-9½-11½) in from the neck edge on the front edge of each Sleeve/Yoke piece. Place markers 9 (10-11-12½-14-16) in on either side of the center back seam for the side seams.
- Sew the side seams. Sew the Sleeve/Yoke pieces to the Back and Fronts, matching the markers to the side seams and the center back seam to the center of the Back. A flat seam keeps the joins from adding bulk.
- Bottom Band: With RS facing and smaller hook, join yarn with sl st to the bottom left Front edge. Ch 1. Work 185 (193-199-201-215-233) sc evenly around the bottom edge. Turn. (185 [193-199-201-215-233] sc)
- Front Band: With RS facing and smaller hook, join yarn with sl st to the bottom corner of the Right Front edge. Ch 1. Work 92 (94-98-102-106-108) sc evenly up the front edge to the back neck, 30 (30-30-34-34-34) sc across the back neck and 92 (94-98-102-106-108) sc evenly down the front edge to the bottom. Turn. (214 [218-226-238-246-250] sc)
- Both bands, Row 2: Ch 1. Working in back loops only, 1 sc in each sc across. Turn. (same count) Repeat Row 2 until the band measures 2 in. Fasten off.
- Weave in all ends.
Yarn Behavior in a Jacket
As general crochet reasoning, fiber matters more in a jacket than a blanket: a heavy fiber in open V-stitch can stretch and drop with wear, a springier fiber tends to recover, and a stiff one gives structure but less drape. Whatever you use, follow its ball band for care; I would not guess how a garment this size will wash.
Adjusting the Fit
The design takes these changes:
- Body length: Work more or fewer V-rows at the end of the Front and Back, but no fewer than the shaping needs. Front Band counts change with length, and the 2 in Bottom Band adds to it.
- Sleeve length, cuff and band depth: Work more or fewer rows. No counts change.
- Closure: The fronts hang open as written; a shawl pin or similar fastener added at the end changes no counts.
- Width: Changing a piece’s width changes its counts, and this pattern gives no new ones, so choose another size instead.
Fixing Common Problems
- Wrong size: Check the swatch, then measure a finished piece against its width. A different hook corrects size but also changes the fabric, so decide early whether to switch hooks or restart.
- Too stiff or too loose: A smaller hook firms the fabric and a larger one loosens it, but fiber sets how stiff or drapey a yarn feels.
- Counts drifting: Count at the stop and count points, edges included. A one-stitch error spreads into every later row, so fixing it early costs far less.
- Curling or rippling edges: Open fabric often does this before finishing. Blocking and the back-loop bands usually settle it; if a band still ripples, recount its stitches.
- Sleeves tight, long or not meeting: Measure each blocked piece against the widths above before sewing. Sleeve length changes with rows, but width is set by the counts and gauge.
- Stretching after wear: My inference is that heavy fiber in open V-stitch is the likely cause. Re-blocking to the stated measurements may help; a springier yarn is the fix if you start over.
- Running short of yarn: Buy every ball for your size together, matching the dye lot; yardage is per size, so another size’s count may not finish your jacket.
Where to Go Next
Swatch first, choose your size by ease, and buy all the yarn at once; those three decisions matter more than any single row. When the jacket is done, a simple crochet hat to wear with it is a natural next project.

Last updated . Found something out of date? Let us know.